7 Planning Steps for a Rain Barrel in a Small Yard
A modest rain barrel works best when the downspout, ground, overflow path, and seasonal maintenance are considered as one small-yard system. These seven checks help a first-time setup collect roof runoff without sending water toward the house, a neighbor’s lot, or a frequently used patio path.
As an Amazon Associate I earn from qualifying purchases.
1.Check Local Rainwater Rules and Property Limits
Start by checking local rainwater-collection and drainage requirements. Some areas regulate where overflow can discharge, particularly if it could run toward a sidewalk, shared drive, storm drain, or neighboring property.
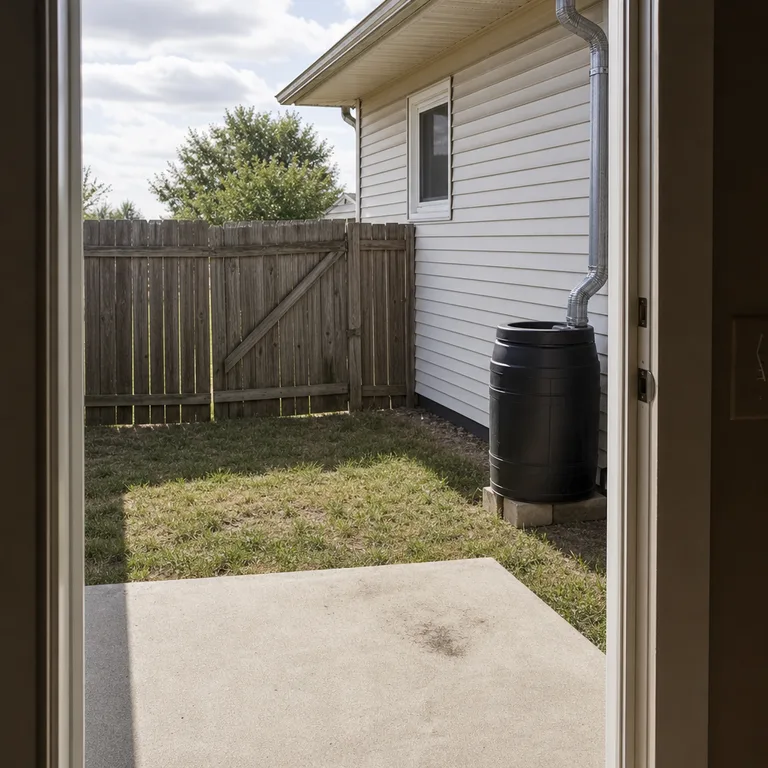
Renters should also check lease terms, and homeowners should review any association rules that affect exterior equipment. A barrel is easier to manage when its location stays within the yard and does not interfere with a gate, access path, or shared drainage area.
Worth knowing: Local rules can change, so a suitable setup in one neighborhood may not be allowed in another.
2.Choose One Clear, Accessible Downspout
For a first barrel, choose one downspout with open space around it rather than trying to collect from every roof edge. The spot should allow room to inspect the inlet, remove debris, reach the spigot, and disconnect components when needed.
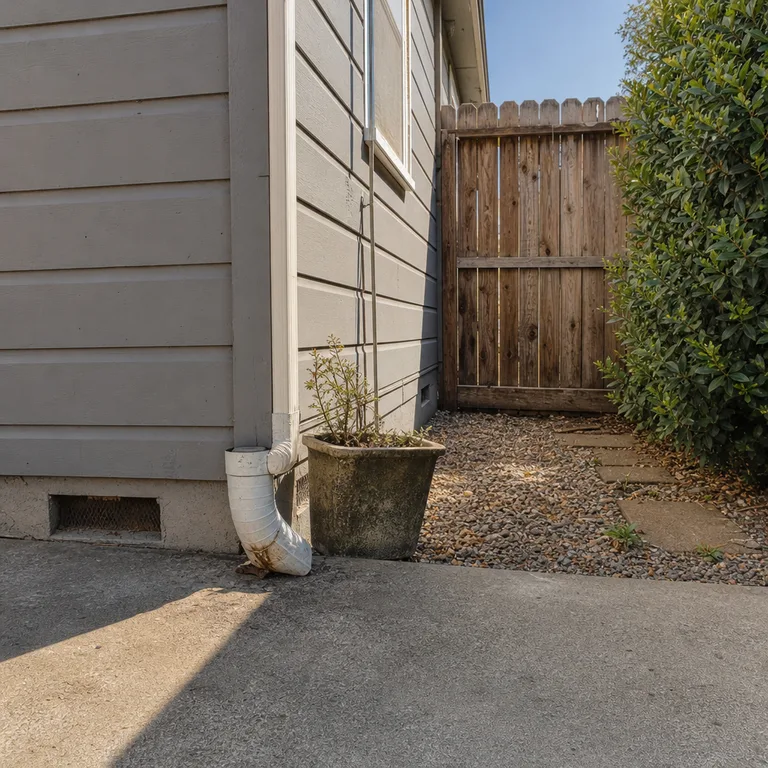
Avoid a downspout that sits in a narrow side passage or directly beside a busy walkway. A simple diverter or connection designed for the barrel model can direct runoff into the container while allowing excess water to continue through the downspout system.
Worth knowing: A downspout that is easy to reach may not receive as much runoff as one on a larger roof section.
Related: 10 Small Side Yard Ideas That Keep the Walkway Useful
3.Set the Barrel on a Firm, Level Ground Surface
Place the barrel on a firm, level surface approved by its manufacturer. A full barrel is heavy, so the ground needs to stay stable through wet weather instead of sinking, leaning, or washing out at one edge.
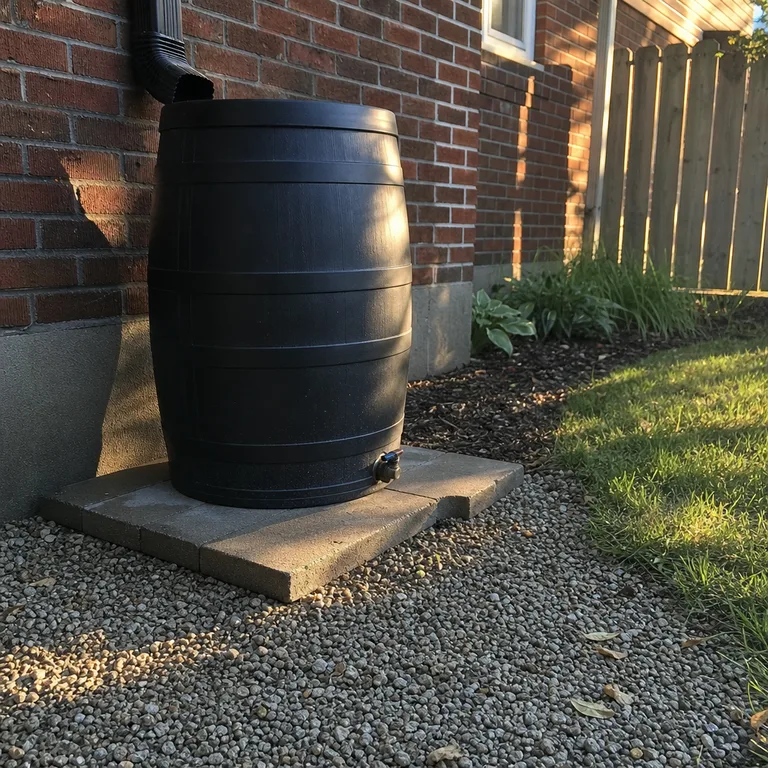
Existing concrete or a carefully prepared level paver area can make a practical base when it fits the manufacturer’s directions. Keep the barrel directly on a stable surface rather than using an improvised raised stand, which can create a tipping risk.
Worth knowing: Preparing an uneven or soft site may take more work than the barrel installation itself.
4.Keep Leaves and Mosquitoes Out With a Screened Lid
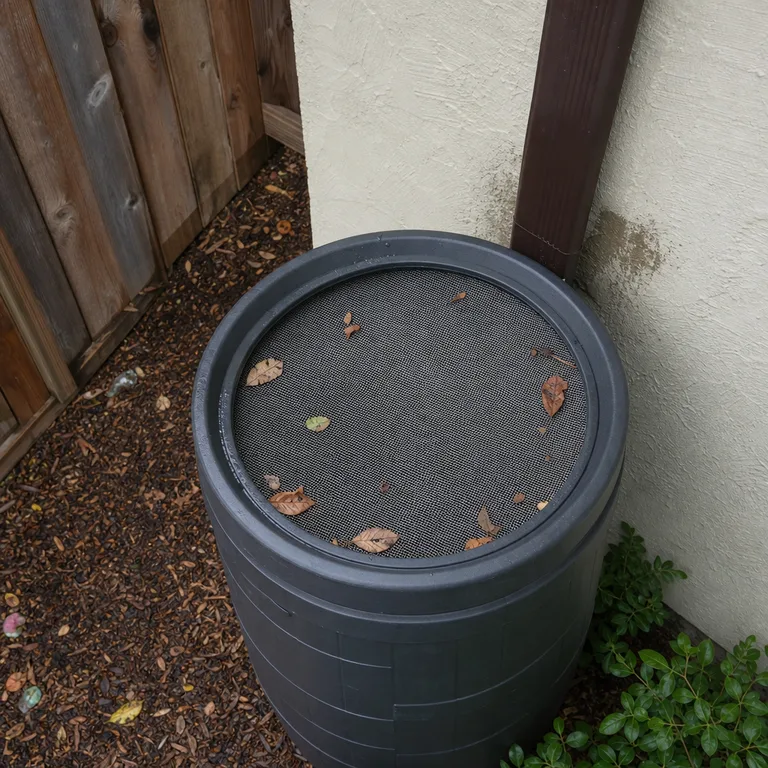
A secure screened inlet helps keep leaves, roof grit, and insects out of stored water. Choose a barrel with an integrated screen or use only the screen and lid arrangement approved for that specific model.
Check the screen regularly during leaf drop and after storms, since debris can slow water entry or redirect it outside the barrel. Clearing a small amount of buildup as part of routine yard care is usually easier than dealing with a clogged inlet later.
Worth knowing: A screen reduces debris but still needs regular cleaning, especially under trees.
5.Route Overflow Away From the Foundation
Every barrel needs an overflow route because it can fill quickly in a heavy rain. Plan for excess water to move away from the foundation and toward an area that can accept drainage without creating erosion, puddles, or a slippery path.
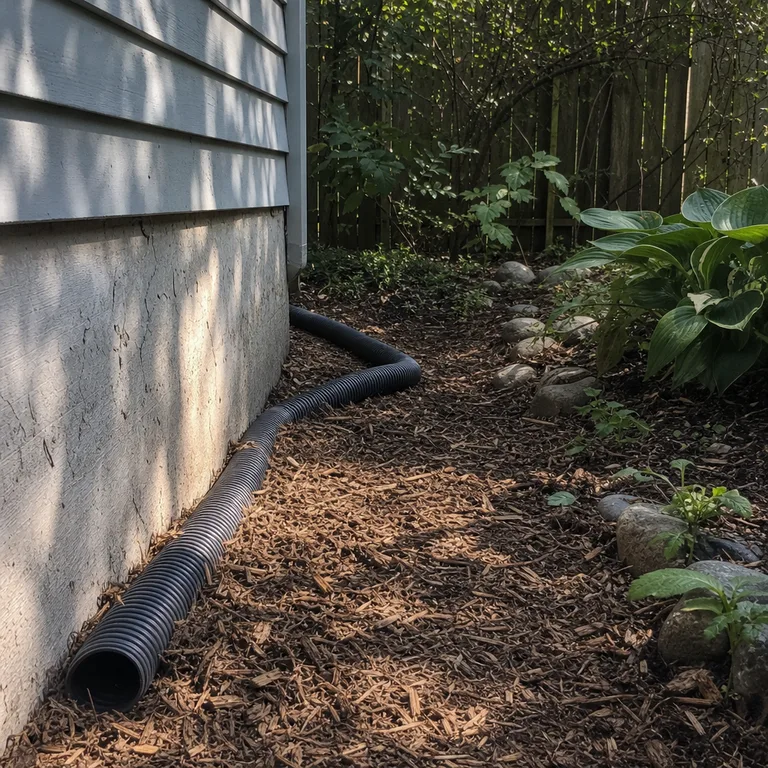
Follow the barrel instructions when connecting an overflow hose or outlet. Watch the yard’s natural slope, and do not send water toward a neighbor’s lot, a basement entry, or a low spot that already stays wet.
Worth knowing: A small yard with poor drainage may need a different drainage solution than an overflow hose alone.
Related: 15 Budget Landscaping Ideas That Make a Small Yard Feel Finished
6.Leave Enough Room to Fill a Watering Can
Set the barrel so the spigot remains easy to reach and a watering can fits below it. Leave a clear standing area in front rather than crowding the outlet with patio furniture, shrubs, fencing, or stored garden tools.
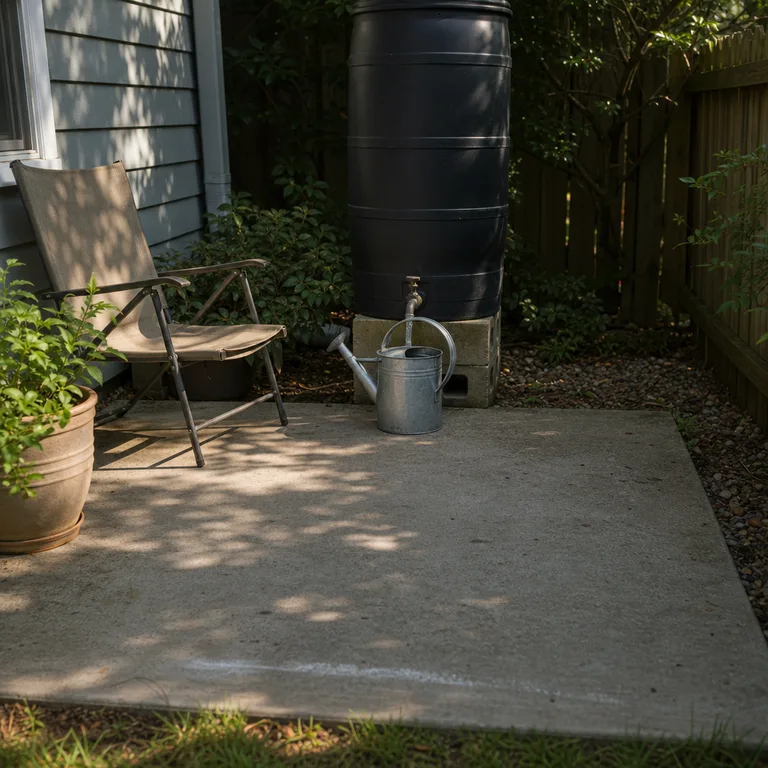
A short hose may be useful if the barrel instructions allow one, but a watering can keeps a modest setup simple. Place the barrel where carrying water to nearby ornamental containers or beds is manageable without dragging a hose across a main path.
Worth knowing: Water pressure from a ground-level barrel is limited, so it may not suit sprinklers or long hose runs.
Related: 12 Container Garden Ideas for a Small Patio on a Budget
7.Plan the Cleaning and Freeze-Season Routine
Keep the barrel manual, screen access, and any cleaning tools easy to find. Periodic cleaning removes sediment and organic debris that can collect at the bottom, while checking fittings helps catch drips or loose connections.
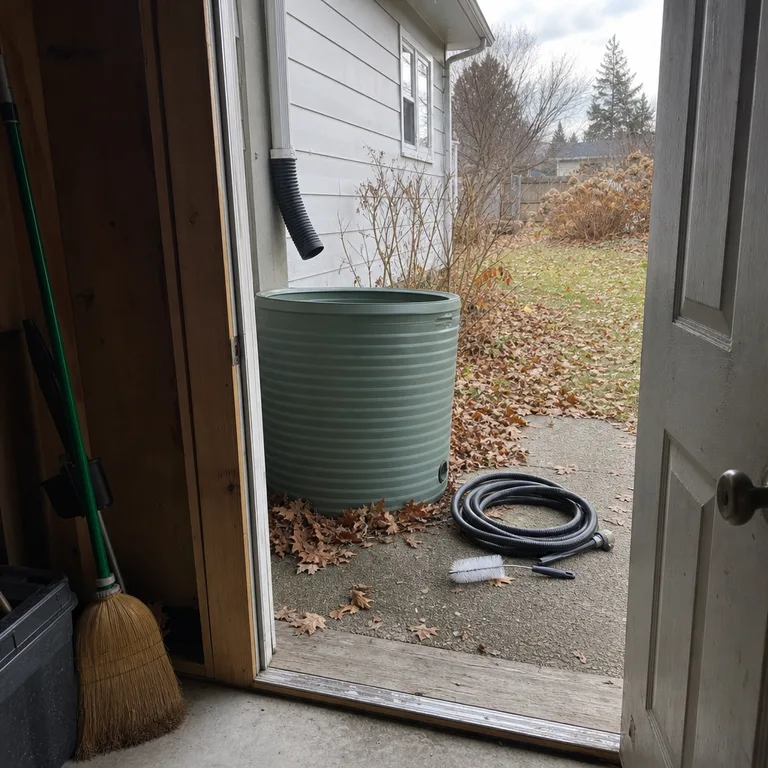
In climates with freezing weather, follow the manufacturer’s directions for draining, disconnecting, or storing the barrel before temperatures stay below freezing. Timing depends on local seasonal conditions, not a fixed calendar date, and the downspout may need to be returned to its normal drainage route.
Worth knowing: Seasonal draining and storage add a recurring task that cannot be skipped in areas with winter freezes.
About the author
Dana Ruiz, Senior editor
Dana writes about small-space living, storage and low-cost decorating.
Keep reading
8 Small Lettuce Container Garden Plans for a Patio or Balcony
October 18, 2026
6 Container Pond Setups for a Small Garden Without Digging a Large Pond
October 18, 2026
8 Foil and Food Wrap Storage Ideas for Kitchens With Shallow Drawers
October 18, 2026
7 Broom and Mop Storage Ideas for Homes Without a Utility Closet
October 18, 2026