7 Broom and Mop Storage Ideas for Homes Without a Utility Closet
Long cleaning tools can live neatly in an entryway when their handles are supported, mop heads can dry, and wet floors are contained. These seven options suit narrow hallways, cupboard interiors, and unused corners without turning the storage spot into an obstacle.
As an Amazon Associate I earn from qualifying purchases.
1.Mount rated wall clips on a clear stretch of entryway wall
Screw-mounted tool clips lift brooms, mops, and dusters away from the floor while keeping each handle easy to reach. A short wall section beside a cupboard or behind an opening door can work well, as long as the stored tools do not protrude into the walking route.
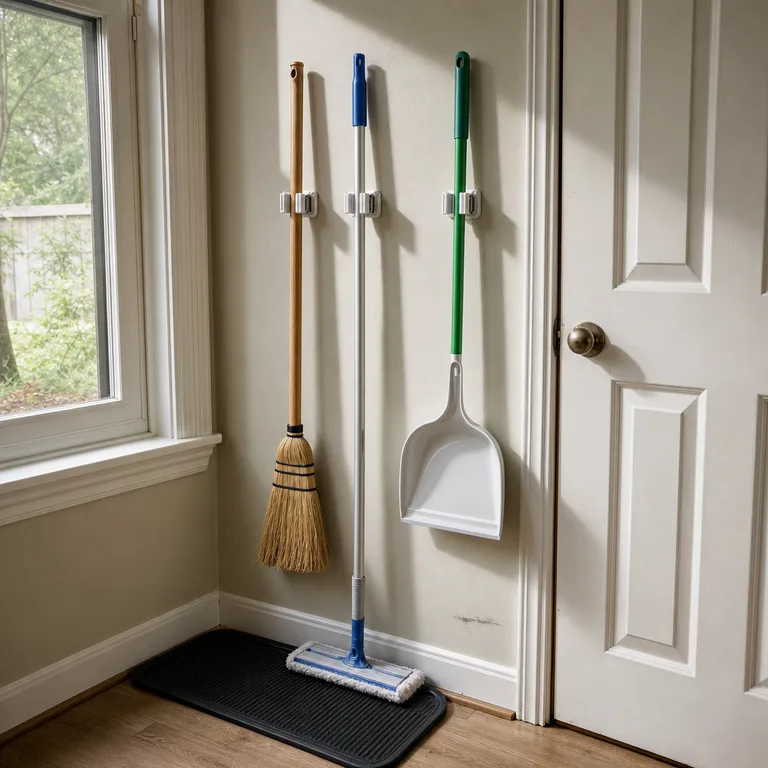
Choose clips rated for the weight and handle diameter of each tool, and use fixings appropriate for drywall, masonry, or timber. Hang the mop with its head clear of the wall and floor, and place a slim washable mat below it if it may be put away damp.
This is a relatively quick update when there is a suitable clear wall, and it can be cheaper than adding another cabinet. Check that opening doors, bags, and coats will not knock the handles loose.
Worth knowing: Wall clips need secure fixing, and a damp mop still needs airflow rather than being pressed into painted drywall.
Related: 12 Small Entryway Ideas for Homes With No Foyer
2.Fit a holder to the side of a tall entry cabinet
The outside panel of a tall entry cabinet can become a narrow vertical parking space for a broom and mop. This keeps tools grouped against a surface that is already taking up floor space, rather than adding another freestanding piece to a tight hall.
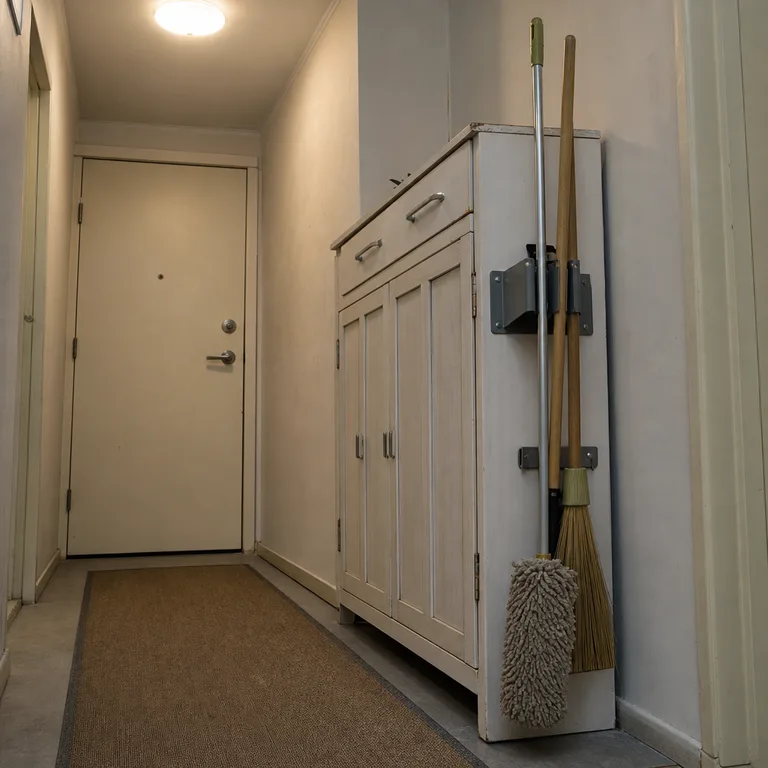
Use a slim grip rail or individual holders fixed to the cabinet side, with handles positioned high enough that their heads sit neatly near the floor. Reuse an existing cabinet where possible, but check that its side panel is substantial enough for the chosen fixings.
Keep the tools on the side facing away from the main walkway, particularly in a narrow hallway. Test the cabinet door and nearby front door through their full swing before committing to the holder position.
Worth knowing: This only works when the cabinet side has enough clearance and the panel can safely take the fixing.
3.Build an open corner slot from a narrow base and side rails
An unused corner can hold long tools more neatly with a simple open slot that stops handles from sliding sideways. A narrow base and two side rails create a defined place for a broom and flat mop without enclosing them in a bulky cabinet.
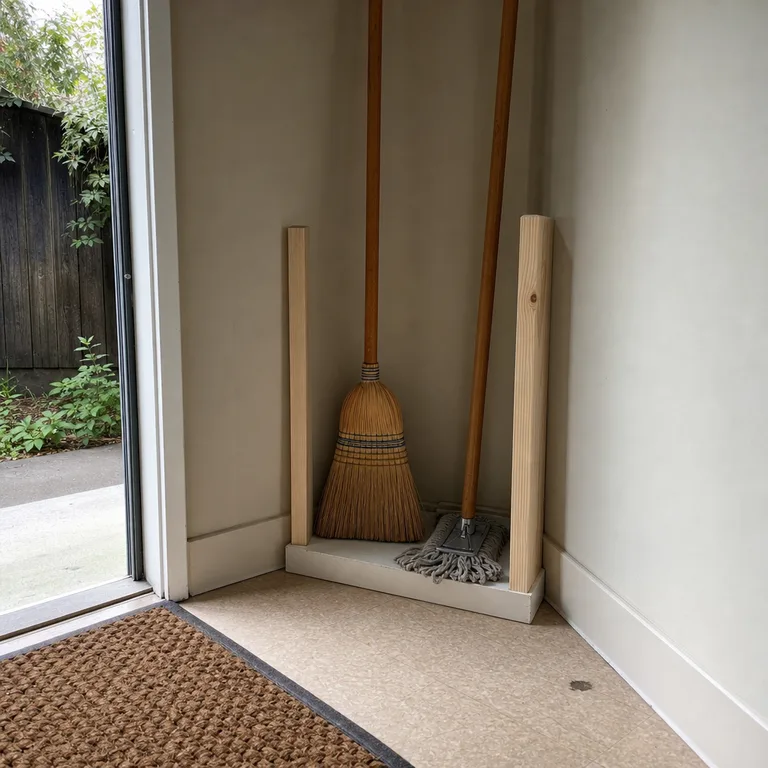
Make the base only as deep as the tool heads require, then use inexpensive timber offcuts or narrow strips for the rails. Add non-slip pads under the base to protect flooring and reduce movement on laminate or vinyl.
Leave the front open so tools can be lifted out quickly and mop heads are not trapped in a dark, damp compartment. A painted finish can help the timber blend with surrounding trim, though it should be allowed to dry fully before tools are stored against it.
Worth knowing: An open slot contains tools but does not hold each handle upright if it is bumped or if several heavy tools are crowded together.
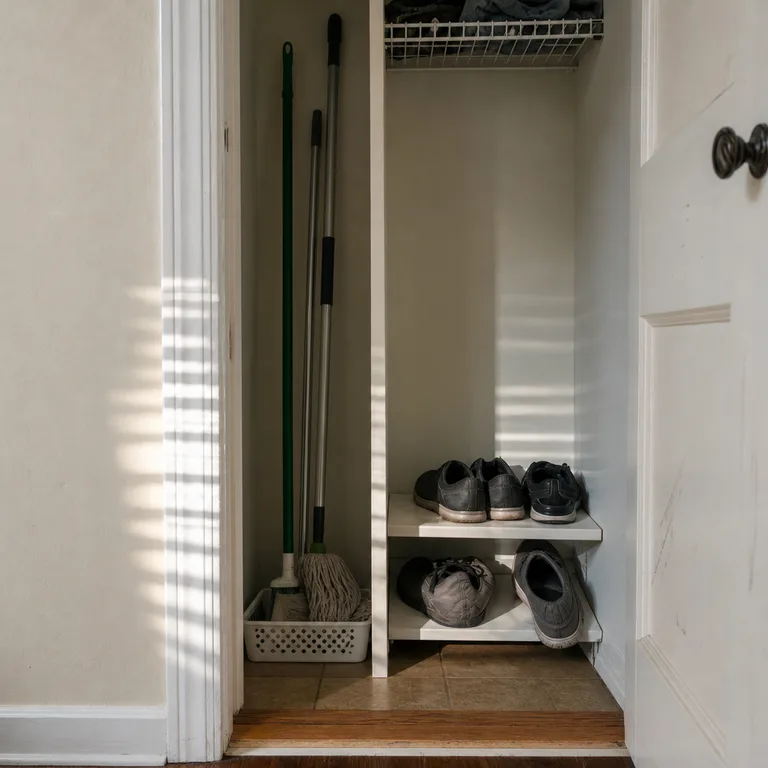
4.Divide one side of an existing hall cupboard for tool handles
A vertical divider can turn one side of a hall cupboard into a dedicated zone for broom and mop handles. It prevents long tools from falling over shoes, coats, or stored household items whenever the door opens.
Use an adjustable shelf divider where the cupboard layout allows, or fit a simple melamine or plywood panel between existing shelves. Keep a perforated tray or other removable liner below the mop head so drips and grit do not sit directly on the cupboard floor.
Leave some ventilation around a recently used mop head rather than closing it into a packed cupboard immediately. This arrangement is most useful in a cupboard that is tall enough for the full tool length without forcing handles at an angle.
Worth knowing: A shallow cupboard may not have enough depth for mop heads, and damp items can cause stale odors if the space has poor ventilation.
5.Use a door-back rack on a cupboard that opens freely
An over-door rack puts lightweight tools on the back of a cupboard door, using space that is otherwise empty. It suits a dustpan, hand broom, slim mop handle, or other narrow cleaning pieces that tend to get buried behind larger items.
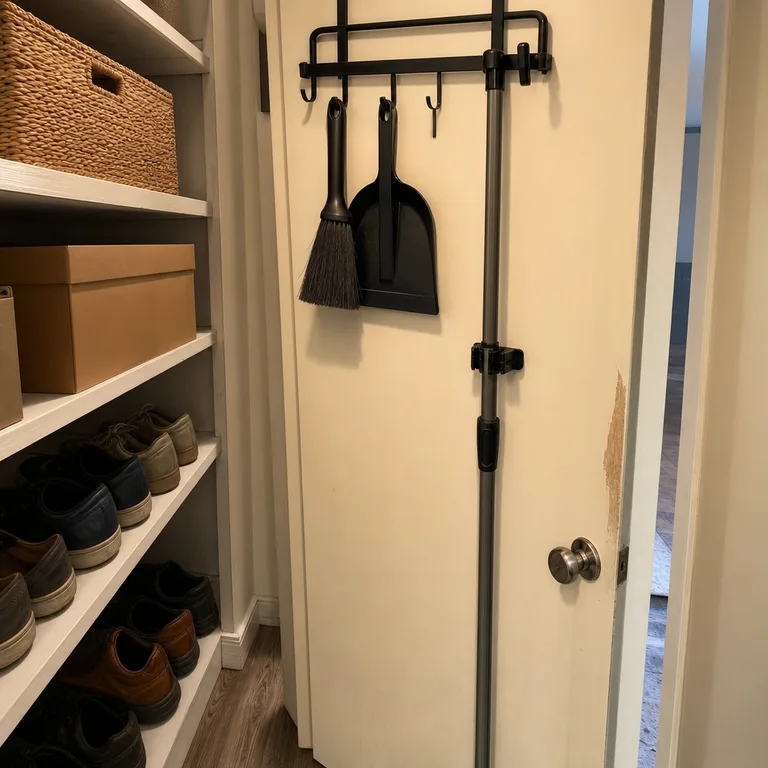
Choose a rack made for the door thickness and check its hooks will not scratch the door or prevent it from closing. Store the longest handle where it will clear the shelves inside, and keep the door load modest so it still opens smoothly.
This is a useful no-drill option for a suitable cupboard, especially where rental restrictions limit wall mounting. A small protective pad at contact points can reduce rattling and wear on painted doors.
Worth knowing: The rack will not work on a door with tight shelf clearance, and heavy tools can make a lightweight door awkward to use.
6.Park a damp mop over a removable drip tray
A recently used mop needs a place where its head can air out without leaving moisture on hallway flooring. A freestanding cradle or supported hanging position over a removable tray keeps drips contained and holds the mop away from the wall.
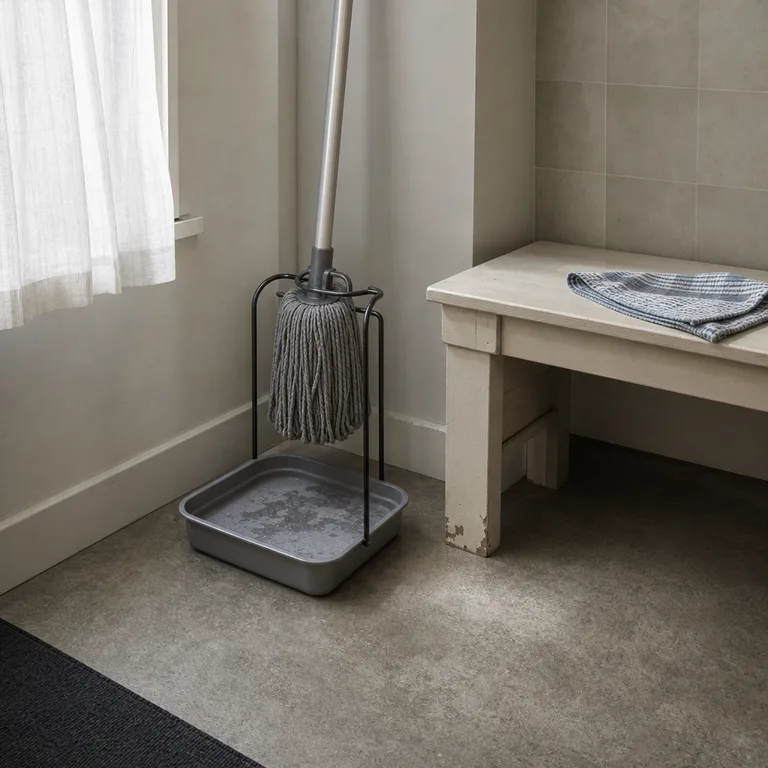
Use a shallow washable tray that can be lifted out and cleaned, positioned on a stable level surface. The mop head should hang or rest with room around it, rather than being folded tightly into the tray where moisture lingers.
Place this setup in an entry alcove, laundry-adjacent area, or other spot outside the main path. It is especially helpful on laminate, wood, and other flooring that should not be left wet for long periods.
Worth knowing: A drip tray needs regular emptying and cleaning, and it does not replace proper drying after heavier cleaning jobs.
7.Choose a freestanding narrow tool stand for a rental hallway
A narrow freestanding tool stand gathers several long handles without holes in walls, cabinet panels, or doors. It can be moved when the hallway layout changes, making it a practical option for renters or anyone who does not want permanent fittings.
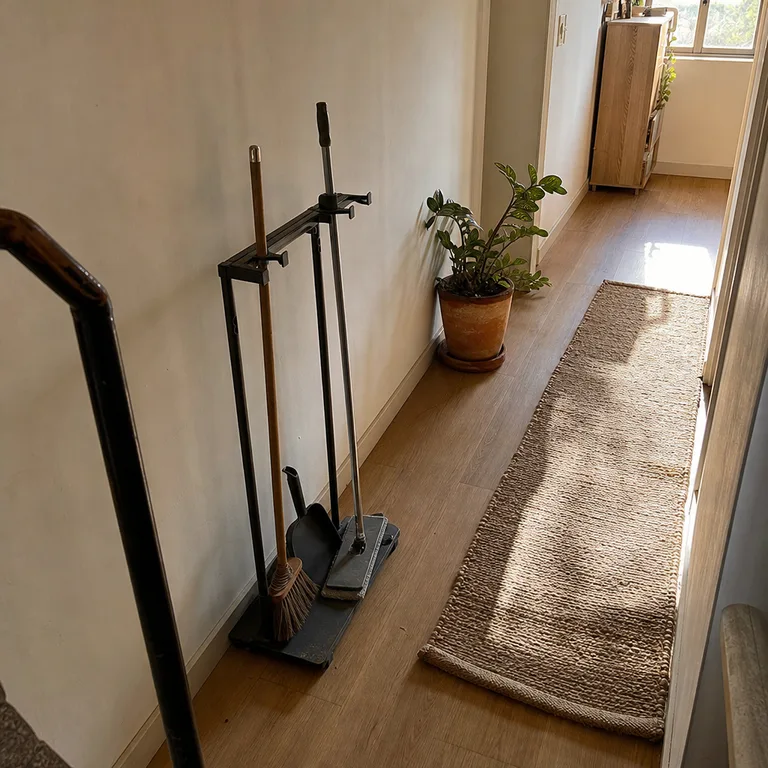
Look for a stand with a stable, weighted base and grips that suit the handles already in use. Put it against a wall or in a recessed corner, with enough space to pass without catching a shoulder, bag, or door on the tools.
Add a washable floor protector beneath damp tools if the stand does not include a tray. On smooth flooring, check that the base does not slide, and avoid placing it on a runner with curled edges.
Worth knowing: A freestanding stand still uses floor space and can become a trip hazard if placed in the main walking line.
About the author
Dana Ruiz, Senior editor
Dana writes about small-space living, storage and low-cost decorating.
Keep reading
8 Foil and Food Wrap Storage Ideas for Kitchens With Shallow Drawers
October 18, 2026
10 Small Appliance Storage Ideas for Kitchens Without an Appliance Garage
October 18, 2026
9 Water Bottle Storage Ideas That Keep Bottles and Lids Together
October 18, 2026
8 Hair Tool Storage Ideas for a Small Bathroom After Tools Cool
October 17, 2026