10 Small Appliance Storage Ideas for Kitchens Without an Appliance Garage
Small appliances earn their keep when they can be lifted out, plugged in, and returned without shifting a stack of other machines. These storage ideas use existing cabinets, pantry shelves, carts, and simple organizing pieces while keeping appliance weight, dimensions, cords, and safe operating clearance in view.
As an Amazon Associate I earn from qualifying purchases.
1.Measure One Base Cabinet Shelf for a Single Appliance Zone
Turn one lower cabinet shelf into a defined appliance zone instead of letting machines spread across several cupboards. A blender and food processor can sit side by side if the shelf is wide enough for both bases and there is room to grip them securely.
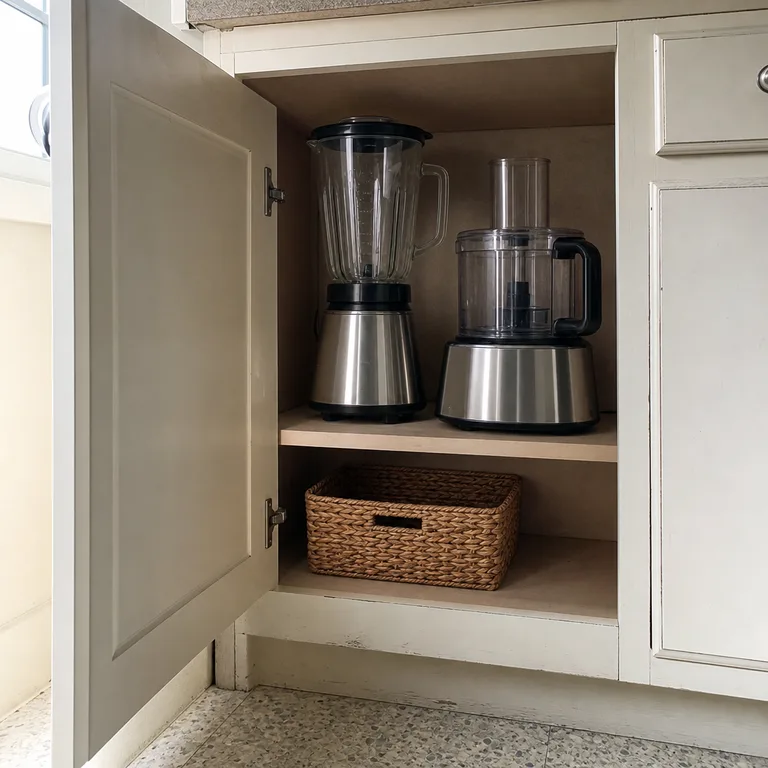
Measure the cabinet opening, interior depth, shelf height, and each appliance before committing the space. Check the shelf’s stated capacity as well, especially if it is adjustable; a thin nonslip liner can help keep lighter appliances from shifting as they are removed.
Keeping the full appliance body in one visible row makes it easier to see what is available and prevents a smaller machine from getting buried behind a larger one.
Worth knowing: This works only when the shelf can safely carry the combined weight and the appliances can be lifted out without catching on the cabinet frame.
2.Keep Heavy Appliances on the Lowest Stable Shelf
Store a stand mixer, multicooker, bread maker, or other heavy appliance on the lowest sturdy shelf available. A low position reduces overhead lifting and makes it easier to slide the appliance forward before lifting it with both hands.
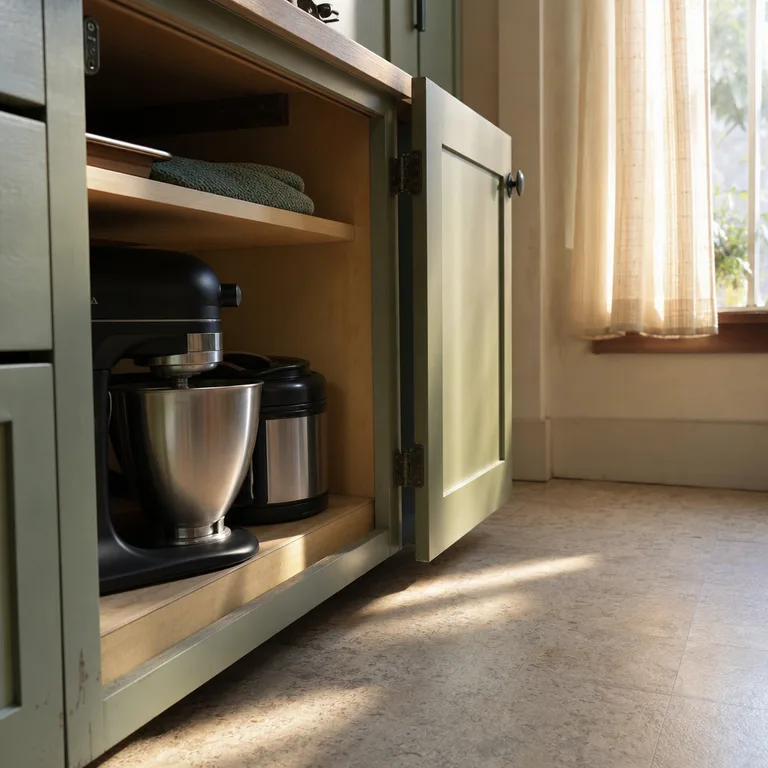
Use a smooth shelf liner or an appliance sliding mat only if it stays flat and does not make the machine unstable. Leave enough open space in front of the appliance for a secure grip, rather than wedging it tightly between other items.
This placement also keeps high cupboards free for lighter items that are safer to retrieve from a step stool.
Worth knowing: A low shelf is not automatically suitable; confirm that the cabinet floor or shelf and any pullout hardware are rated for the appliance’s weight.
3.Use a Rated Utility Cart for Appliances That Need Flexibility
An existing utility cart can create appliance storage when cabinets are already full. Park it at the end of a counter, in a pantry nook, or against a clear wall so a blender, toaster oven, or compact cooker is close to the work area without taking over the counter.
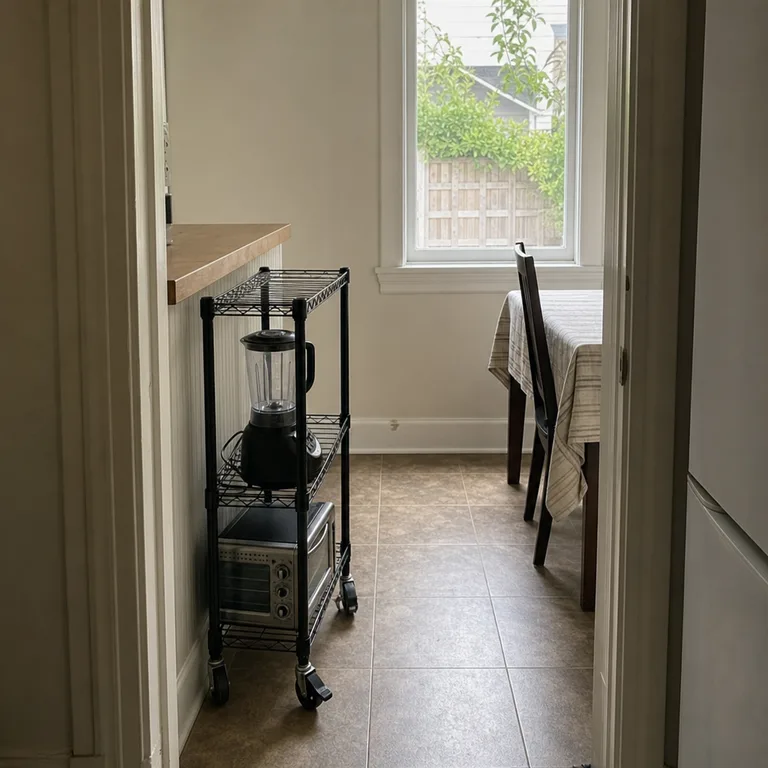
Put the heaviest appliance on the lowest shelf and check the cart’s total shelf rating, not just whether an appliance physically fits. Locking wheels are useful when the cart is moved often, and shelf liners can stop smaller parts from falling through wire shelves.
Keep the cart out of the main walking route. It should be easy to roll aside without blocking cabinet doors, a dishwasher, or an exit.
Worth knowing: A cart can make a narrow kitchen feel tighter if there is not a reliable parking spot with a clear walkway.
4.Give Rarely Used Appliances a High Cupboard
Use an upper cupboard for light, occasional appliances such as a waffle maker or small specialty machine. Assign each item a clear spot, ideally in a handled bin that keeps its cord and small pieces together.
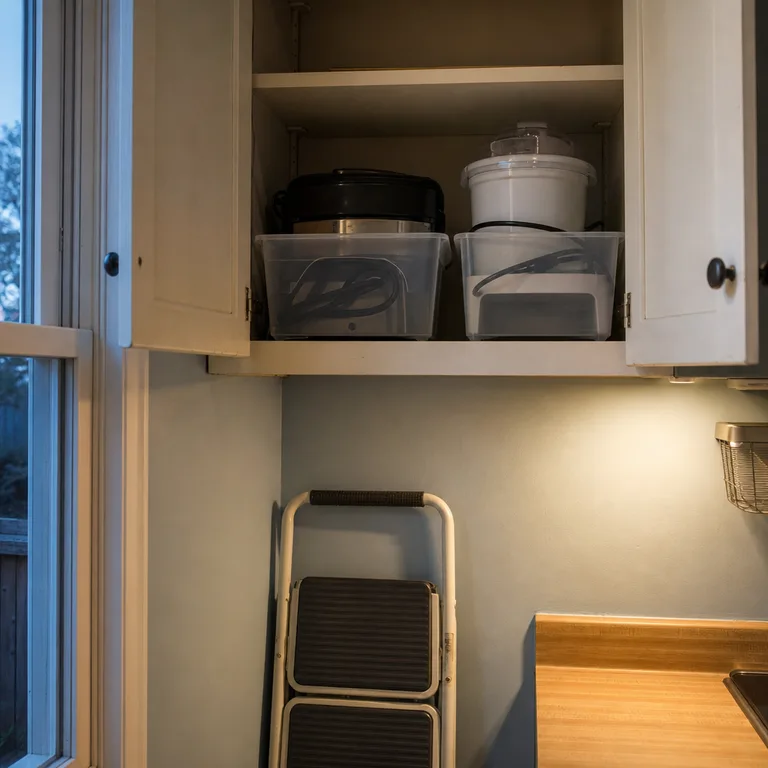
Only store items overhead when they can be lifted down safely with a stable step stool and a clear landing place on the counter. Keep the cupboard dry, since lingering moisture can affect appliance finishes and stored paper manuals.
This frees the most convenient lower shelves for appliances used every week while keeping seasonal machines contained in one predictable location.
Worth knowing: High storage is a poor fit for heavy, awkward, or frequently used appliances, even if there is room for them.
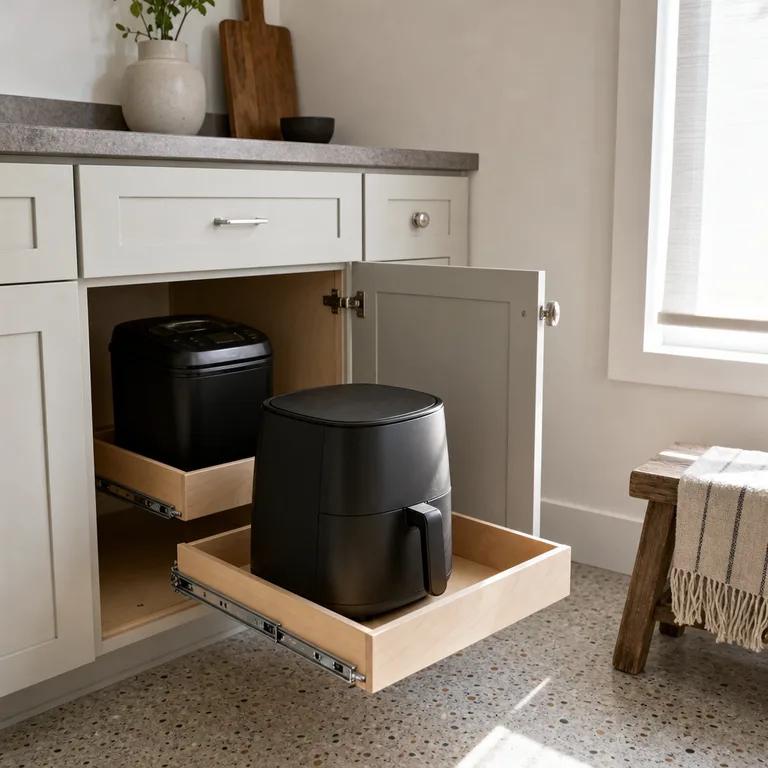
5.Put One Appliance on Each Pullout Tray
A pullout tray brings one appliance forward instead of requiring a reach into the back of a deep cabinet. Give each tray one main appliance so it can be removed without dismantling a row of machines.
Pullouts are especially useful for compact air fryers, bread makers, and other appliances that are hard to grasp from the sides in a dark cabinet. Full-extension hardware gives the clearest access, but the cabinet floor, tray, and slides all need to suit the load.
A simple tray can also be installed only in the cabinet that causes the most daily frustration, rather than refitting every lower cabinet.
Worth knowing: Installation can be a more involved project, and the appliance must still be removed and operated in manufacturer-approved open clearance.
6.Make an Open Pantry Shelf an Appliance Shelf
Reserve one open pantry shelf for appliance bodies rather than mixing them through food storage. A slow cooker, hand mixer case, and compact blender are easier to retrieve when they sit in a single row at a comfortable lifting height.
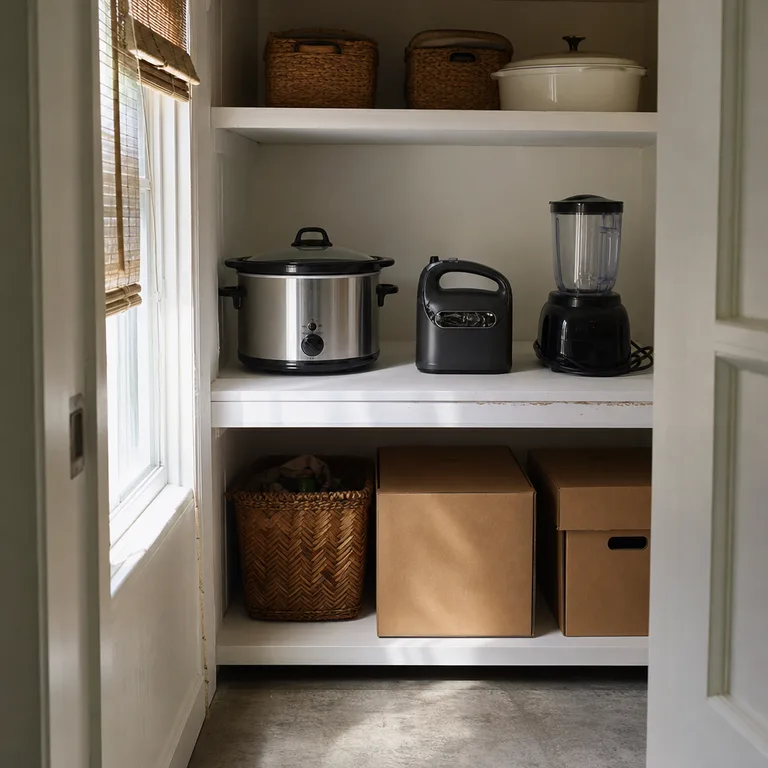
Keep the shelf away from food spills, damp areas, and anything that could leak onto electrical parts. Wipe the shelf periodically, and leave enough room around each appliance to see its cord and identify the correct machine quickly.
An open shelf works well for appliances that are used often enough to benefit from visibility but do not need to stay on the kitchen counter.
Worth knowing: This option depends on having a pantry shelf that stays dry and is not needed for everyday food storage.
7.Keep Attachments in a Box Beside the Appliance
Pair each appliance with its own lidded box or handled bin for beaters, blades, cups, discs, pushers, and manuals. The main unit can then come out with the parts required to use it, instead of sending someone searching through a mixed drawer.
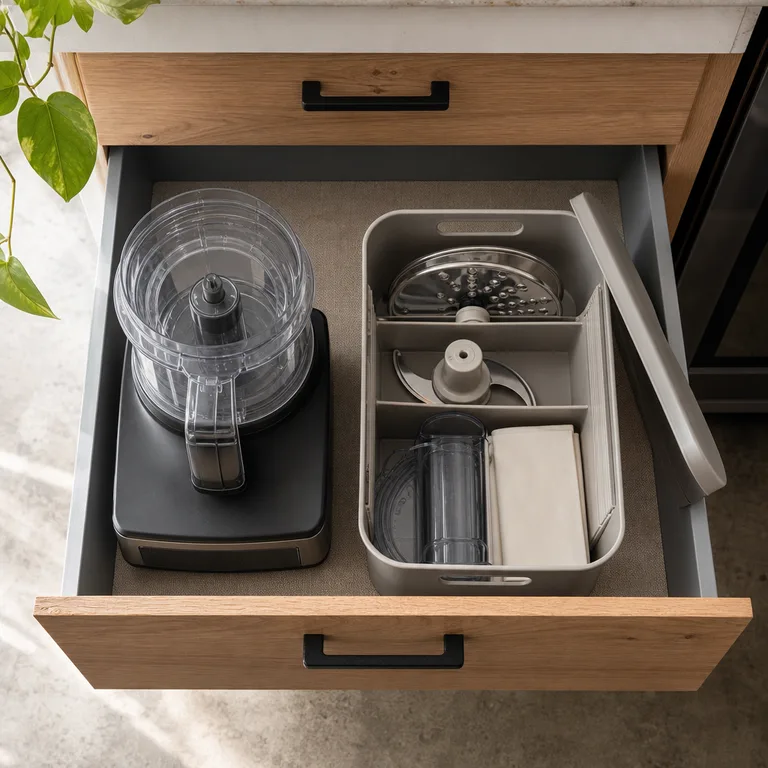
Choose a box that fits beside or directly beneath the appliance without forcing either item into a tight stack. Separate sharp blades from loose plastic parts, and use the original protective sleeves when they are available.
A labeled attachment bin is particularly helpful for food processors and mixers with several pieces that look similar but are not interchangeable.
Worth knowing: A bin adds storage volume, so this approach needs a shelf or drawer large enough to hold both the appliance and its parts.
8.Secure Each Cord in Its Own Reusable Loop
Give every stored appliance its own reusable fabric loop or cord tie. This keeps plugs from tangling together and makes it easier to pull out one machine without dragging a neighboring cord along with it.
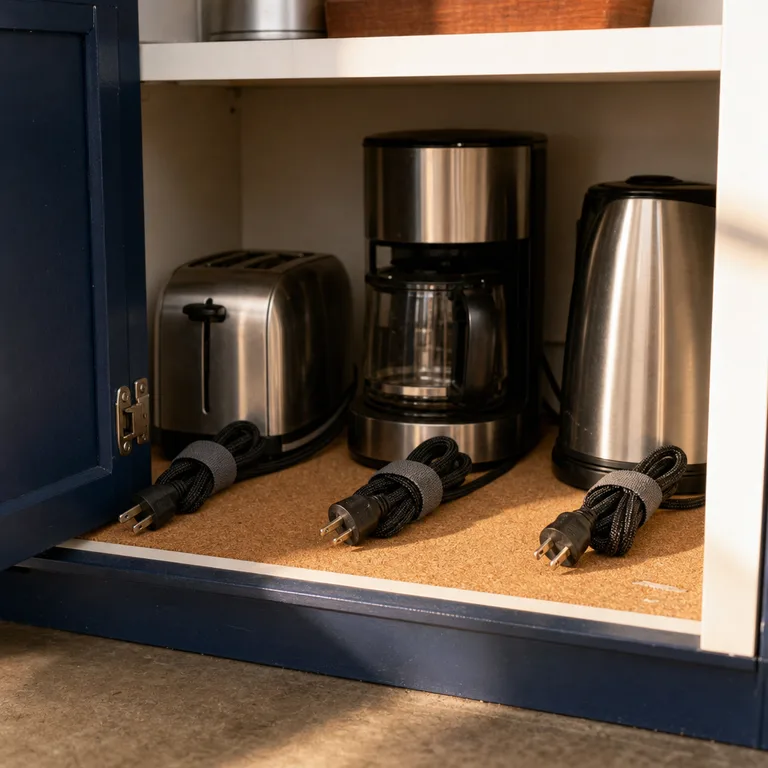
Wrap the cord loosely, avoiding sharp bends near the appliance body or strain-relief point. Keep the plug visible when possible, and do not modify or tightly tape a damaged cord; damaged cords need manufacturer guidance or appropriate repair.
Separate loops are a small change, but they make a crowded shelf feel more deliberate and reduce the time spent untwisting cables.
Worth knowing: Cord ties organize intact cords only; they do not make a frayed, pinched, or damaged cord safe to use.
9.Separate Daily-Use Appliances From Occasional Ones
Put the appliance used most often in the easiest location: a front cabinet shelf, accessible pantry shelf, or cart beside the counter. Move occasional machines to a secondary zone so a waffle maker or specialty cooker does not block the blender used several times a week.
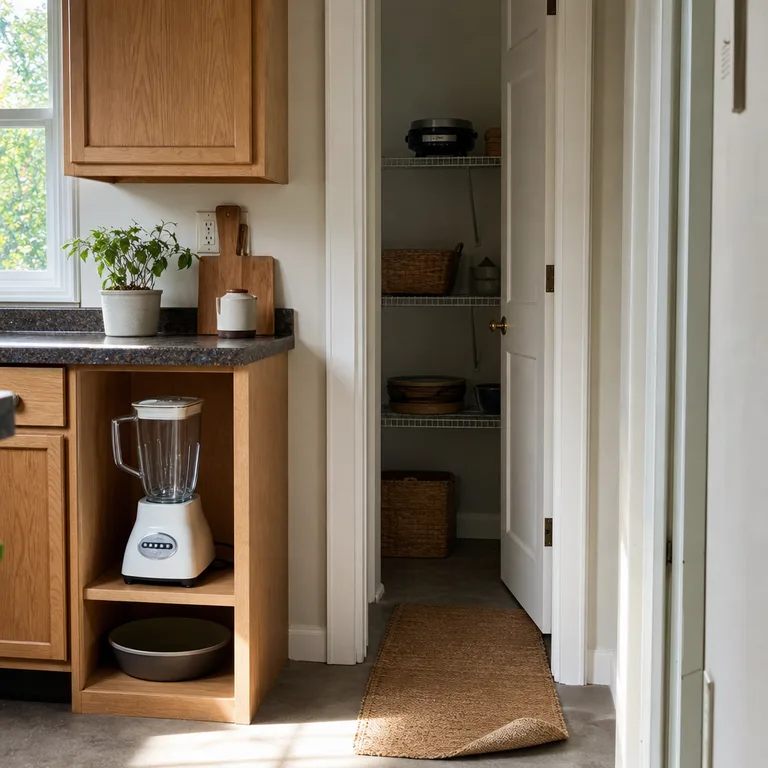
Review the arrangement when routines change. A slow cooker may deserve front access during one season, while a different appliance can move forward when it becomes part of regular meal prep.
This simple zoning approach makes small kitchens work better without adding more storage furniture or crowding the counter.
Worth knowing: The system needs occasional resetting, especially when household routines or frequently used appliances change.
10.Cover Cooled Appliances Before Long-Term Storage
After an appliance is fully cooled, unplugged, and clean, cover it with a clean reused fabric cover for storage on an open shelf or pantry shelf. A cover keeps dust off a machine that is not used often without requiring another bulky bin.
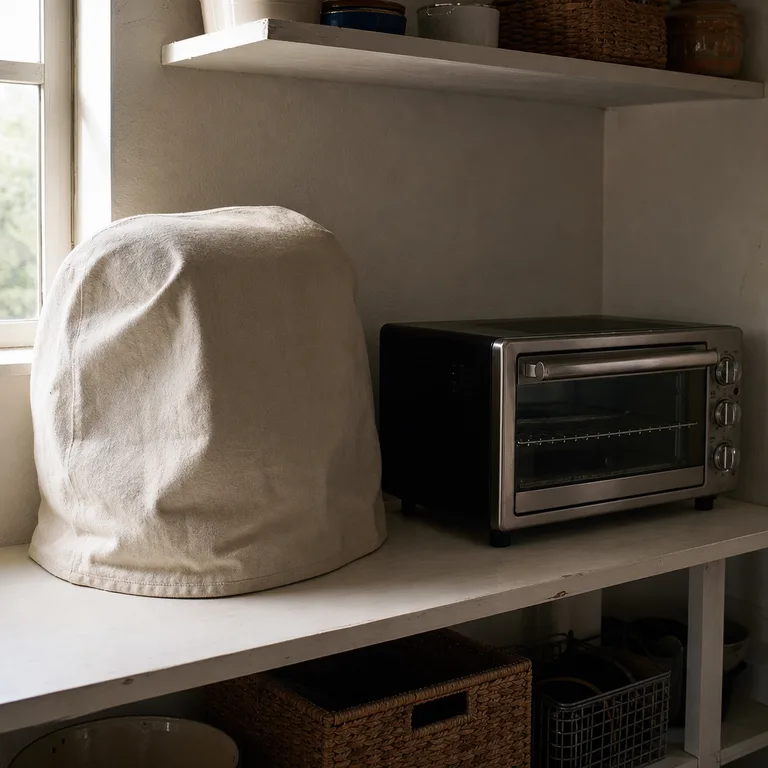
Use breathable fabric and make sure the appliance is dry before covering it. Store appliances separately rather than treating a cover as permission to stack items on top of them, and keep all appliances uncovered while operating.
A reused pillowcase, clean cloth bag, or washable fabric cover can be enough for an appliance with a simple shape, provided it does not trap moisture.
Worth knowing: Covers are for cooled, stored appliances only and do not replace the open clearance required when an appliance is in use.
About the author
Dana Ruiz, Senior editor
Dana writes about small-space living, storage and low-cost decorating.
Keep reading
8 Foil and Food Wrap Storage Ideas for Kitchens With Shallow Drawers
October 18, 2026
7 Broom and Mop Storage Ideas for Homes Without a Utility Closet
October 18, 2026
9 Water Bottle Storage Ideas That Keep Bottles and Lids Together
October 18, 2026
8 Hair Tool Storage Ideas for a Small Bathroom After Tools Cool
October 17, 2026