10 Budget Garden Plant Label Ideas Using Simple Reusable Materials
A small collection of pots or a compact planting bed is much easier to manage when each variety has a label that can be read from a normal standing position. These reusable approaches use simple materials, but a notebook or dry plant-name grid remains a useful backup when sun, rain, and handling fade a label.
As an Amazon Associate I earn from qualifying purchases.
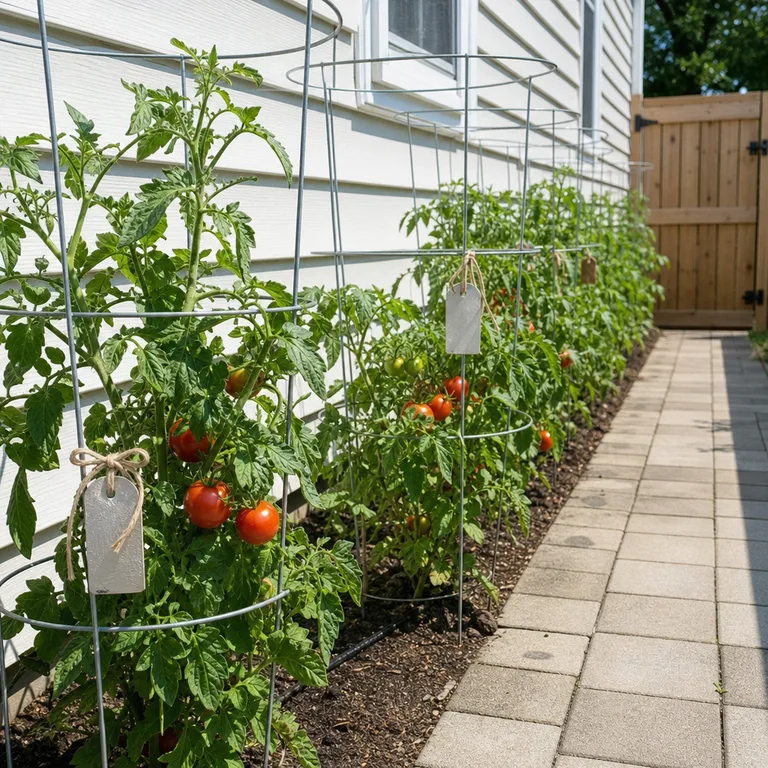
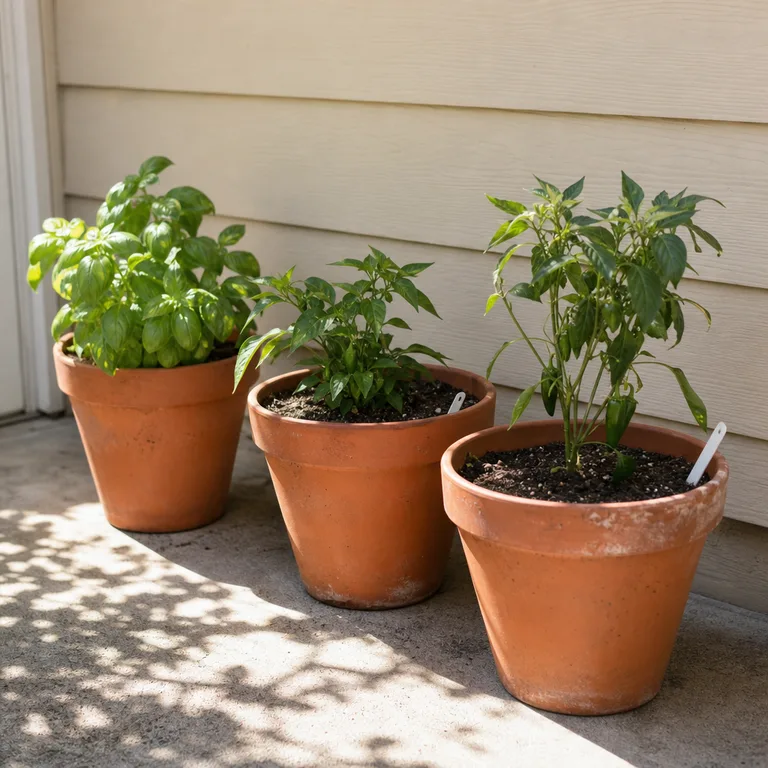
These tags suit herbs, annuals, and vegetable starts because they are already sized for potting mix. Use a garden marker intended for outdoor surfaces, write large letters, and keep variety details in a notebook in case the writing fades.
Worth knowing: Thin nursery tags can bend or disappear behind vigorous plants, so they are less useful for crowded beds or tall summer growth.
Related: 7 Portable Potting Setups for a Small Patio Without a Potting Bench
2.Use Weather-Rated Plastic Markers in a Small Bed
Set sturdy plastic markers at the front edge of each planting group rather than directly beside every seedling. This creates a clear row of names that remains easier to read after leaves fill in.
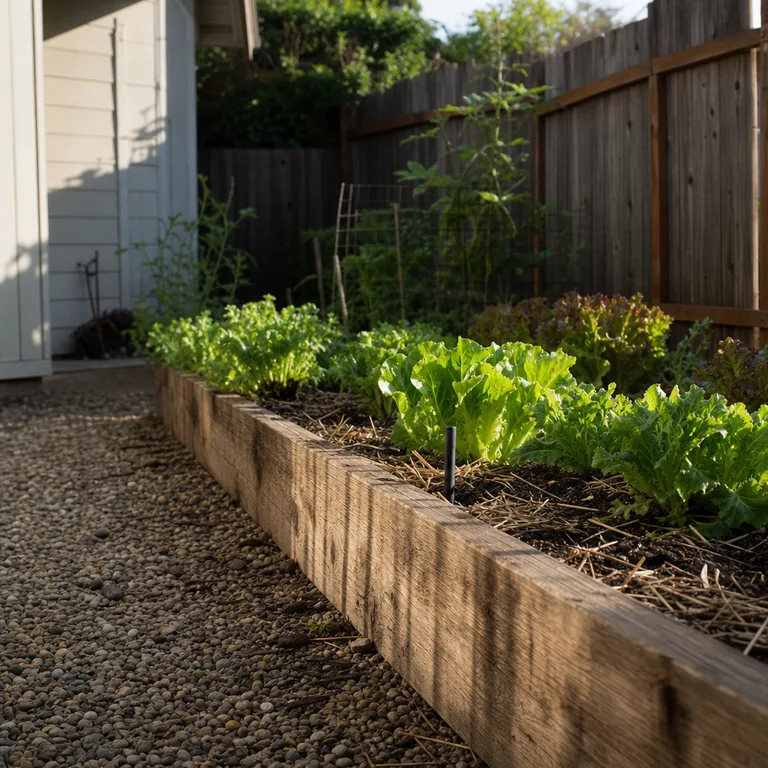
Purpose-made plastic markers are a practical reusable choice for exposed vegetable beds with regular watering. Choose a contrasting pen color, test one marker through a spell of local weather, and record the same names elsewhere for backup.
Worth knowing: Sun and irrigation can still fade marker ink over time, especially in very bright or hot gardens.
3.Write Plant Names in Pencil on Untreated Wood
Cut or buy plain untreated wood stakes and write the plant name in pencil on the smoothest face. A quick sanding pass can remove splinters and give the pencil a clearer surface to grip.
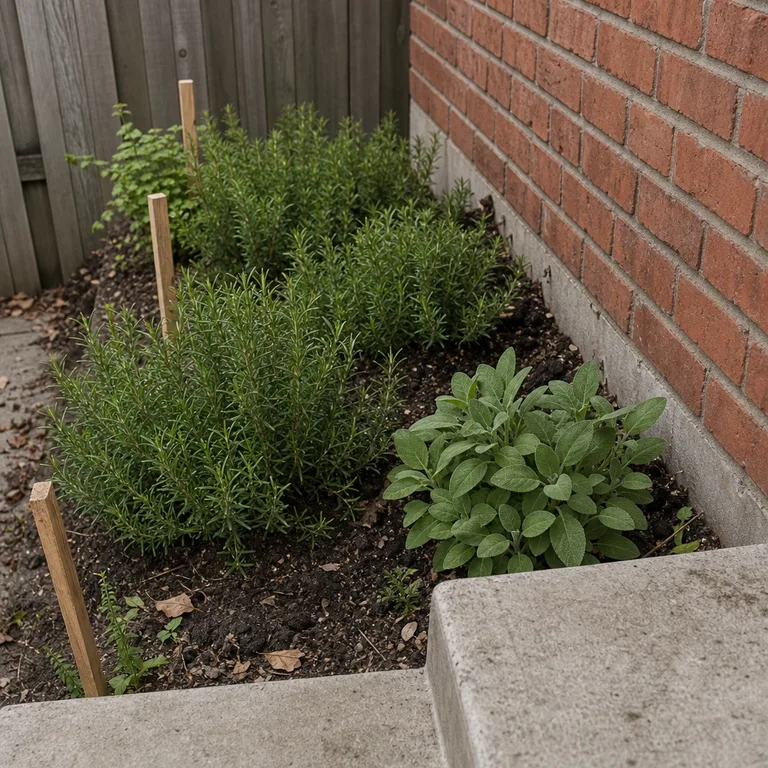
Wood has a quiet, natural look in herb beds and sheltered containers, and pencil makes relabeling simple when crops change. Use thicker stakes for larger lettering, and place them where sprinkler spray and standing water are limited.
Worth knowing: Untreated wood and pencil markings need regular checking in rainy, humid, or heavily irrigated locations.
4.Paint Smooth Stones for Perennial Clumps
Use a flat, smooth stone as a low marker beside a perennial clump, then add a plant name with exterior-suitable paint or a paint pen. Keep the lettering broad and simple so it can still be read after soil and mulch collect around it.
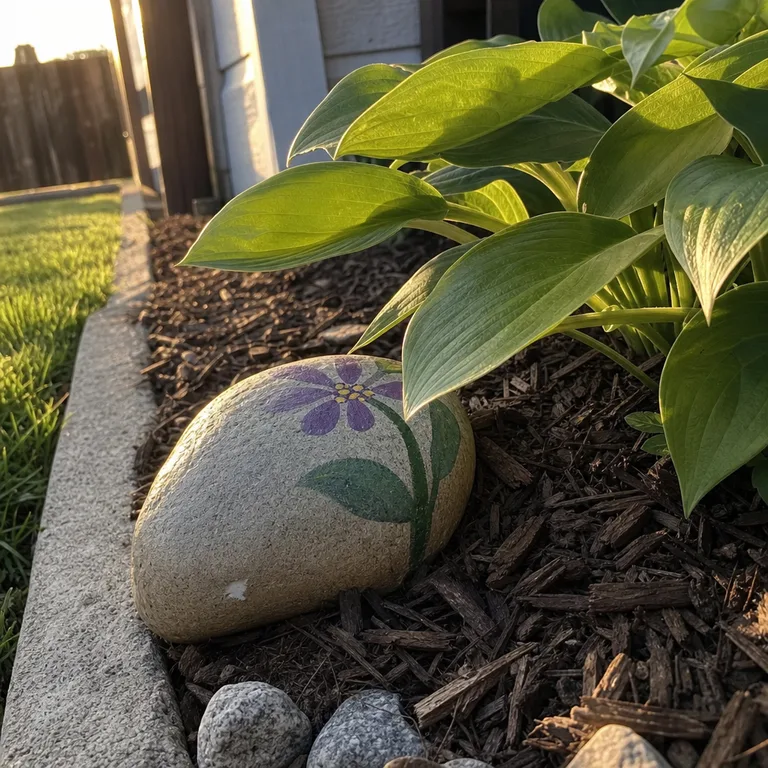
A stone will not blow over, and it blends into a border more softly than a tall stake. Gather stones only where permitted, or use plain purchased landscape stones, and set each one on top of mulch rather than burying it.
Worth knowing: Low markers can be hidden by dense foliage, so this approach works best where the label only needs to be read during maintenance.
Metal tags are useful when containers are moved or when climbing crops share a tight space. Mark them with a method suited to the tag material, and keep a written record of the variety rather than relying on any single finish to stay readable forever.
Worth knowing: A hanging tag can rattle in wind or get lost when a support is removed at the end of the season.
6.Protect a Laminated Card on a Tall Stake
Make a larger card for a container group or one special plant, then seal it in a laminating pouch and attach it to a stake. The extra space can hold the plant name plus notes such as sowing date, source, or a reminder about support needs.
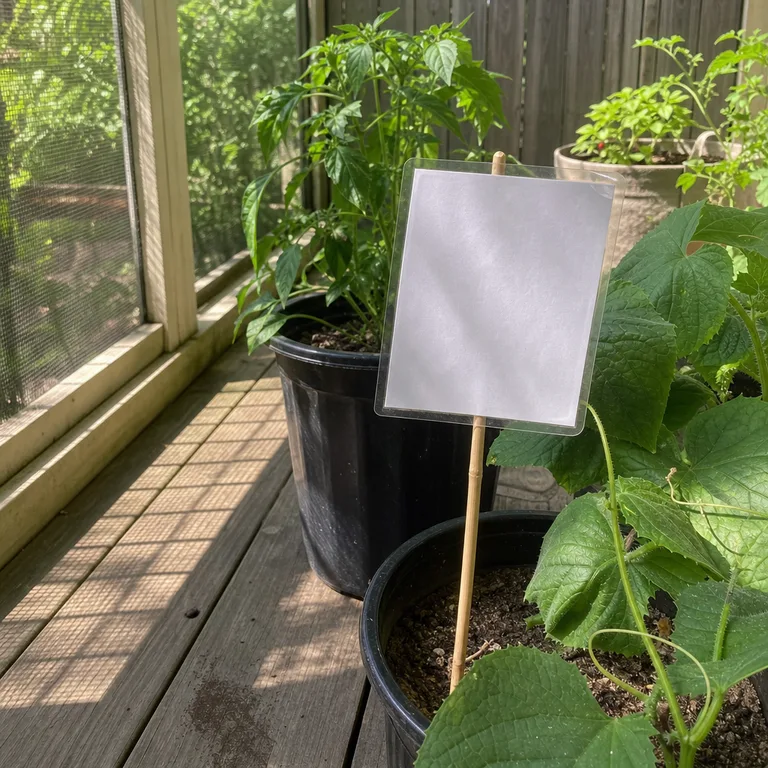
This works well in a protected porch corner or beside a small collection of containers where a full label is useful. Use clear ties or clips that can be replaced, and position the card so it does not shade young plants.
Worth knowing: Heat, moisture, and handling can eventually lift laminate edges, so the card should be checked after severe weather.
7.Clip Labels Directly to Individual Pots
Clip a label to the rim of each pot instead of taking up growing space in the soil. This is especially helpful on a crowded shelf of seedlings, small herbs, or cuttings where many pots look alike.
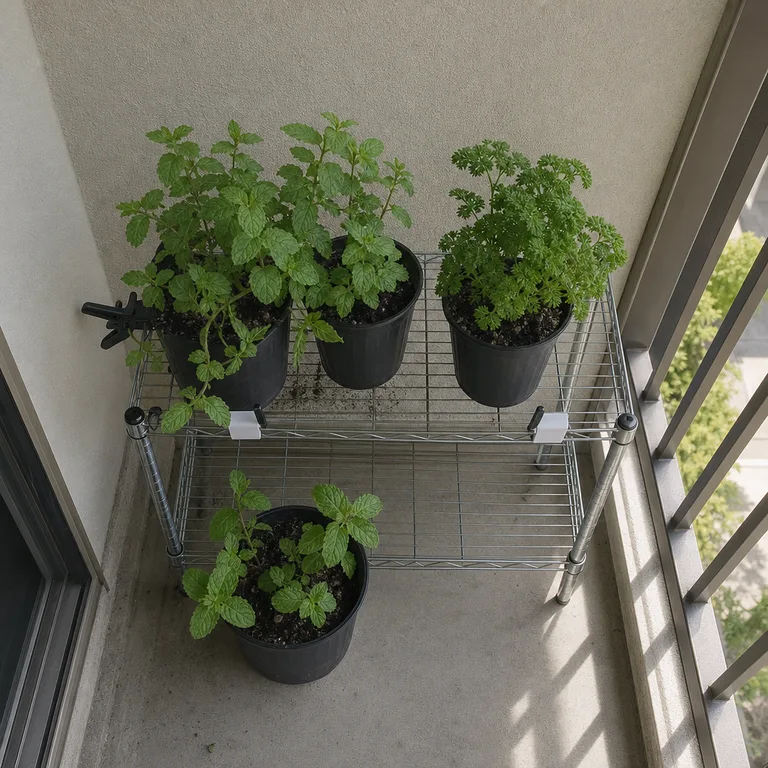
Rim-mounted labels remain visible when potting mix is watered or disturbed. Match each label to its pot immediately after transplanting, and move the clip with the pot whenever the arrangement changes.
Worth knowing: Clips can be knocked off or mixed up when pots are rearranged, carried indoors, or stacked for storage.
Related: 7 Steps to Start a Small Batch of Garden Cuttings Without a Greenhouse
8.Cut Smooth Labels From Food-Safe Plastic Containers
Clean an empty food-safe plastic container and cut it into broad strips for labels with large lettering. Round every corner and smooth rough edges so the strips are safer to handle around bare hands and tender stems.
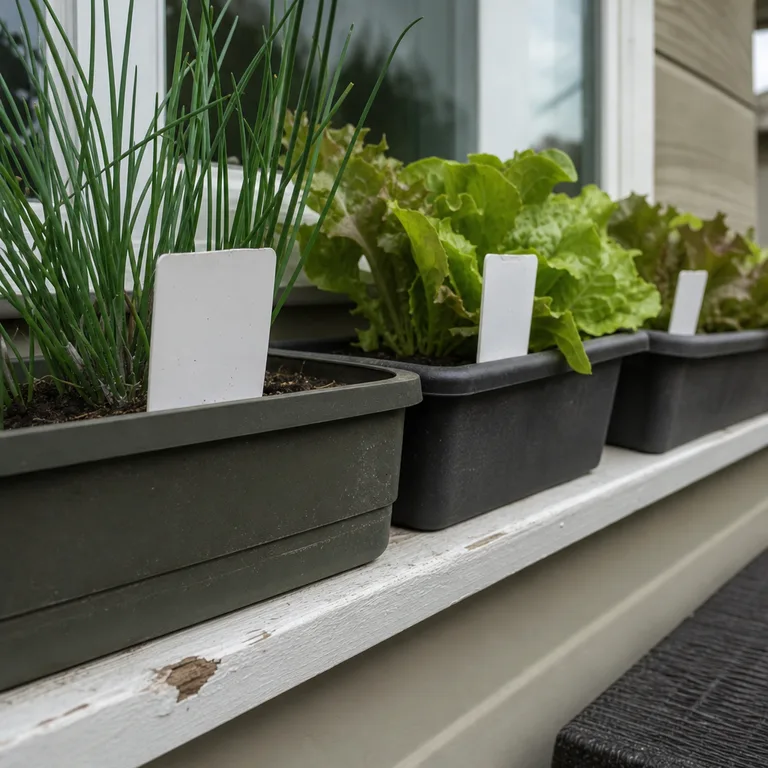
Wide homemade labels can be useful for windowsill planters and vegetable containers where names need to be read quickly. Avoid containers that previously held chemicals or unknown substances, and use a marker that can be refreshed when needed.
Worth knowing: Some plastics become brittle in strong sun, and uneven cuts can look rough unless the edges are carefully smoothed.
9.Keep a Plant-Name Grid Card Under Cover
Draw a simple grid that matches the arrangement of pots, rows, or sections of a small bed, then store it in a dry patio box, cabinet, or document pouch. Add plant names and varieties to the matching squares instead of trying to fit full details on every marker.
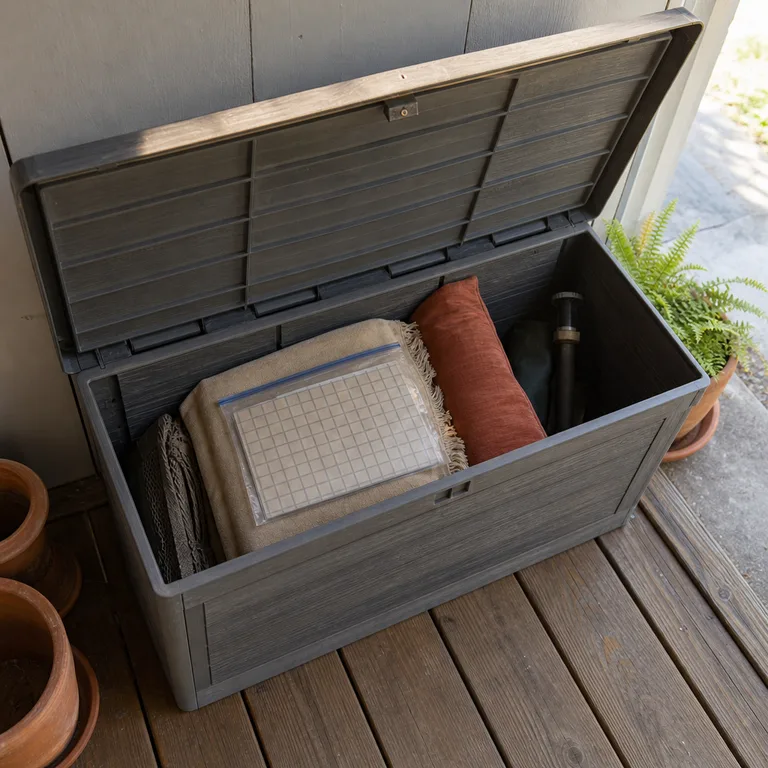
A grid card keeps the garden looking less cluttered while preserving a clear map of what is growing where. It is most helpful for grouped seedlings or seasonal containers that are kept in a stable arrangement.
Worth knowing: The system becomes confusing if pots are moved without updating the grid right away.
10.Match Numbered Markers to a Garden Notebook
Use short numbered stakes in the soil, then give each number a full entry in a garden notebook or digital note. The entry can hold the variety name, planting date, seed source, and observations without crowding the bed with long labels.
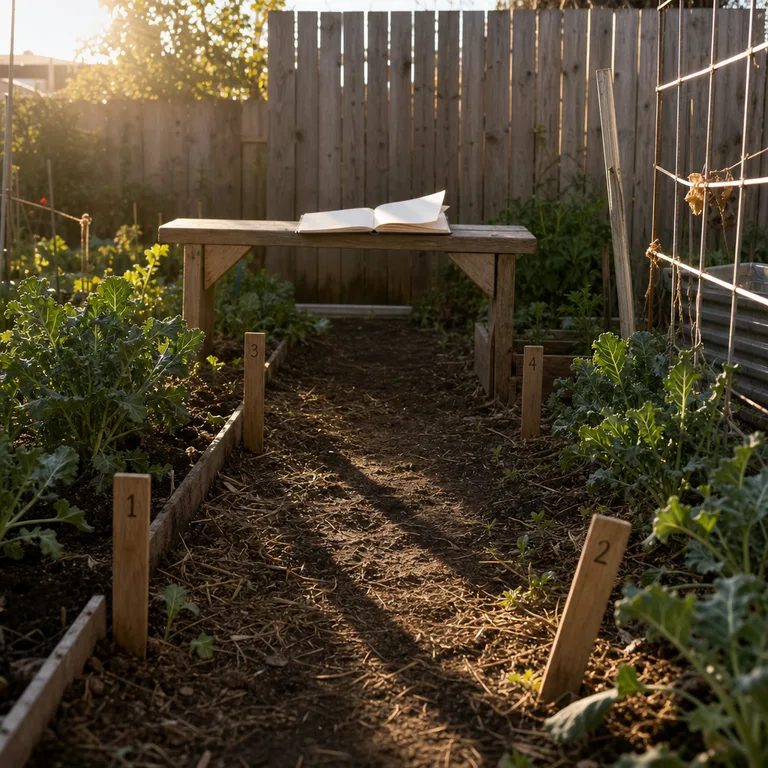
This approach keeps a compact plot readable when several similar seedlings are planted close together. Make numbers large and consistent, use one numbering sequence at a time, and keep the notebook somewhere dry and easy to reach.
Worth knowing: A numbered stake has little value on its own if the notebook is misplaced or the notes are not kept up to date.
About the author
Dana Ruiz, Senior editor
Dana writes about small-space living, storage and low-cost decorating.
Keep reading
7 Narrow Foundation Bed Layouts for the Front of a Small House
October 31, 2026
8 Christmas Porch Planters Using Empty Summer Pots
October 29, 2026

8 Small Front Yard Layouts for a Plain Rectangular Lawn
October 29, 2026
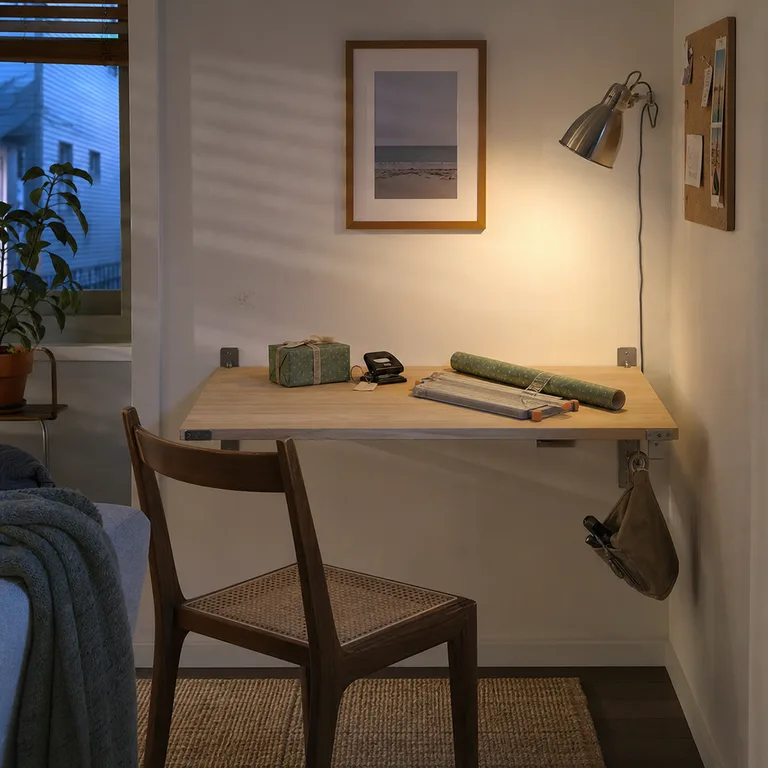
8 Christmas Gift-Wrapping Stations That Pack Away in a Small Home
October 31, 2026