7 Steps to Start a Small Batch of Garden Cuttings Without a Greenhouse
A small softwood-cutting trial lets gardeners try propagating a suitable existing plant from healthy stems instead of dividing the root ball. The exact method, timing and aftercare depend on the species and local season, so use the parent plant’s guidance and treat the first batch as a learning exercise rather than a guaranteed result.
As an Amazon Associate I earn from qualifying purchases.
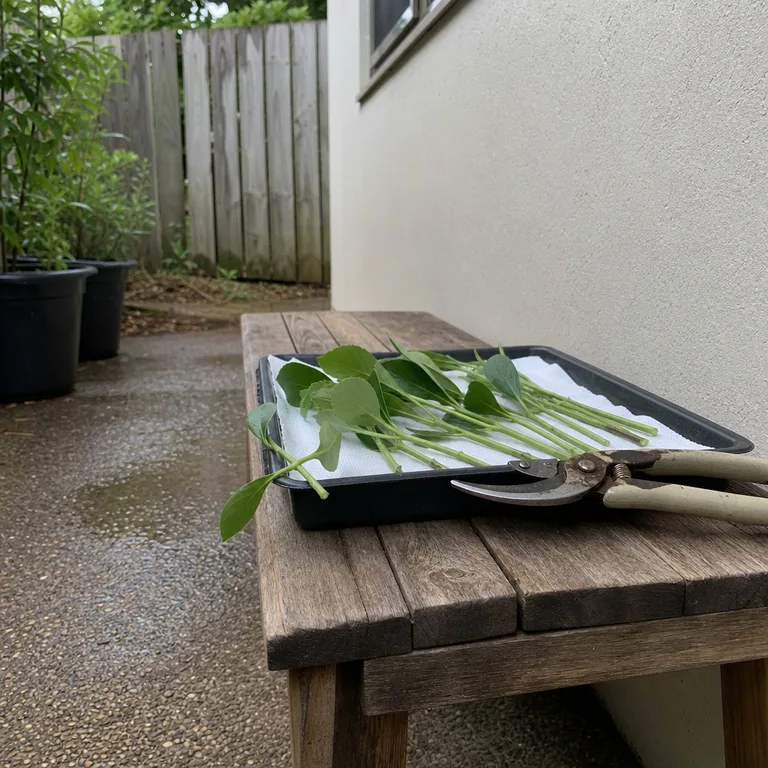
1.Confirm the plant can be propagated from softwood cuttings
Identify the parent plant as closely as possible, then check an RHS guide or a reliable specialist source for its recommended propagation method. Some plants root readily from softwood cuttings, while others need a different type of cutting, another season, or a different approach entirely.

Match the work to the plant’s local growth cycle rather than a fixed calendar date. Avoid taking material from a patented variety unless permission allows propagation, and label the trial with the plant name and date so its progress is useful information for the next attempt.
Worth knowing: A healthy-looking plant is not automatically suitable for softwood cuttings, and species-specific guidance may recommend another method.
2.Select healthy, nonflowering young shoots
Look for fresh current-season shoots that are vigorous, leafy and free from obvious pest damage, spotting or wilting. Nonflowering stems are generally the better choice because the plant is not directing energy into flowers or developing seed.
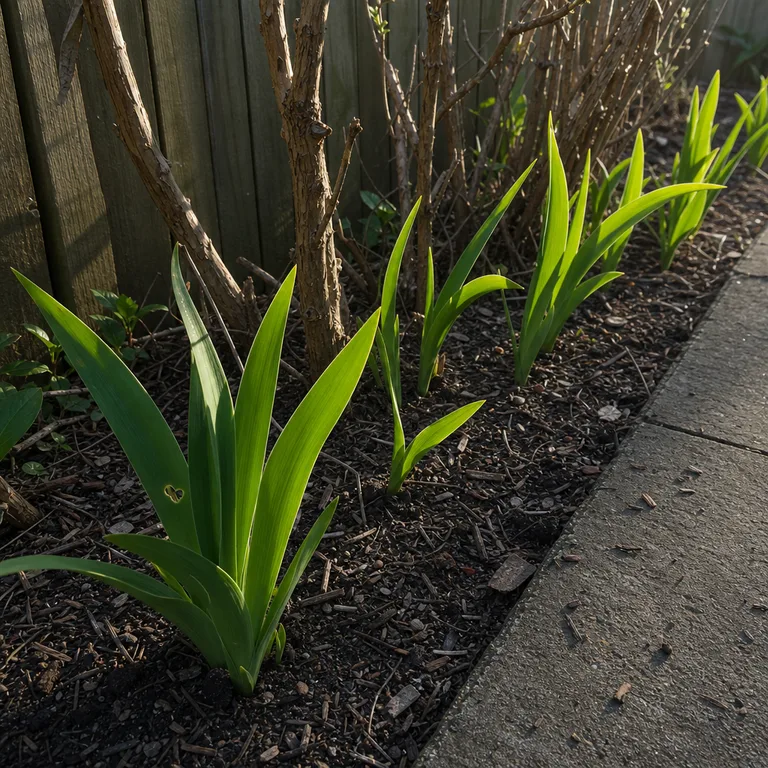
Take only a few shoots from an established parent plant so it remains tidy and able to recover. Choose growth that is neither very soft and floppy nor already hard and woody, following the guidance for the particular species where it differs.
Worth knowing: Even good shoots may fail to root if the parent plant is stressed by drought, disease, recent transplanting or unsuitable weather.
3.Wash pots and sanitise cutting tools
Use a few clean pots with drainage holes, a clean tray and sharp cutting tools. Wash reused pots thoroughly, remove old compost and debris, and clean the blades between plants to reduce the chance of carrying disease into the batch.
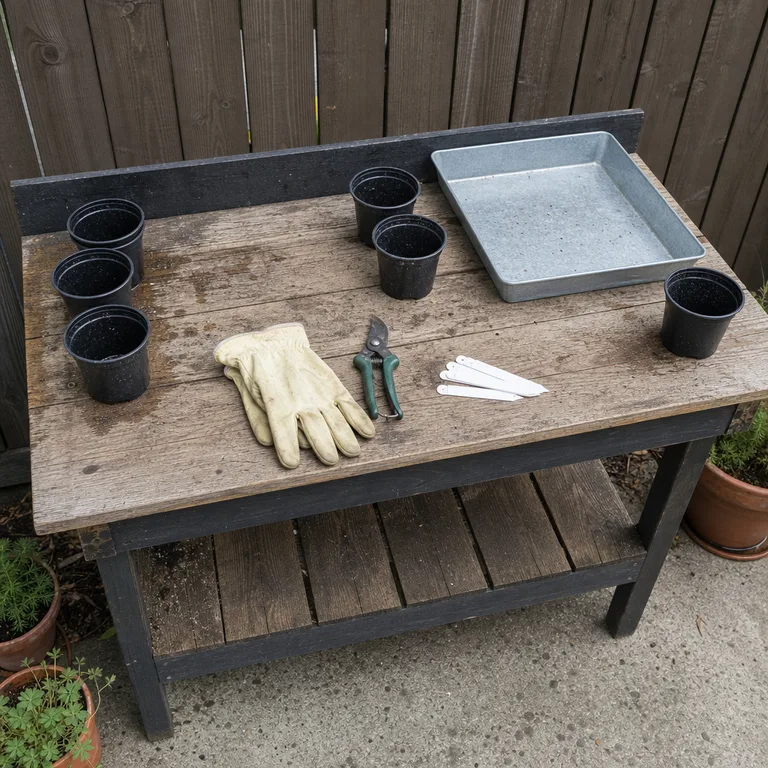
Set out labels before taking the cuttings, especially when more than one plant is involved. A modest trial is easier to manage when each pot is clearly marked and the work area has enough room to keep prepared cuttings shaded.
Worth knowing: Clean equipment lowers avoidable disease risk, but it cannot protect cuttings from infections already present in the parent plant.
4.Make clean cuttings to the plant’s recommended length
Take each cutting with a sharp tool and follow the species guidance on where to make the cut and how much stem to use. Remove the lower leaves carefully so no foliage sits below the surface of the propagation medium, while leaving enough upper leaf area for the cutting to function.
Keep finished cuttings out of direct sun and from drying wind while the rest are prepared. A shaded tray lined with a damp cloth or paper towel can hold them briefly, but they should be inserted into the growing medium without unnecessary delay.
Worth knowing: There is no one cutting length or leaf-removal pattern that suits every plant, so general instructions should not override plant-specific advice.
5.Fill pots with a free-draining propagation mix
Fill the clean pots with fresh propagation medium suited to the species, using a mix that holds some moisture but still allows air around the stem base. Firm it lightly rather than compressing it hard, then make planting holes before inserting the cuttings.
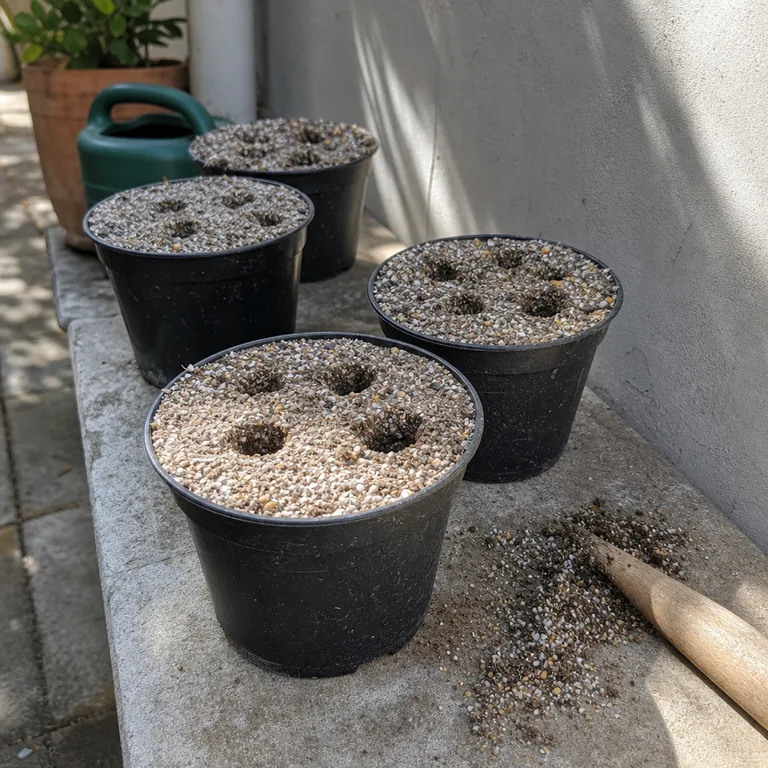
Pre-made holes prevent tender stem ends from being scraped or bent as they enter the mix. Use separate pots or clearly divided sections for different plants so a problem in one group is easier to spot and manage.
Worth knowing: A free-draining mix can dry quickly in warm or windy conditions, so it needs regular checking rather than being left unattended.
6.Keep the batch in bright, sheltered humidity
Place the pots in bright indirect light, protected from hot sun, strong wind and cold exposure. A clear cover or small propagator can help hold humidity around the leaves when appropriate for the plant, without requiring a greenhouse.
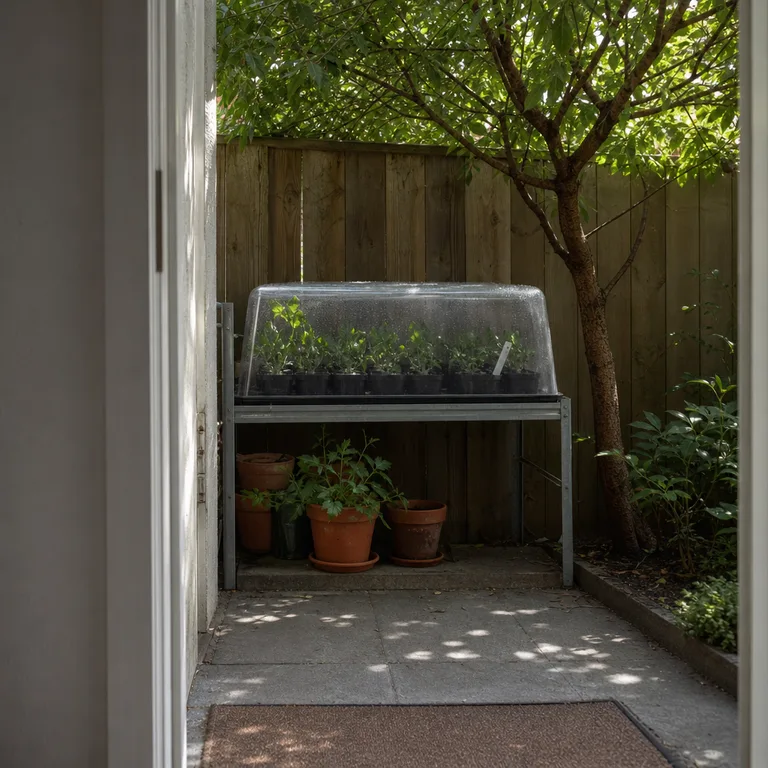
Check the medium often and water carefully enough to keep it moist rather than waterlogged. Ventilate a covered tray as needed, particularly if condensation is heavy or foliage stays wet, because stagnant conditions can encourage rot.
Worth knowing: A covered tray can overheat quickly in direct sun, and high humidity is not suitable for every species or every climate.
Related: 10 Outdoor Lighting Ideas for a Small Yard Without New Wiring
7.Check for rooting before moving cuttings on
Watch for firm leaves, healthy new growth and, where suitable, slight resistance to a very gentle tug. Do not disturb the stem base repeatedly; rooting can take time, and new top growth alone is not always proof that a cutting has formed a dependable root system.
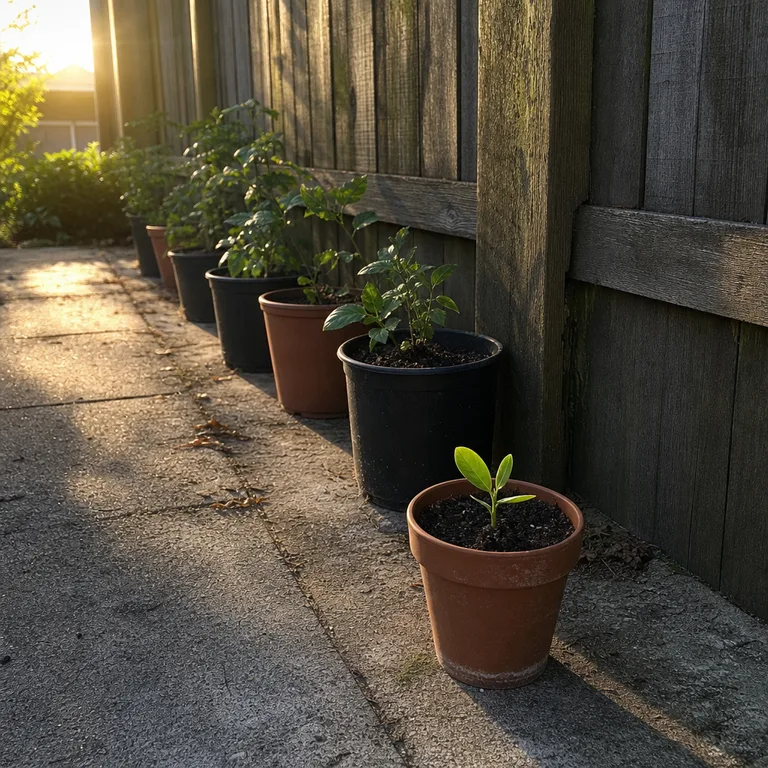
Once a cutting is rooted, move it into an individual pot with a suitable potting mix and ease it gradually into less protected conditions. Keep young plants sheltered at first, since newly rooted cuttings can dry out or scorch more easily than established garden plants.
Worth knowing: Some cuttings root slowly or unevenly, so not every pot will be ready to move on at the same time.
About the author
Dana Ruiz, Senior editor
Dana writes about small-space living, storage and low-cost decorating.
Keep reading

7 Narrow Foundation Bed Layouts for the Front of a Small House
October 31, 2026
8 Christmas Porch Planters Using Empty Summer Pots
October 29, 2026

8 Small Front Yard Layouts for a Plain Rectangular Lawn
October 29, 2026

8 Christmas Gift-Wrapping Stations That Pack Away in a Small Home
October 31, 2026