9 Water Bottle Storage Ideas That Keep Bottles and Lids Together
Reusable bottles and travel cups stay easier to use when their dry bodies, drinking lids, straws, and cleaning pieces have separate jobs instead of mixing with food-container storage. These nine setups fit ordinary kitchen cabinets, drawers, and pantries while keeping each bottle system easy to grab and put away.
As an Amazon Associate I earn from qualifying purchases.
1.Create Upright Cabinet Lanes for Bottle Bodies
Use shelf dividers to make narrow upright lanes for fully dry bottle bodies. The dividers stop tall bottles from falling into one another or taking over the shelf where food containers are stored.
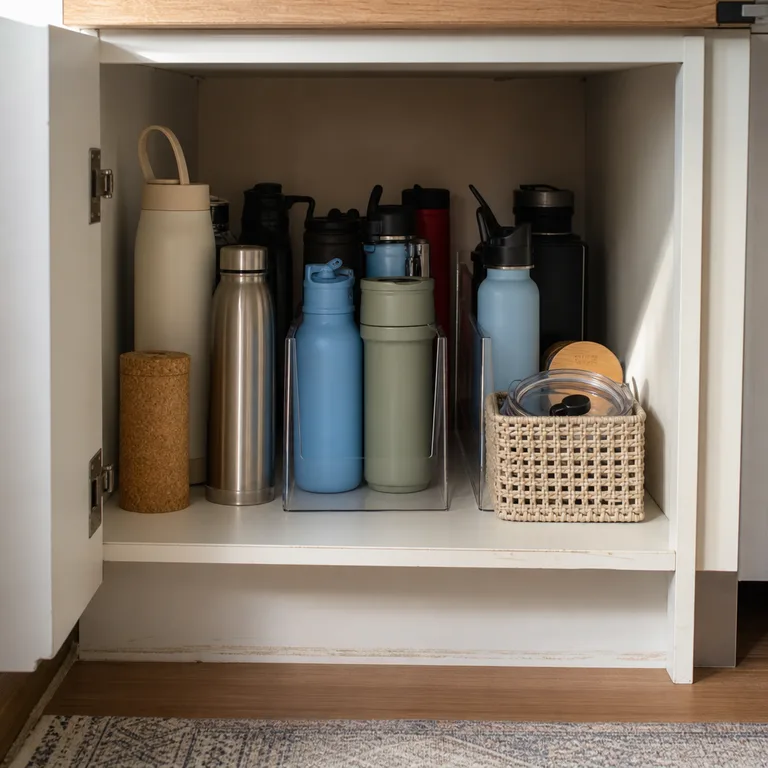
Keep matching lids in a small bin beside the lanes rather than balancing them on top of bottles. Reuse a bin already in the kitchen, and add a non-slip shelf liner if smooth bottles tend to slide when the cabinet door closes.
This arrangement works especially well in a cabinet with enough height for bottles to stand without hitting the shelf above.
Worth knowing: Tall insulated bottles may not fit upright in a standard upper cabinet.
2.Use a Horizontal Rack for Wide Travel Cups
Set wide travel cups on their sides in a horizontal rack with one cup per slot. This makes bulky shapes easier to see and prevents them from rolling into a loose pile on the pantry shelf.
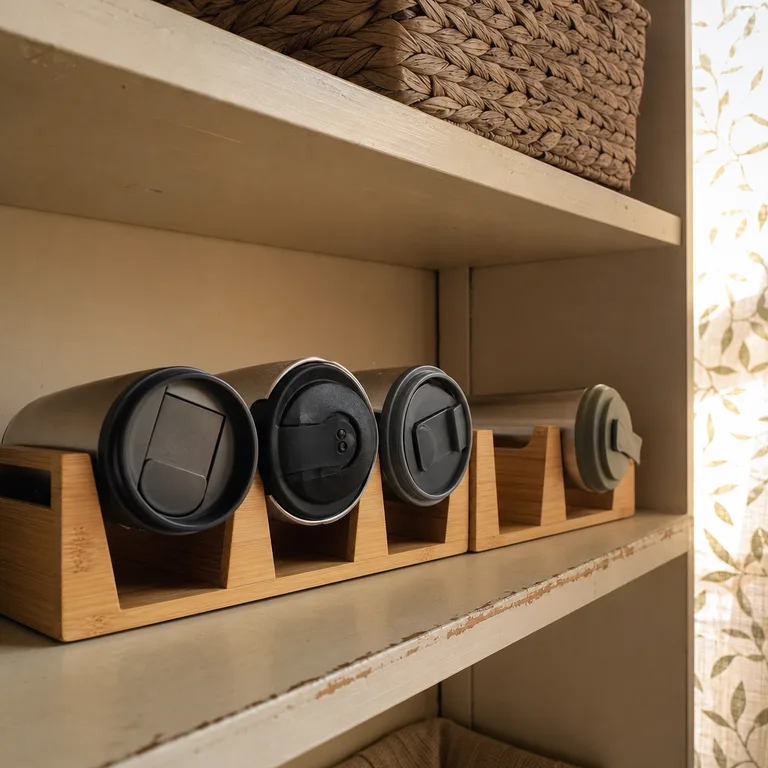
Place compatible lids in a shallow basket next to the rack, keeping drinking lids separate from food-container lids. A simple dish basket or low bin can work if it holds the lids without burying smaller parts underneath.
Check the rack opening and shelf depth against the widest cup in the group before committing to this setup.
Worth knowing: A horizontal rack can waste space if the household mostly uses narrow water bottles rather than wide cups.
3.Divide a Deep Drawer Into Bottle and Lid Zones
Use adjustable dividers to create a larger zone for bottle bodies and a narrow zone for lids, seals, and caps. The clear boundary keeps reusable drinkware from spreading through the drawer and mixing with food-storage pieces.
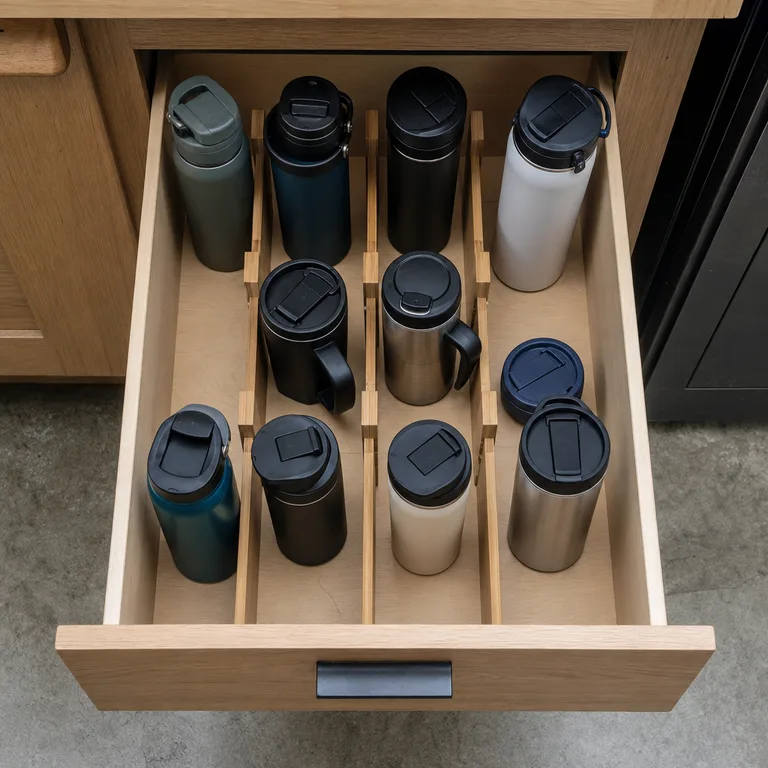
Lay shorter bottles on their sides if the drawer is deep enough, or store only lids and accessories in a shallow drawer. Line the base with a non-slip material so bottles do not shift every time the drawer opens.
Put lids back only after washing and complete drying, following the care instructions for the bottle and its parts.
Worth knowing: This setup needs a drawer deep enough to close over the tallest bottle or lid.
Related: 12 Kitchen Drawer Organization Ideas Using Simple Dividers
4.Assign One Open Cubby to Each Bottle Set
Give each frequently used bottle its own open cubby, with the matching lid placed behind it or beside it in the same compartment. This is useful when several bottles look alike but use different cap threads, straws, or flip tops.
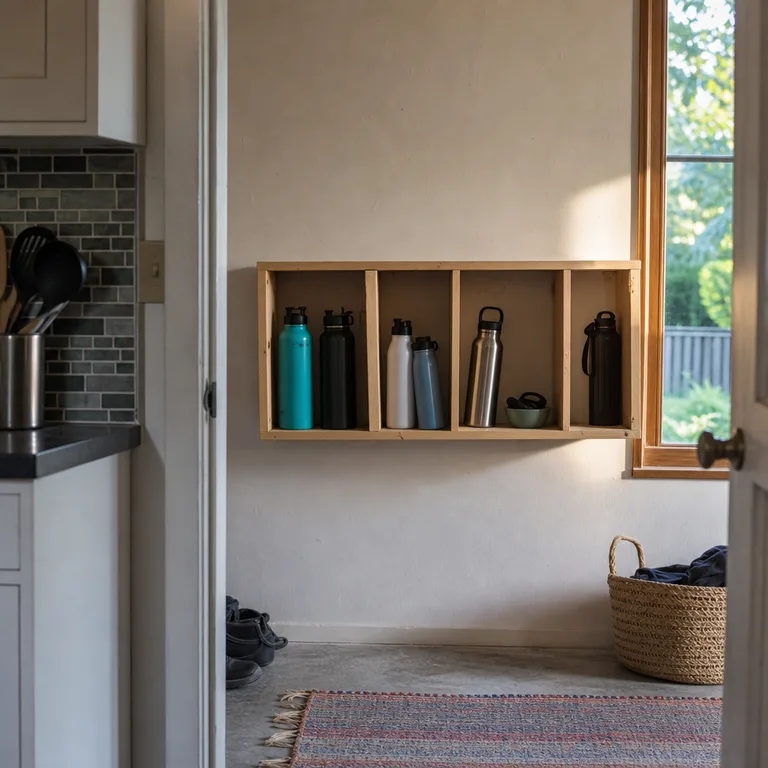
A small unfinished cubby shelf can be used as-is or placed inside a pantry or cabinet if the dimensions work. Keeping the compartments open makes missing parts easier to spot than storing every piece in a closed container.
Choose a secure location for a wall-mounted unit, especially in homes with children or in rentals where drilling may not be allowed.
Worth knowing: Individual cubbies take more wall or shelf space than a single shared bottle bin.
5.Keep Daily-Use Bottles on a Counter Tray
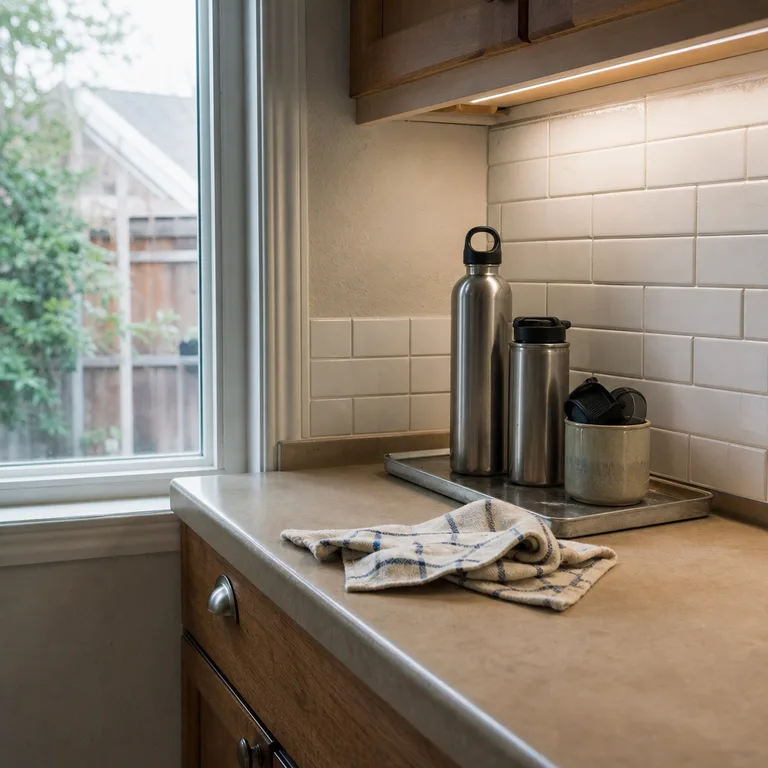
Place the bottles used every day on a tray near the sink or refrigerator, with a cup or small bin beside them for fully dry lids. The tray gives these items a defined landing place instead of letting them collect across the counter.
Use a washable tray with a rim to contain drips from a bottle that was not dried quite as thoroughly as expected. Keep the tray away from the main food-prep area so it does not turn useful counter space into permanent storage.
This option suits a small rotation of bottles rather than every cup and bottle in the household.
Worth knowing: Countertop storage can look cluttered and may not work in a kitchen with limited prep space.
6.Sort Extra Lids in a Dedicated Lidded Box
Gather spare caps, flip tops, handles, straw pieces, and gasket rings in a dedicated divided box. Sort them by bottle type so replacement parts remain separate from the lids currently used with everyday bottles.
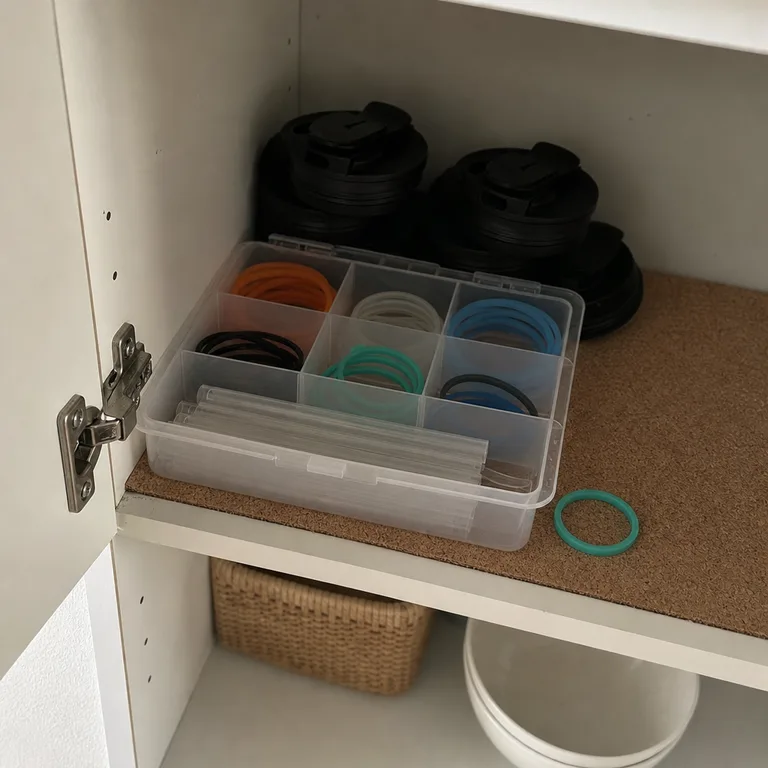
A box with compartments makes small pieces easier to retrieve without emptying the whole collection onto the counter. Leave the box open while parts finish air-drying, then store them only once they are completely dry rather than using the lid to trap moisture.
Keep it on a reachable shelf if spare parts are used often, or move it higher if it is only needed occasionally.
Worth knowing: Small gasket rings and valve pieces can still be difficult to identify unless similar bottle types are kept together.
7.Stand Sideways Bottles in a File-Style Organizer
Use a sturdy file-style organizer to hold shorter bottles, shaker cups, and compact travel mugs on their sides in separate rows. The slots keep each item visible and can make a deep pantry shelf easier to use from front to back.
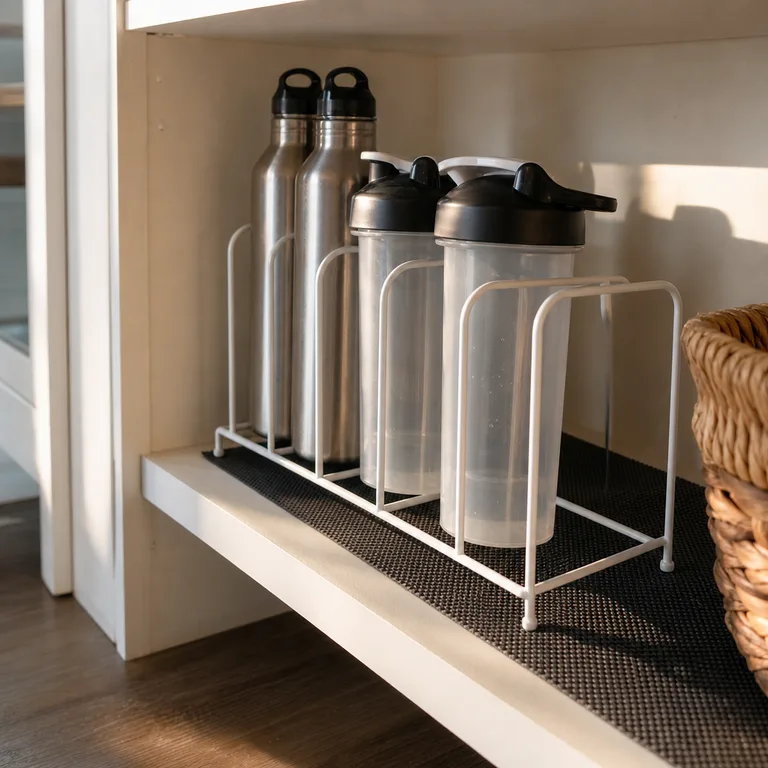
Add a rubber shelf mat underneath if the organizer shifts on a slick surface. Store the lids in a nearby shallow bin rather than trying to fit each lid into the same slot as its bottle.
Measure the bottle diameter and confirm the shelf is deep enough for sideways storage before choosing an organizer.
Worth knowing: Large insulated bottles may be too heavy or too wide for many file-style organizers.
8.Use a Handled Basket for Family Bottles
Collect each family member’s fully dry bottle in an open handled basket on a lower cabinet or pantry shelf. A portable basket makes it easier to pull out the group, find the right bottle, and return everything without rearranging a cabinet.
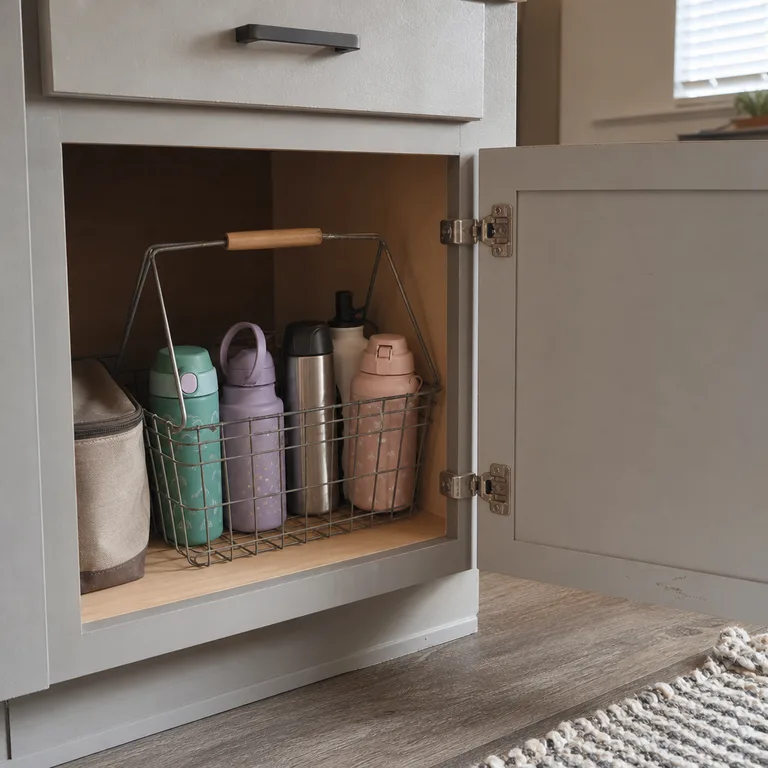
Keep lids in a pouch or small bin beside the basket, sorted by person or bottle type if the household uses interchangeable-looking pieces. An open basket also allows airflow around clean bottles instead of enclosing them while any moisture remains.
Choose a lower location carefully so children can reach their bottles safely without pulling down other kitchen items.
Worth knowing: A shared basket can become a jumble if too many bottles are added or lids are not returned to the nearby pouch.
9.Separate Straws and Cleaning Pieces in a Divided Bin
Keep dry reusable straws, straw brushes, valve pieces, and other small bottle accessories in a divided bin away from drinking lids. This prevents long brushes and loose straws from tangling with caps or disappearing into a general kitchen drawer.
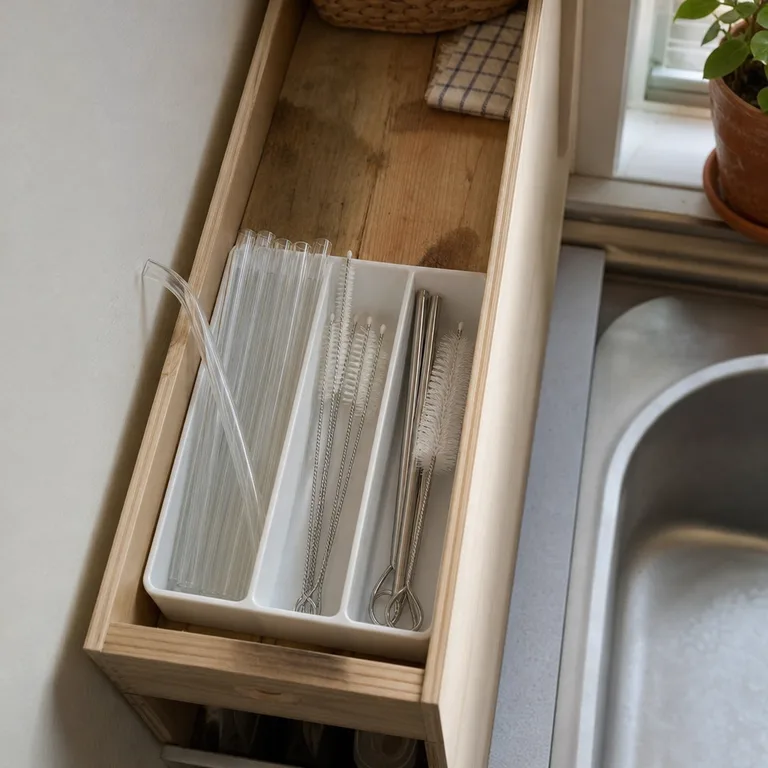
Use separate sections for clean drinking parts and cleaning tools, even when both belong to the same bottle system. Follow manufacturer care instructions for dishwasher-safe parts, hand-wash-only pieces, and any components that should be taken apart for cleaning.
A slim bin near the drying area works well, but move it away from regular splash zones once everything is dry.
Worth knowing: Cleaning brushes should be replaced when worn, and a storage bin does not remove the need to clean and dry them thoroughly.
About the author
Dana Ruiz, Senior editor
Dana writes about small-space living, storage and low-cost decorating.
Keep reading
8 Foil and Food Wrap Storage Ideas for Kitchens With Shallow Drawers
October 18, 2026
7 Broom and Mop Storage Ideas for Homes Without a Utility Closet
October 18, 2026
10 Small Appliance Storage Ideas for Kitchens Without an Appliance Garage
October 18, 2026
8 Hair Tool Storage Ideas for a Small Bathroom After Tools Cool
October 17, 2026