9 Temporary Holiday Baking Setups for a Small Kitchen
A temporary baking setup can separate mixing, cooling, washing, and packing without taking over the kitchen for the whole season. These nine arrangements use movable surfaces and contained supplies so the room can return to everyday meals between batches.
As an Amazon Associate I earn from qualifying purchases.
1.Clear One Main Counter for Mixing and Oven Loading
Reserve the clearest existing counter for the active part of one recipe: mixing, measuring, shaping pans, and loading the oven. Keep the mixer or bowl, the current ingredients, measuring tools, and sheet pans there, rather than spreading them between the sink and table.
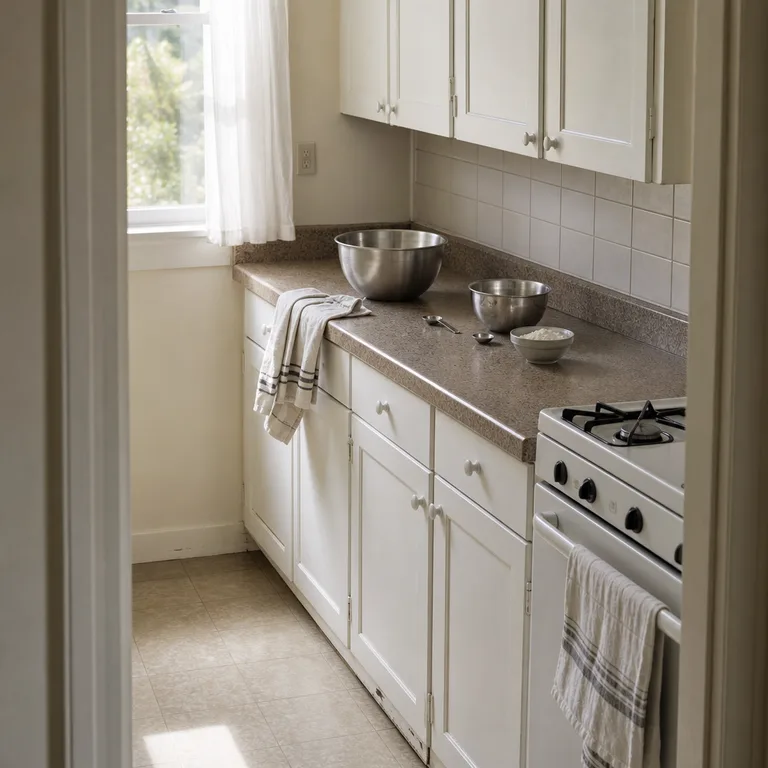
A single-purpose counter makes the baking sequence easier to follow and leaves other surfaces available for meals. Put away small appliances and everyday counter items temporarily, then return them after the batch is in the oven or cooling.
Use a tray or bin to hold ingredients that are waiting their turn, instead of lining everything up on the counter. Keep this station clear of the oven’s vents and door swing, and do not let cords cross a walkway.
Worth knowing: This arrangement works best when the household can limit meal prep to another surface while a batch is underway.
Related: 12 Small Kitchen Ideas That Free Up Prep Space Without Remodeling
2.Turn an Existing Table Into a Rolling and Portioning Zone
Cover a kitchen or dining table with a washable surface and use it for rolling dough, cutting shapes, or portioning cookie dough. Transfer shaped dough to prepared pans promptly so the table can be cleared between baking steps.
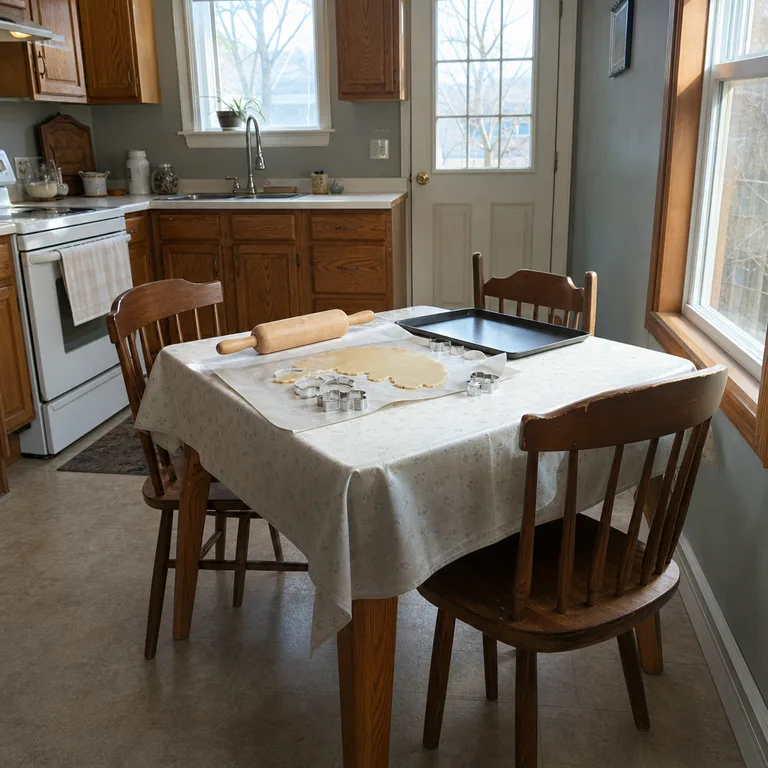
A table gives dough work more room than a narrow counter and separates floury tasks from the sink and oven area. It can also keep the main kitchen counter open for mixing or serving a simple meal.
A wipeable table cover, parchment, or a silicone mat can protect the surface without creating a permanent work area. Check that the table is steady and at a comfortable working height; very low, lightweight tables can make rolling tiring and unstable.
Worth knowing: The table still needs to be cleared for meals, so it is better for a defined dough step than for storing baking supplies all day.
Related: 10 Small Dining Area Ideas When You Don't Have a Dining Room
3.Carry Ingredients in One Recipe Tray
Gather the ingredients and small tools for one recipe in a sturdy handled tray: flour, sugar, spices, leavening, measuring cups, and a scraper if needed. Bring the tray to the active station, then return it to a cabinet or table once that batch is mixed.
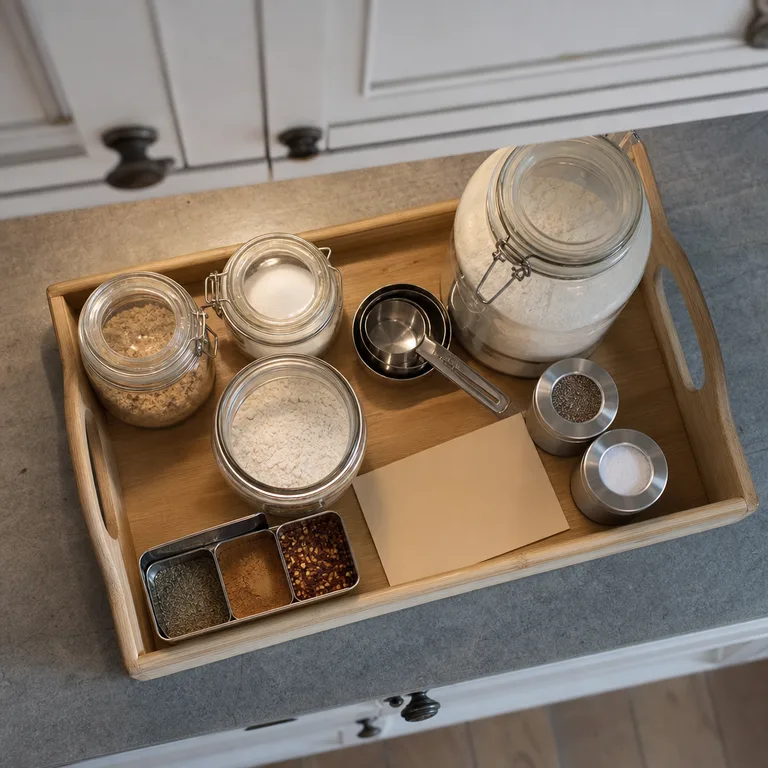
This keeps pantry items from occupying every available surface and reduces repeated trips between cabinets and the work area. It also makes it easier to see whether an ingredient has already been measured or is still needed.
Reuse a serving tray, shallow bin, or rimmed baking sheet that is easy to wipe clean. Keep heavier ingredients low and avoid overloading the tray, especially if it must travel through a narrow kitchen.
Worth knowing: A recipe tray helps with small ingredients but is not a safe way to carry a full mixing bowl, hot pan, or heavy appliance.
4.Set Stackable Racks Over a Protected Cooling Area
Choose one stable, heat-safe section of counter strictly for cooling, away from raw dough, active mixing, and the sink. Stackable cooling racks can hold several batches vertically while keeping air moving around the cookies.
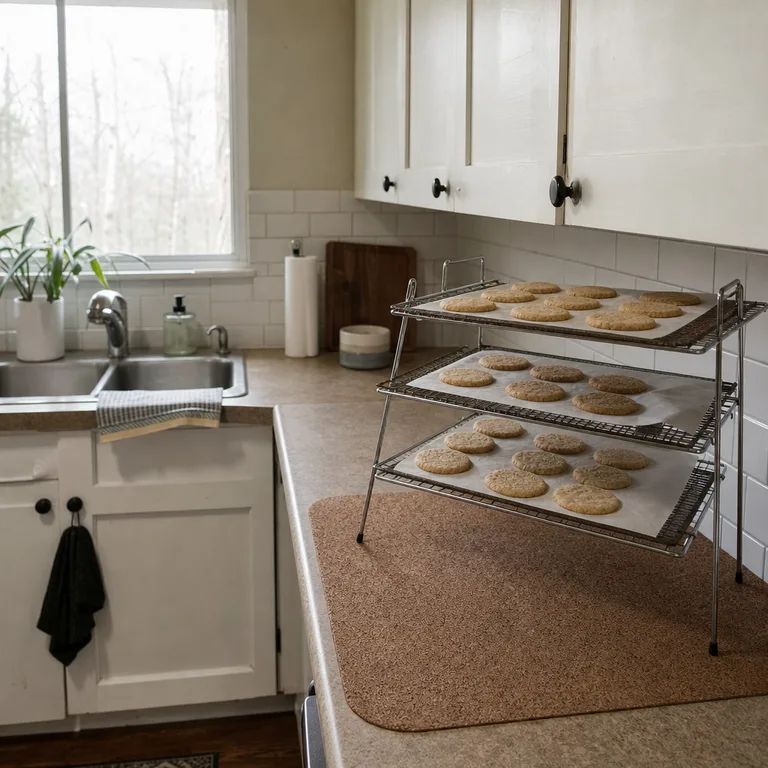
Separating cooling from preparation prevents warm trays from blocking the place where the next recipe is being assembled. It also protects finished baking from splashes, flour dust, and traffic around the sink.
Set racks on a trivet or other protective layer only if the counter needs protection, and make sure the entire setup sits flat. Never balance hot trays on chairs, boxes, folded towels, or other improvised supports, and keep cooling racks out of reach of young children and pets.
Worth knowing: A cooling zone still takes dedicated horizontal counter space while hot pans are coming out of the oven.
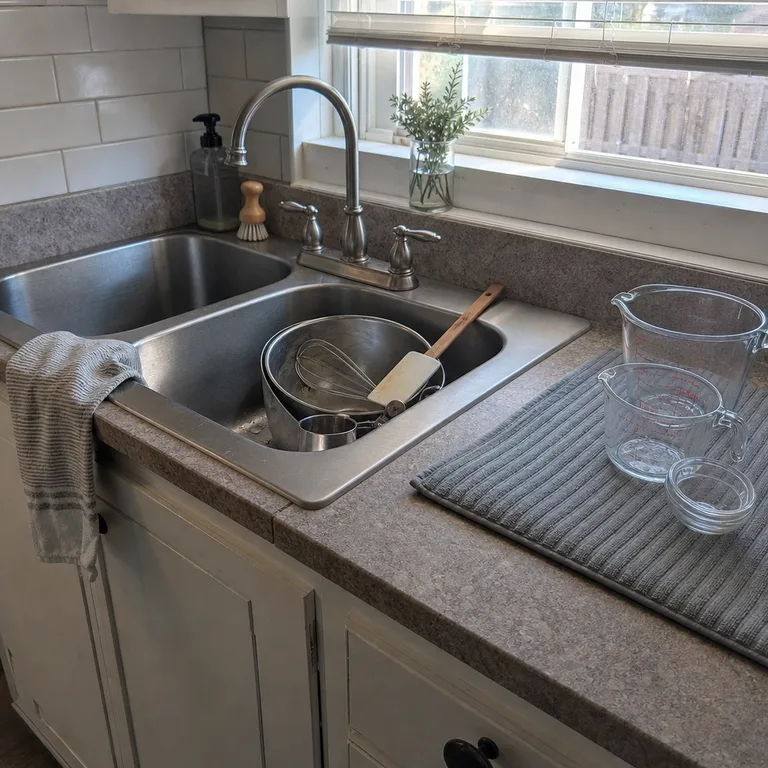
5.Keep Washing Contained at One Side of the Sink
Assign one side of a divided sink, or one contained area beside a single-bowl sink, to used bowls, utensils, and measuring tools. Place a drying mat nearby for items that have been washed and are ready to reuse.
Containing cleanup stops sticky tools from drifting back into the mixing area. It also keeps the sink usable for handwashing and regular kitchen tasks while baking continues.
Wash the tools needed for the next batch first, then leave less urgent cookware for the final cleanup. If counter space beside the sink is limited, dry items in small groups and put them away once they are fully dry rather than building a tall, unstable pile.
Worth knowing: A small sink can fill quickly during recipes with several bowls, so this system may require washing between batches.
6.Use a Foldaway Shelf for the Equipment Reset
Open a compact folding shelf near, but not inside, the kitchen work path for clean mixer attachments, loaf pans, racks, and other equipment that has not returned to storage yet. This creates a reset point between washing and putting things away.
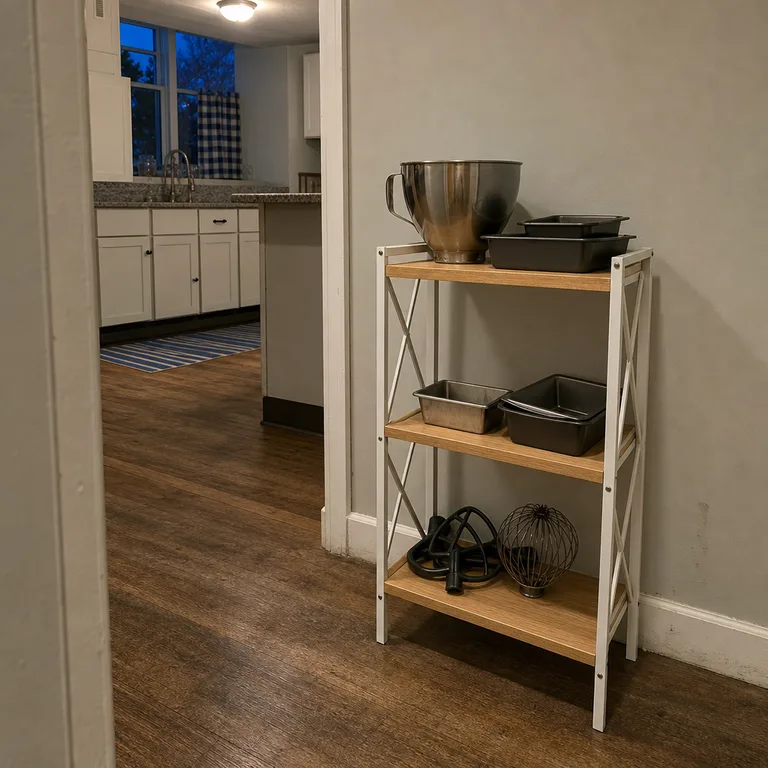
The shelf prevents clean tools from taking over the counter while still keeping them visible for another round of baking. When the session ends, it can fold away and restore circulation around the kitchen.
Use only a shelf designed to stand securely on its own, and place it on a level surface. Keep it outside the oven door swing, away from appliance vents, and clear of any route used to carry hot pans.
Worth knowing: A folding shelf needs a spare patch of floor space and may not suit a very narrow galley kitchen.
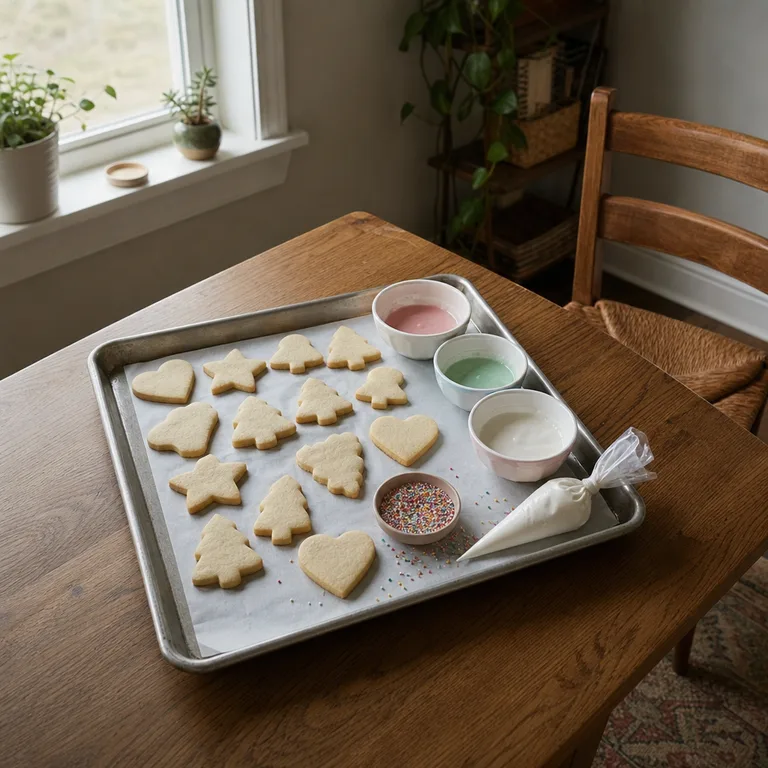
This separates decorating from hot-pan handling and dough preparation. It also lets the kitchen counter return to dinner duty while a quieter finishing task happens at the table.
Line the tray with parchment for easier cleanup and work with only the decorations needed for the current batch. Icing needs a level surface, so choose a stable table and keep the tray away from elbows, chair backs, and busy walkways.
Worth knowing: A rimmed tray contains small messes but cannot prevent spills if it is carried while bowls of loose icing are too full.
8.Stage Finished Batches in Lidded Containers
Move cookies into shallow lidded containers only after they are completely cool, separating types if flavors, textures, or decorations could transfer. Place the containers on a pantry shelf, a quiet cabinet area, or another spot away from active prep.
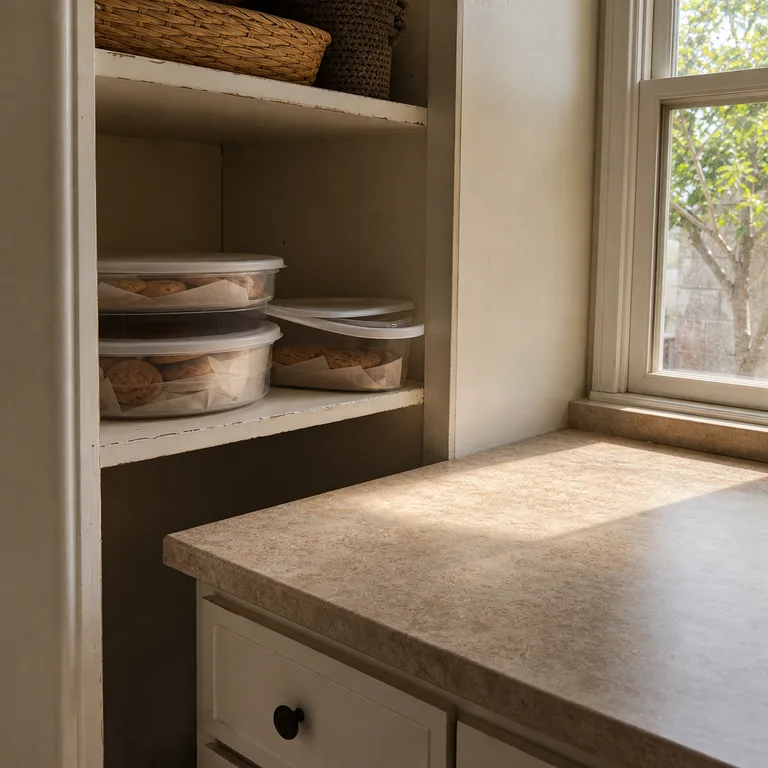
Finished batches stay protected from flour, splashes, and crowded counters when they have a designated holding place. This also makes it simpler to see what is ready for gifting, freezing, serving, or decorating later.
Reuse food-safe containers with secure lids and add a simple removable note if several batches look alike. Avoid sealing warm cookies, since trapped moisture can soften them and affect decorations.
Worth knowing: Storage containers require a clear shelf or cabinet area, which can be difficult in kitchens already full of everyday pantry goods.
9.Park Cooled Tools on a Small Rolling Cart
Use a narrow rolling cart as a temporary home for fully cooled sheet pans, clean utensils, parchment, and packaged supplies. Park it against a wall beyond the oven door swing and outside the main route through the kitchen.
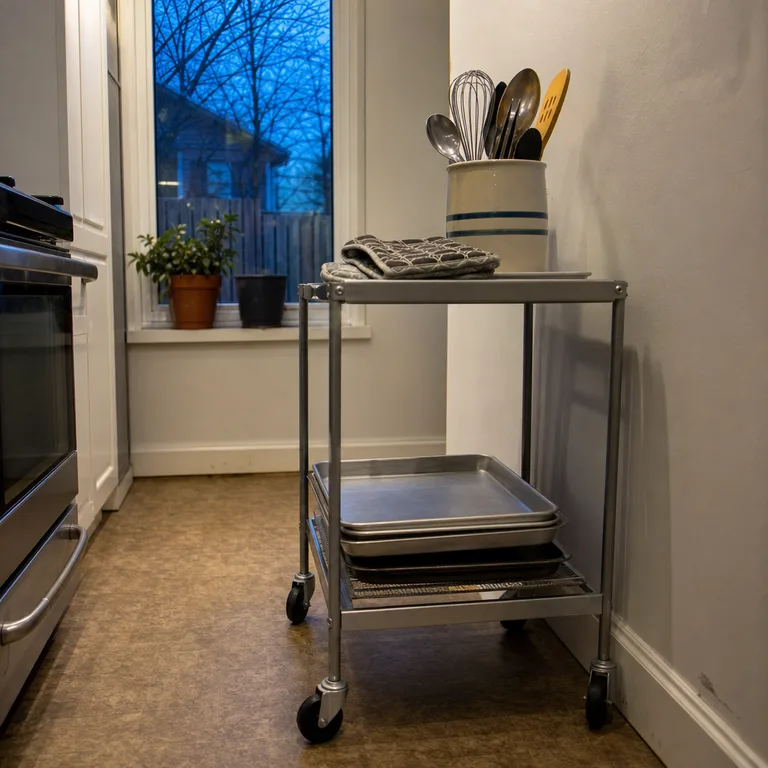
A cart gathers items that would otherwise return to the counter after every batch. Because it rolls, it can be moved aside for meals and brought back when another baking session starts.
Load the lower shelf with the heavier pans and keep the top shelf uncluttered for lighter tools. Lock the wheels if the cart has brakes, and never use it as a landing place for hot trays or position it where it blocks an exit.
Worth knowing: Even a slim cart can make a small kitchen feel tighter if there is no safe parking spot outside the walking path.
About the author
Dana Ruiz, Senior editor
Dana writes about small-space living, storage and low-cost decorating.
Keep reading

8 Overnight Guest Setups for a Small Living Room During the Holidays
October 12, 2026
6 Small Shared Bedroom Layouts for Two Children Using Twin Beds
October 11, 2026
10 Small Kitchen Trash and Recycling Ideas Without Losing a Cabinet
October 11, 2026
11 Reusable Paper Christmas Decorations for a Living Room on a Budget
October 12, 2026