8 Wet Boot Tray Setups for a Winter Entryway With No Mudroom
A wet-boot station needs to catch meltwater and road grit without turning a narrow entry into an obstacle course. These eight setups use removable, washable pieces that leave a direct route from the door, with room for seasonal cleaning and drying.
As an Amazon Associate I earn from qualifying purchases.
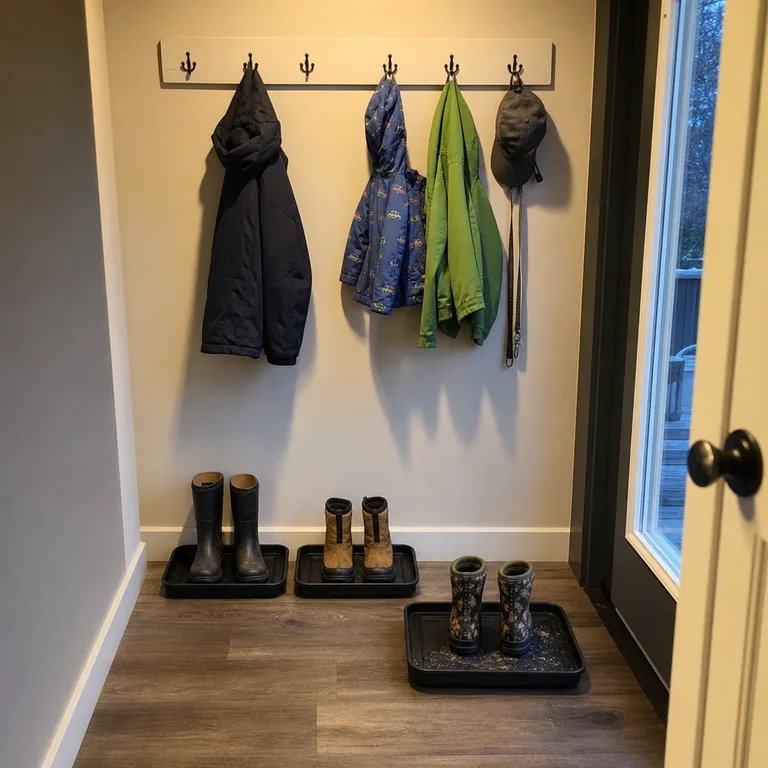
1.Place One Full-Width Washable Tray Along the Side Wall
Set one broad, low-lipped tray tight against the wall rather than directly in front of the door. It gives wet boots one predictable landing spot while preserving the clearest possible path from the threshold into the home.
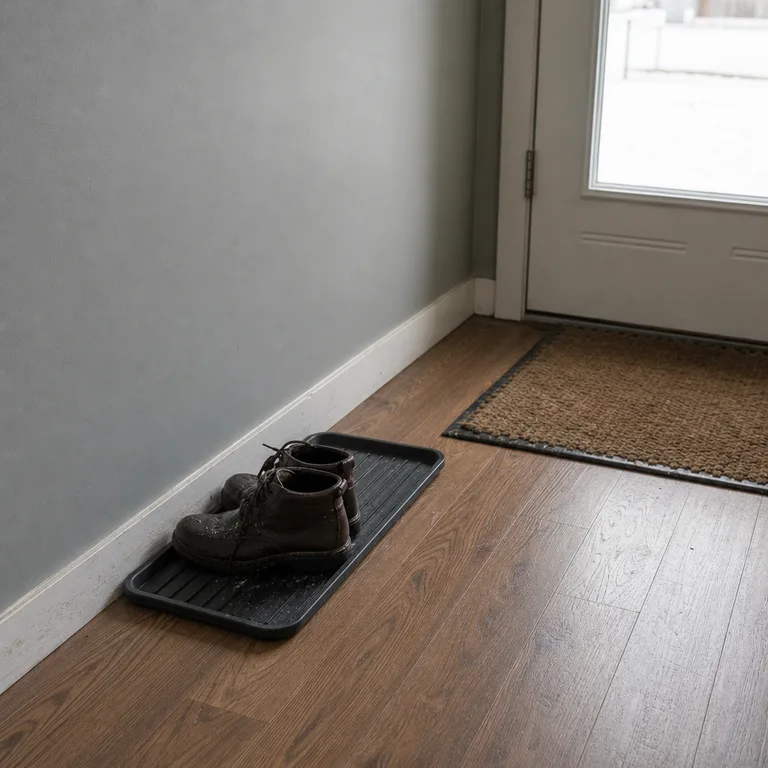
Choose a washable tray with enough interior space for the boots most often worn in the household, not just their footprint when neatly paired. A mat at the threshold can catch loose snow first, while the tray handles the remaining meltwater and grit.
Lift out the boots and empty the tray regularly, especially after slushy days. Water left to sit can carry salt onto nearby flooring and make the tray harder to clean.
Worth knowing: A single shared tray can fill quickly in a busy household, and it may be too wide for entries with a tight door swing.
Related: 12 Small Entryway Ideas for Homes With No Foyer
2.Line Up Two Slim Trays in a Narrow Hall Entry
Use two narrow trays in a line along a hall wall when one wide tray would block the route through the entry. This format can follow the shape of a narrow space more closely and keeps footwear from spreading into the walking strip.
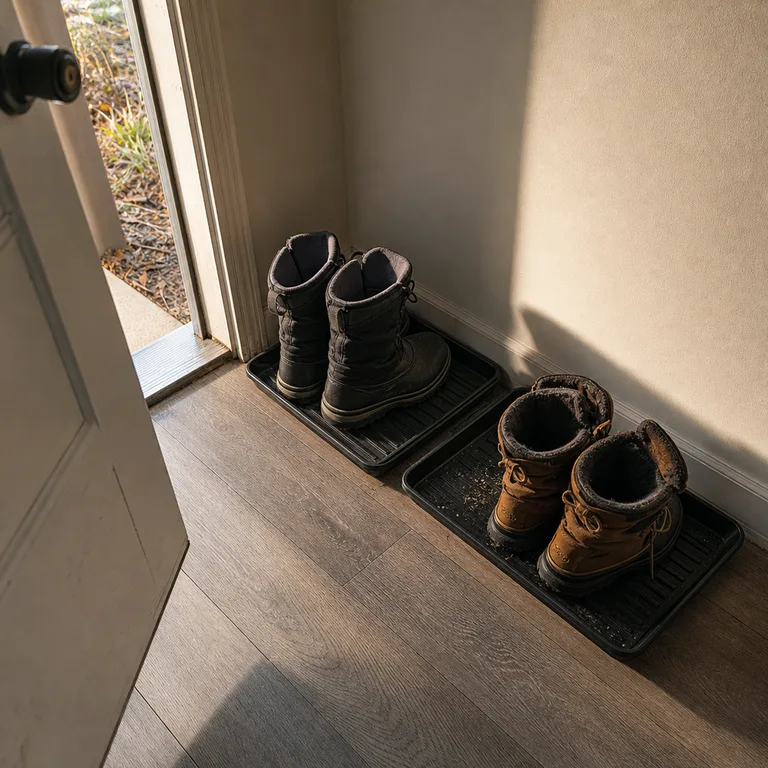
Assign one tray to the boots worn most often and the other to lighter shoes or a second person’s footwear. Separate trays are easier to carry to a sink, tub, or outdoor hose area for rinsing than one long, awkward piece.
Measure the door arc with the door fully open before choosing tray placement. Keep trays beyond that swing so arriving guests do not have to step around them or push footwear aside.
Worth knowing: Two trays create more edges to walk around, so this setup works best when there is a continuous strip of floor along one wall.
Related: 12 Shoe Storage Ideas for a Narrow Entryway
3.Use a Recessed Floor Niche Beside the Door
An existing recessed niche beside the door can become a contained wet-footwear area with a removable waterproof liner. Because the boots sit below the surrounding floor level, the setup avoids adding a raised tray edge to a tight passage.
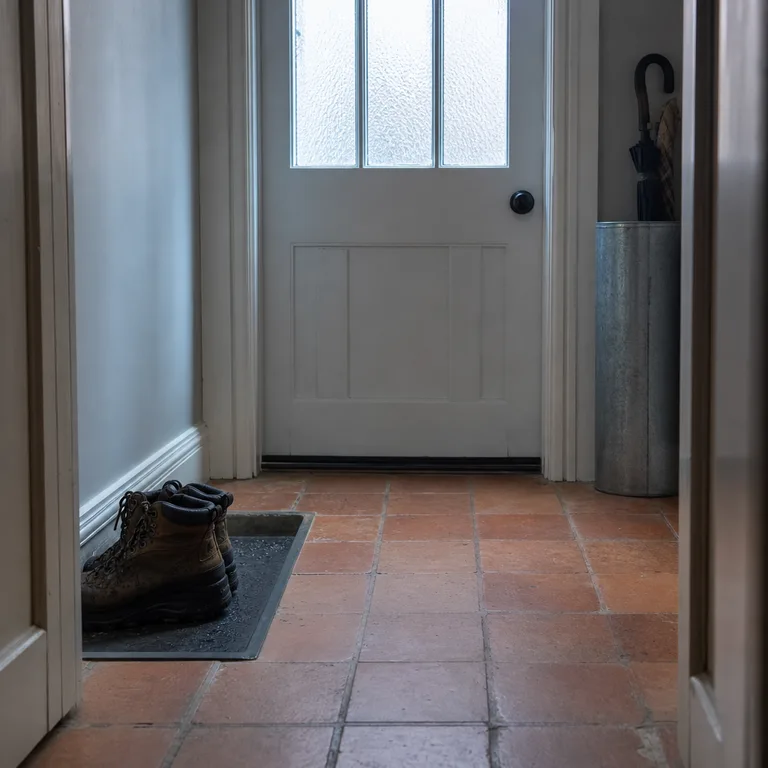
Cut a flexible rubber or utility liner to fit the recess, leaving it loose enough to remove for cleaning. This protects grout or flooring from standing water and makes it simpler to lift out trapped sand and salt.
Treat the niche as temporary winter parking rather than long-term shoe storage. Wipe it dry often so moisture does not linger around grout, trim, or the door threshold.
Worth knowing: Creating a new floor recess is not a simple tray project and can affect flooring, subflooring, and rental rules; use this only where a suitable niche already exists.
4.Put a Removable Tray on the Bottom Shelf of a Low Bench
Turn the bottom shelf of a low open bench into boot containment by setting a removable tray on top of it. The bench provides a place to sit while pulling off boots, and the tray keeps drips from reaching the shelf or floor below.
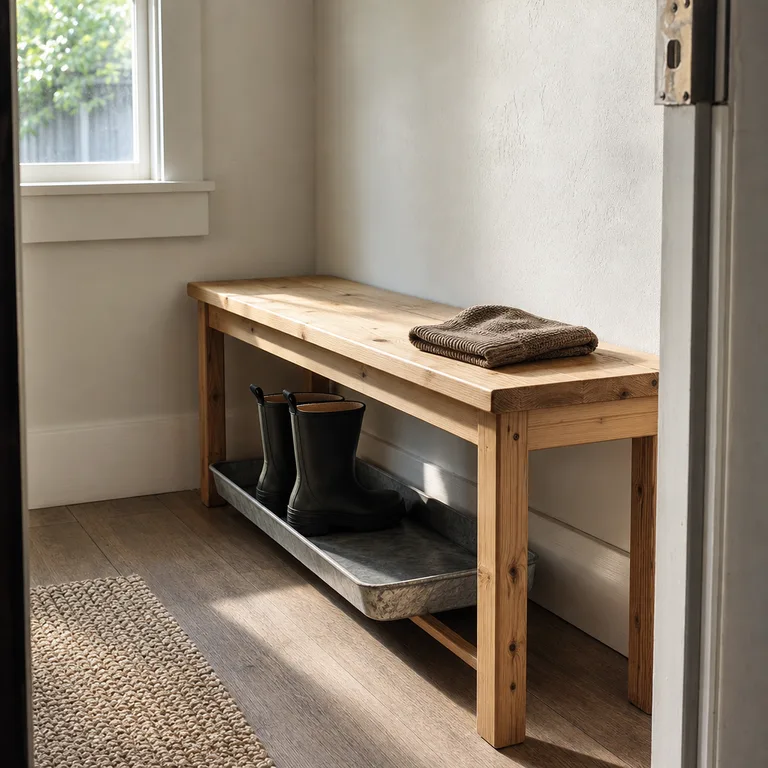
Choose a tray that slides out without catching on the bench legs, shelf supports, or nearby baseboard. A shallow tray is usually easier to remove, but it still needs a rim capable of holding the water that gathers from snowy footwear.
Use the bench top for dry items only, such as hats or gloves that have been shaken free of snow. Damp gear needs airflow elsewhere so the bench does not become a crowded drying zone.
Worth knowing: This arrangement depends on shelf clearance, and some low benches do not leave enough room to remove a loaded tray easily.
5.Give Each Boot Pair Its Own Small Drip Tray
Place a small tray beneath each pair of boots to separate dirty work boots, children’s snow boots, and everyday footwear. Individual trays prevent one especially muddy pair from coating every shoe in a shared container.
A short row of matching or mismatched washable trays can be adjusted as routines change through the winter. Put the most frequently used pairs closest to the door, with less-used footwear farther down the wall.
This layout also makes cleanup more targeted: only the tray with visible grit or pooled water needs immediate attention. Keep enough floor space between the row and the opposite wall for a clear walk through.
Worth knowing: Several small trays can look busy and are easy to misalign unless the entry has a defined wall-side zone for them.
6.Keep a Clean Tray Ready for a Quick Swap
Keep a second washable tray nearby so the active tray can be removed as soon as it becomes gritty or waterlogged. The spare prevents wet boots from ending up directly on the floor while the used tray is being emptied and cleaned.
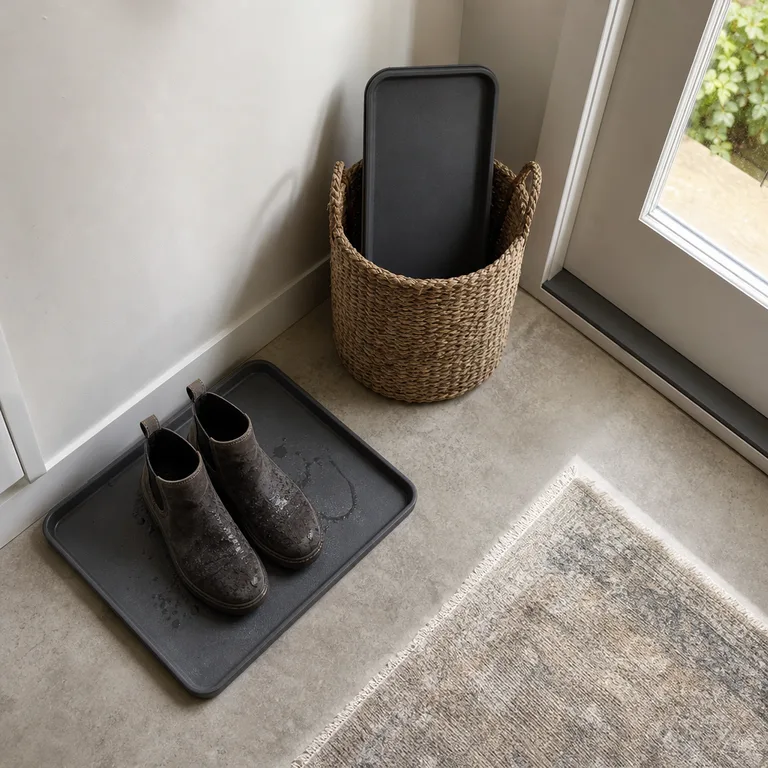
Store the clean tray upright in a utility basket, closet, or other dry spot close to the entry. It should be easy to reach without carrying dripping boots through more of the home.
A rotation is especially useful during stretches of wet snow, when frequent rinsing keeps road salt from building up in tray ridges. Let the cleaned tray dry fully before returning it to storage.
Worth knowing: This setup requires storage for a spare tray and depends on someone keeping the rotation going during busy winter days.
7.Slide a Narrow Tray Under an Existing Entry Bench
Use the empty floor space beneath an existing bench by sliding a narrow waterproof tray underneath it. The bench hides the boot zone from immediate view while keeping wet footwear close to the door.
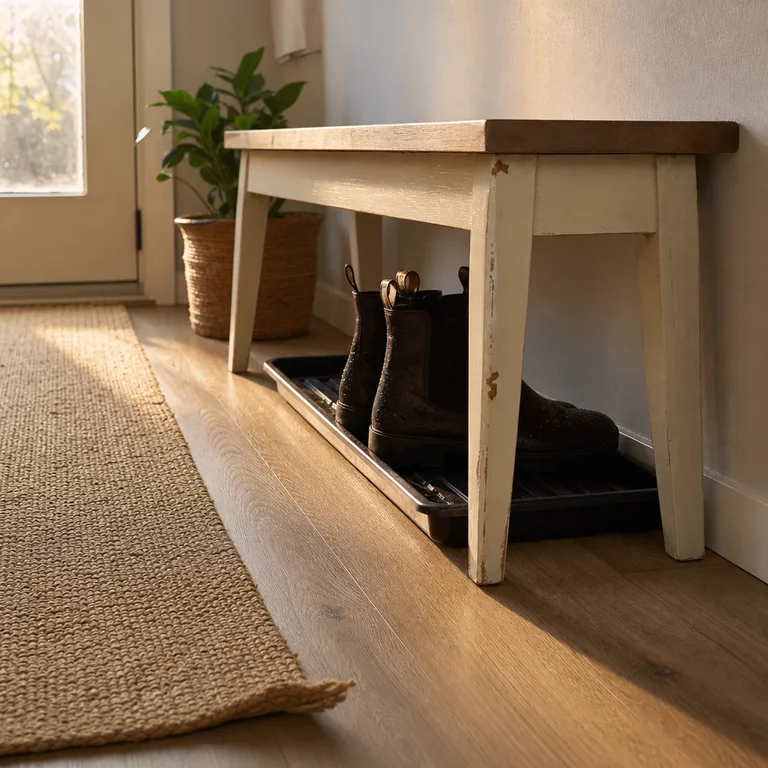
Check the height between the floor and the bench frame, then choose a tray that can move in and out without scraping. Furniture risers may create more clearance, but only if the bench remains stable and safe to sit on.
Pull the tray forward when boots are needed, then slide it back once footwear is off. This works well for ankle boots and low winter shoes; taller boots may need to rest beside the bench instead.
Worth knowing: A deep bench or heavy tray can make access awkward, and very tall boots may not fit beneath the seat.
8.Set a Removable Drip Tray Beneath an Open Boot Rack
Place a shallow removable drip tray beneath an open rack designed to hold footwear. The rack lifts boots above the collected water, which keeps soles from sitting in grit and makes the entry look less cluttered than a floor-level pile.
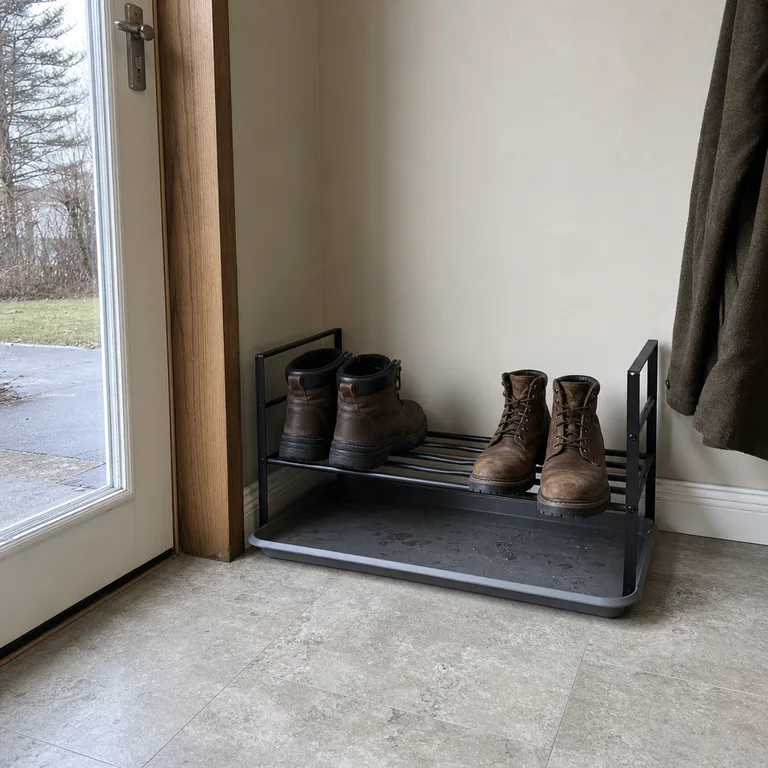
Use a stable rack with feet that sit securely on the floor and leave enough room for the tray to slide out. Check that the boots do not overhang into the main route, particularly in a narrow entry where toes can become a tripping point.
Wipe the rack feet and rinse the tray often, since meltwater can splash or wick under the rack. This is also a better fit for boots that can stand upright without leaning heavily against a wall.
Worth knowing: The rack adds height and visual bulk, and it needs enough clearance around it for boots to be placed and removed safely.
About the author
Dana Ruiz, Senior editor
Dana writes about small-space living, storage and low-cost decorating.
Keep reading
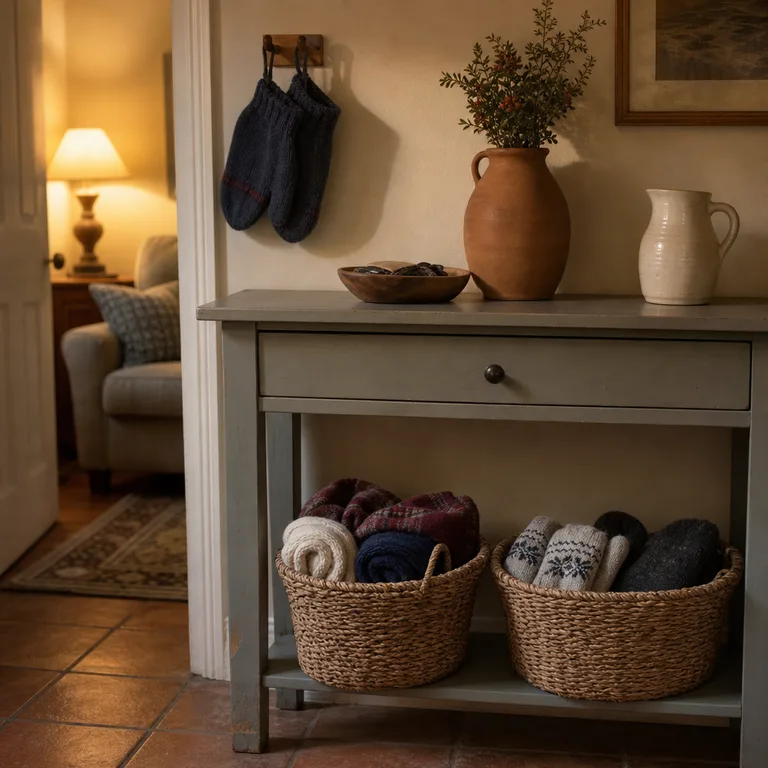
9 Winter Mitten and Scarf Stations That Separate Damp Gear From Dry Gear
October 14, 2026

12 Spice Storage Ideas for a Small Kitchen Without Custom Cabinets
October 14, 2026
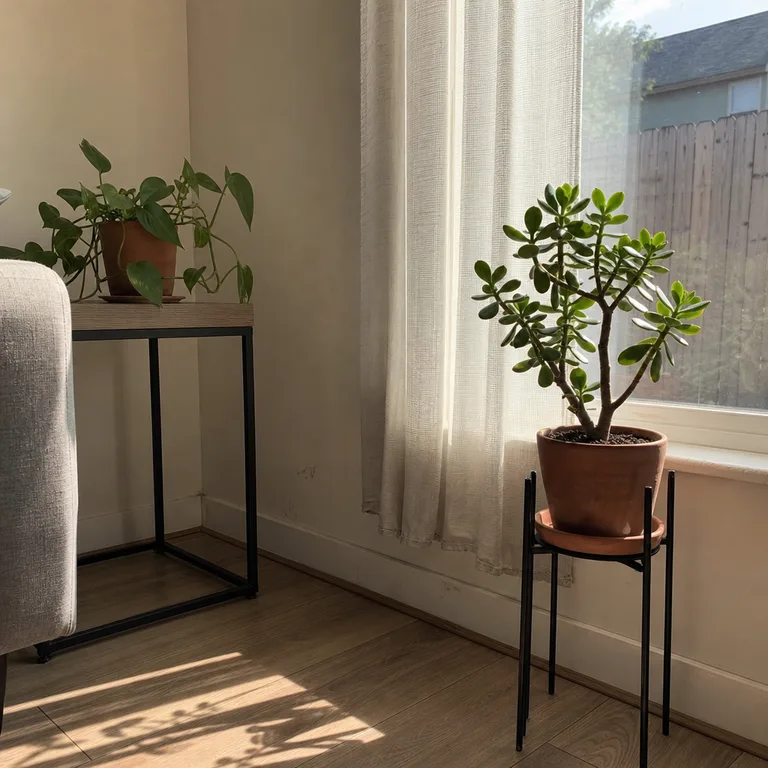
8 Steps for Bringing Patio Houseplants Indoors Before Winter
October 14, 2026
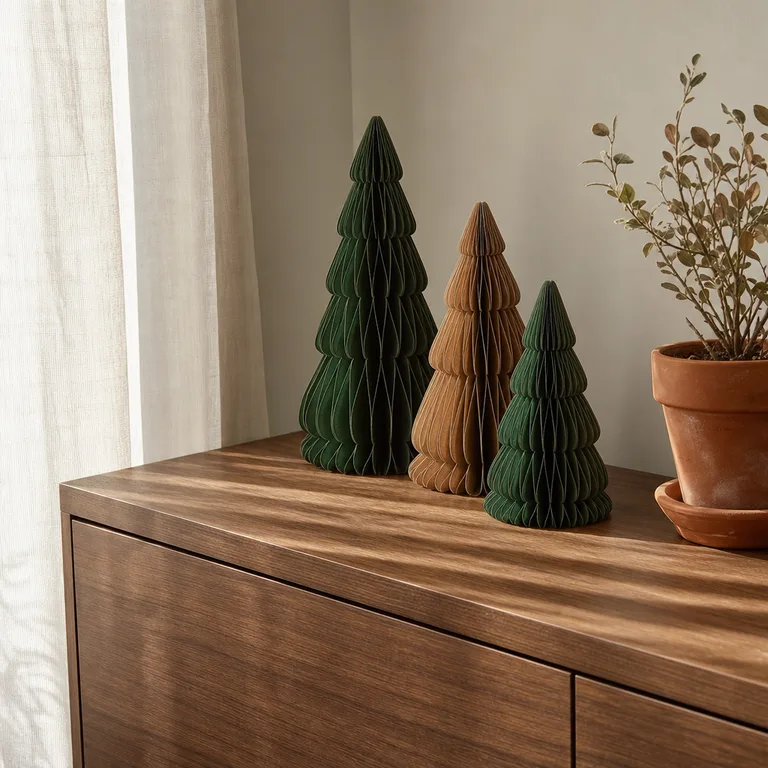
9 Budget Christmas Bedroom Accents That Keep the Bed Easy to Use
October 14, 2026