10 Ways to Fit a Craft Corner Into a Small Living Room
A small living room can hold a useful craft setup when each piece has a defined job during a project and a simple place to go afterward. These ideas focus on protected work surfaces, focused light, contained supplies, and layouts that still let the room function for relaxing or hosting.
As an Amazon Associate I earn from qualifying purchases.
1.Use a Lidded Storage Ottoman as the Supply Base
A lidded storage ottoman can hold the supplies for one type of project, such as knitting, collage, or hand sewing. Add small bins or dividers inside so loose items do not become one tangled pile, then use a removable tray on top for the active project.
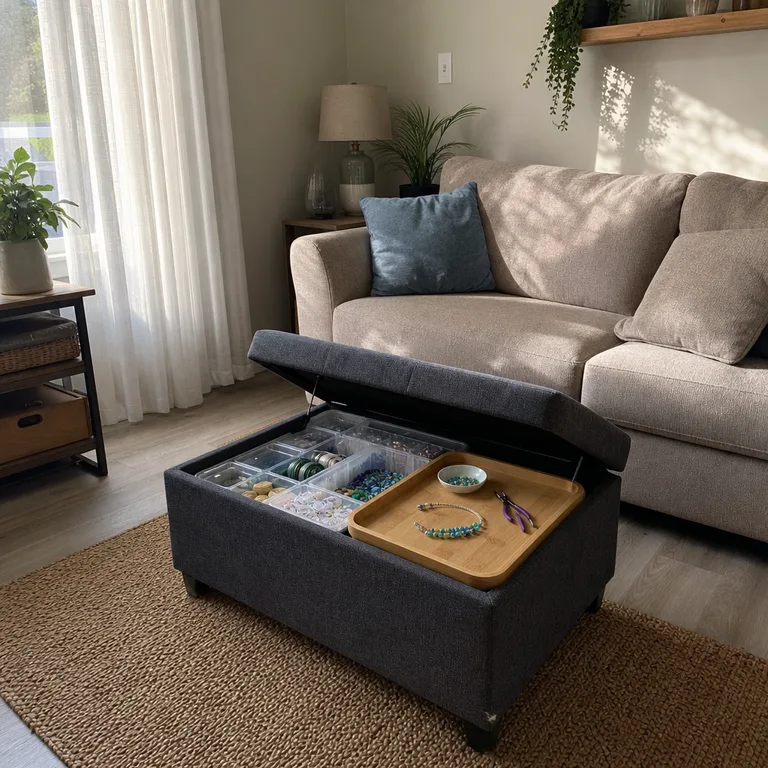
When the project is put away, the tray lifts off and the ottoman returns to being a footrest, extra seat, or coffee-table substitute. Choose one with a sturdy, flat lid if it will regularly hold drinks, books, or a tray.
Worth knowing: A soft ottoman lid is not a stable surface for cutting, painting, or other work that needs firm pressure.
Related: 10 Coffee Table Alternatives That Make a Small Living Room Easier to Use
2.Set Up a Folding Table Behind the Sofa
A narrow folding table behind a sofa can create a temporary place for cutting paper, sorting fabric, or assembling small projects. Keep the table clear of the main walkway, and place a cutting mat or wipeable cover over the top when needed.
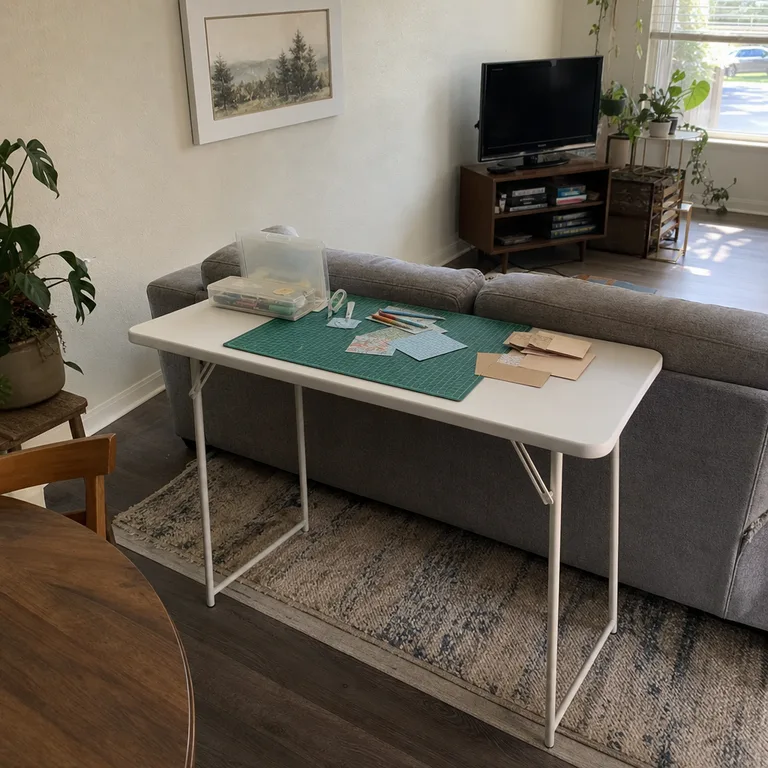
At the end of a session, fold the table flat and slide it into a closet, behind furniture, or along an unused wall. This approach works best when the sofa has enough clearance behind it to let someone stand and work without bumping into the seating.
Worth knowing: A folding table can feel unstable for heavier tools, and its legs may catch on a rug edge.
Related: 12 Small Living Room Layout Ideas That Leave Room to Walk
3.Turn a Rolling Cart Into a Mobile Project Station
Assign a rolling cart to one hobby rather than filling it with every craft supply in the home. Put the current project and often-used tools on the top tier, with materials and refills below in pouches, jars, or shallow containers.
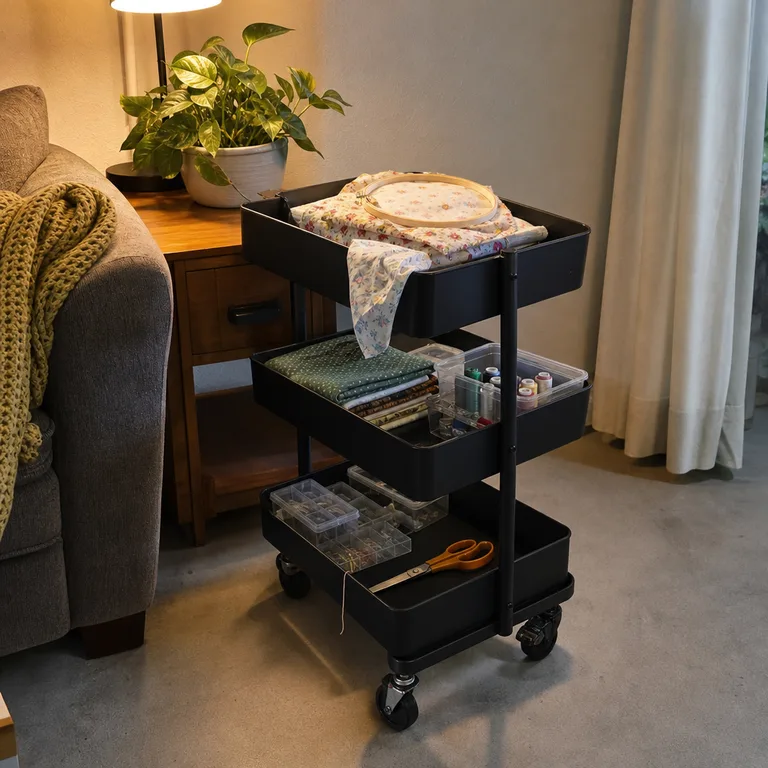
Wheel it beside the sofa or chair while working, then park it in a closet, beside a bookcase, or in an unobtrusive corner. A cart with locking wheels is useful on hard floors, especially if children or pets may brush past it.
Worth knowing: An open cart can look busy in a living room, so it needs regular editing and contained storage.
4.Place a Clamp-On Task Light at a Side Table
Clamp a directed task light to a side table near the seat used for detailed work. It gives hand stitching, drawing, beadwork, and model work more useful light than relying on a ceiling fixture across the room.
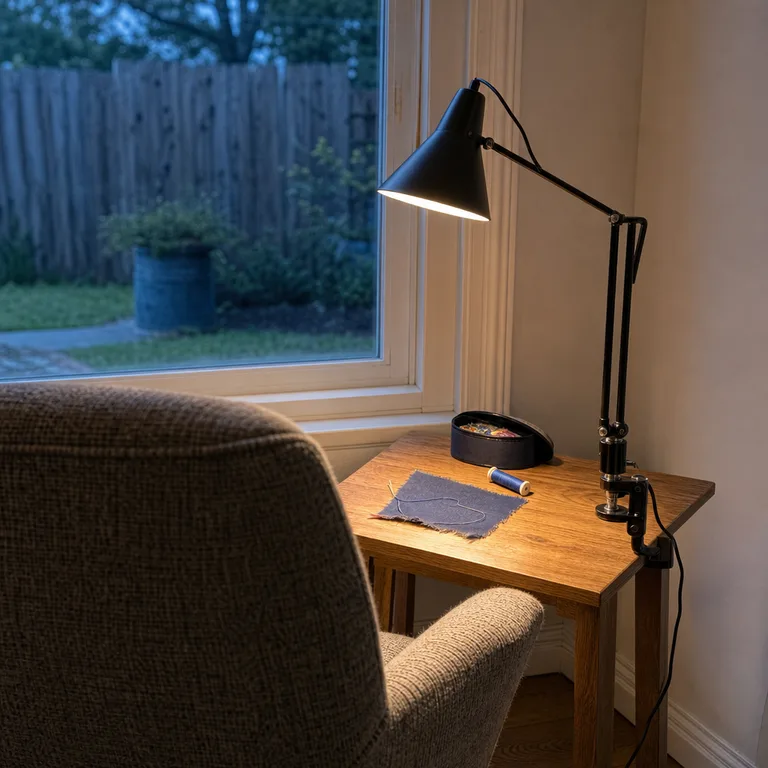
Choose a lamp with an adjustable head so the beam lands on the work rather than creating glare on a screen or polished tabletop. Route the cord along the furniture leg with clips, or use a rechargeable model where an outlet is inconvenient.
Worth knowing: Not every side table has a lip sturdy enough for a clamp, and a cord can still be a trip hazard if poorly routed.
5.Protect the Coffee Table With a Roll-Up Work Mat
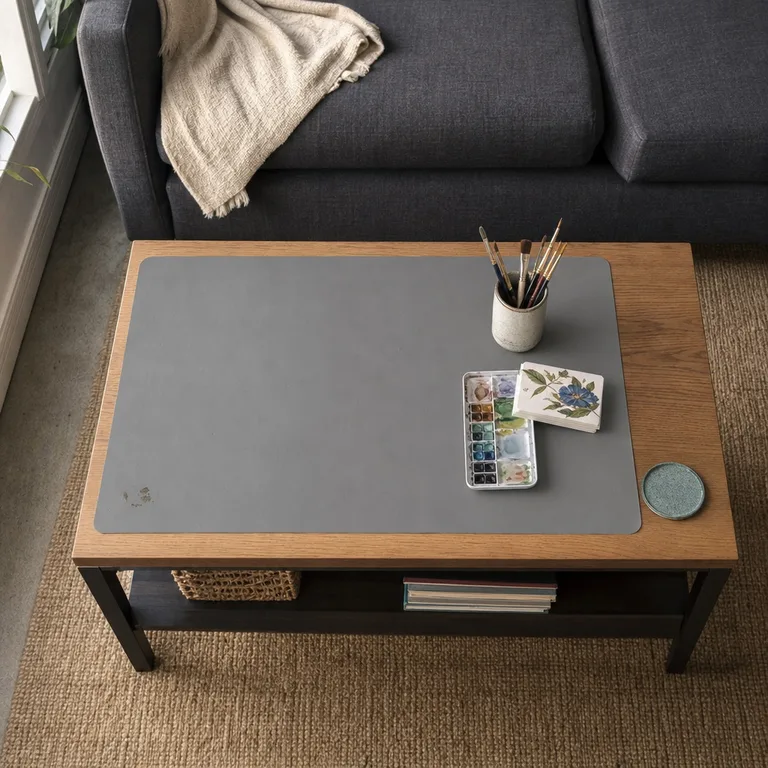
A roll-up silicone or waterproof work mat can turn an existing coffee table into a contained surface for glue, paint, clay, or paper crafts. It protects the finish while defining a clear boundary for the project supplies.
Choose a mat that can be wiped clean, rolled up, and stored in a drawer, basket, or tall bin when the room needs to reset. For wet work, keep a small tray or cup under brushes and rinse water so spills stay contained.
Worth knowing: A coffee table is often low, so longer craft sessions may be uncomfortable without floor seating or a supportive chair.
6.Use a Wall-Mounted Drop-Leaf Desk in an Open Wall Niche
A shallow drop-leaf desk makes a dedicated surface for lightweight paper crafts, sketching, and handwork without permanently taking up floor space. When open, add a small tray to keep tools from spreading across the desk and nearby furniture.
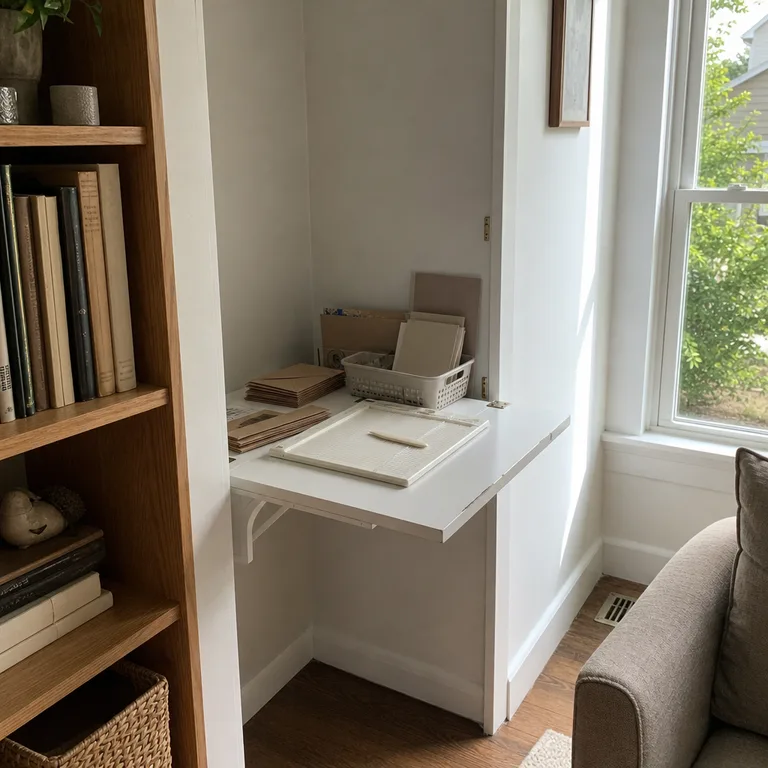
When folded, it leaves the wall visually quiet and restores the room for everyday use. Mount it into suitable wall support and follow the hardware guidance for the expected load, since a folding surface is not meant for heavy machines or large projects.
Worth knowing: Installation requires wall drilling and may not be allowed in a rental; it also needs clear wall space when opened.
7.Store Sharp Tools in a Locking Carry Case
Keep blades, needles, scissors, rotary cutters, and similar tools in a locking hard-sided case rather than a low open bin. Use blade covers, needle tubes, or closed compartments inside so tools stay separated and do not shift when the case is carried.
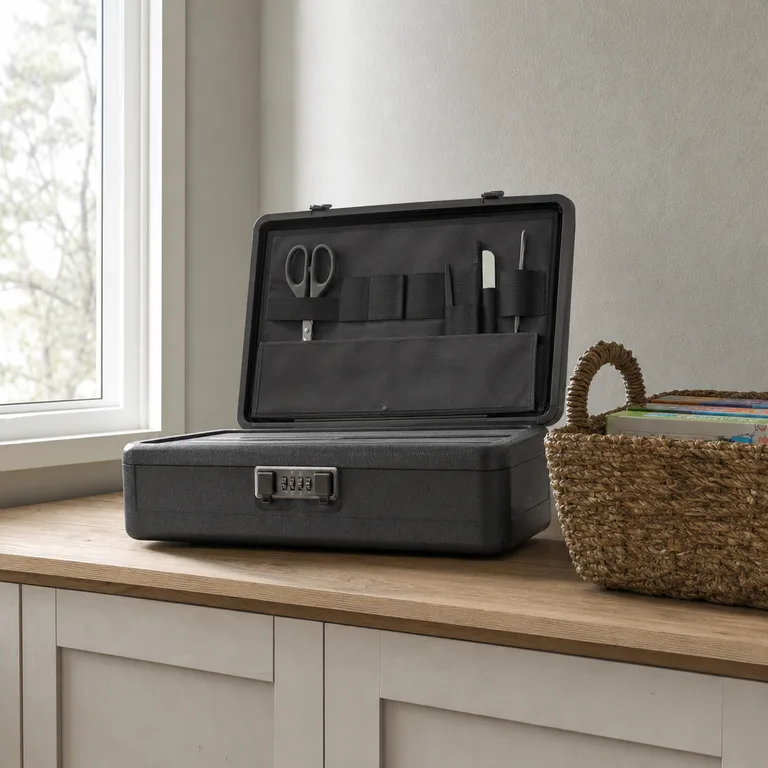
A portable case can be moved from a high shelf to the work surface and put away as soon as the session ends. This is especially helpful in shared living rooms where children or pets have access to low furniture.
Worth knowing: A locking case adds a step to setup and cleanup, so it is less convenient for projects needing frequent tool changes.
8.Hang Pegboard Panels Inside a Cabinet Door
Fit a small pegboard panel inside a cabinet door to hold lightweight items such as washi tape, rulers, small scissors, and narrow pouches. The cabinet keeps these supplies out of sight when closed while using vertical space that would otherwise go unused.
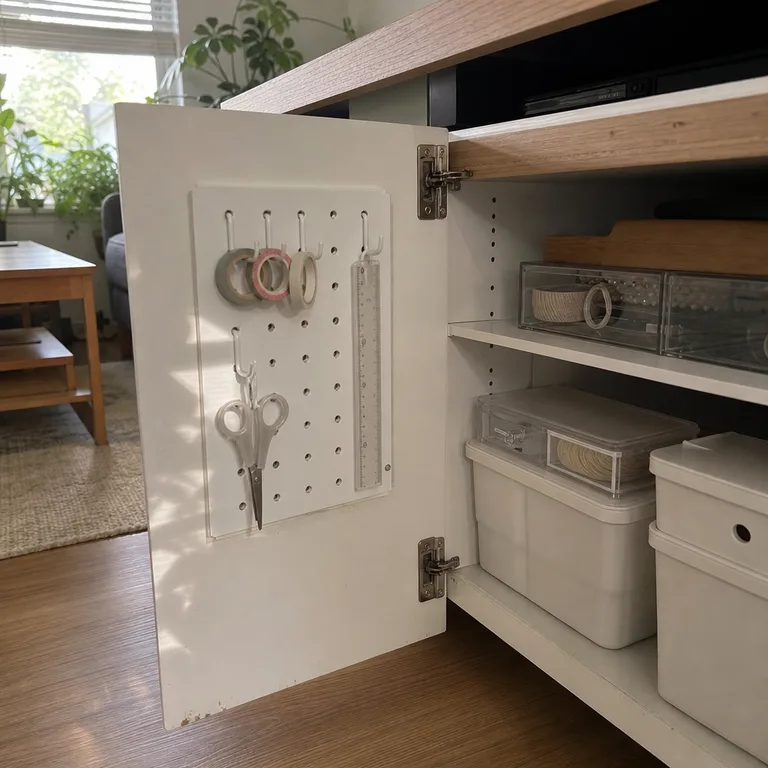
Use short hooks and check the door clearance before adding anything bulky. Keep the weight modest so the door hinges are not strained, and secure the panel carefully so it cannot loosen with repeated opening.
Worth knowing: This only works in a cabinet with enough door depth and may require landlord approval in a rental.
9.Make a Project Basket That Fits Under an End Table
A handled basket sized to slide under an end table gives an unfinished project a specific home between sessions. Use it for flexible crafts such as knitting, embroidery, hand sewing, or coloring, with a pouch inside for smaller pieces.
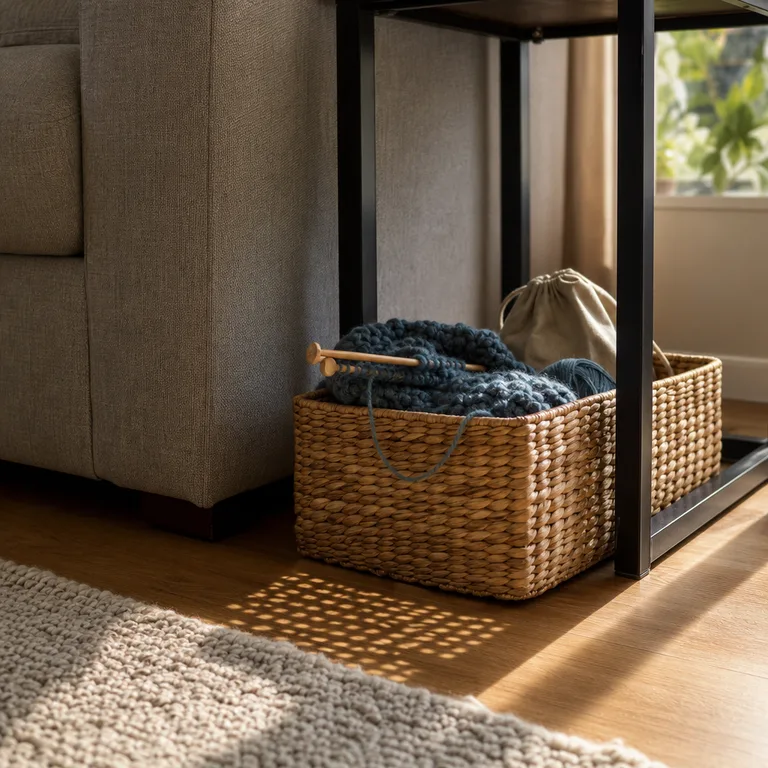
The basket keeps the project near the preferred chair without adding another large storage unit to the room. A lid or fabric cover can help hide visual clutter and keep dust or pet hair away from soft materials.
Worth knowing: An open basket will not safely contain sharp tools or tiny parts, and bulky projects may quickly outgrow it.
10.Cover a Small Work Tray and Slide It Onto a High Shelf
Use a shallow tray with a fitted cover to hold a work-in-progress that should stay assembled between sessions. This is useful for miniature building, puzzle sections, detailed paper work, or any project with small parts that should not be disturbed.
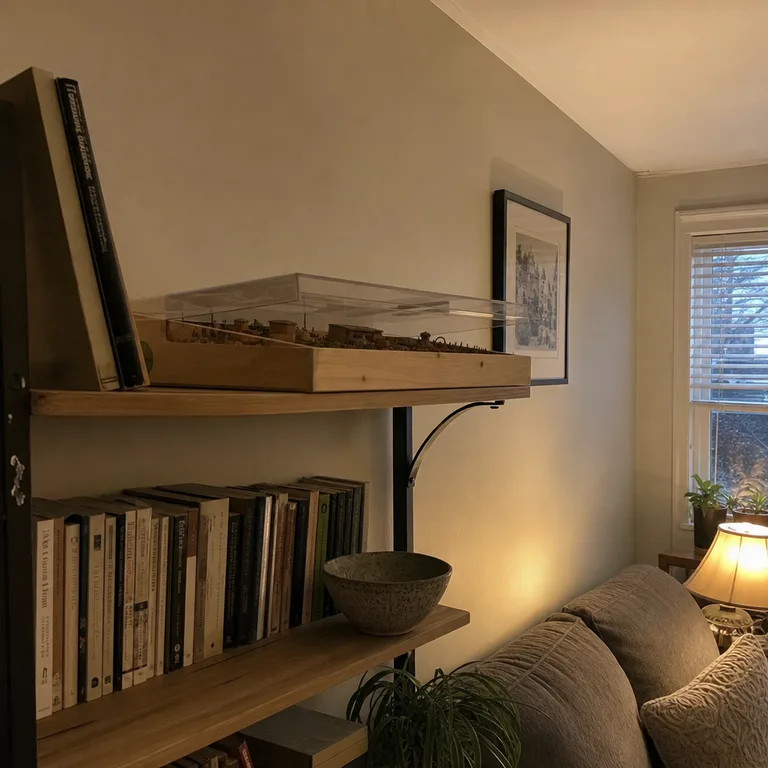
The cover protects the project from dust and accidental bumps, while a high shelf moves it away from children and pets. Choose a shelf that is genuinely stable, avoid overloading it, and keep the tray within safe reach rather than storing it so high that lifting it down becomes awkward.
Worth knowing: High-shelf storage is not practical for heavy trays or projects that need to be accessed several times a day.
About the author
Dana Ruiz, Senior editor
Dana writes about small-space living, storage and low-cost decorating.
Keep reading
8 Overnight Guest Setups for a Small Living Room During the Holidays
October 12, 2026
9 Temporary Holiday Baking Setups for a Small Kitchen
October 12, 2026
6 Small Shared Bedroom Layouts for Two Children Using Twin Beds
October 11, 2026
10 Small Kitchen Trash and Recycling Ideas Without Losing a Cabinet
October 11, 2026