8 Easy Bathroom Cleaning Habits for Easier Weekly Upkeep
A shared bathroom is easier to manage when small messes are handled as they happen instead of waiting for one long weekly reset. These eight repeatable habits focus on clear surfaces, moisture control, and cleaning products used according to their labels and surface directions.
As an Amazon Associate I earn from qualifying purchases.
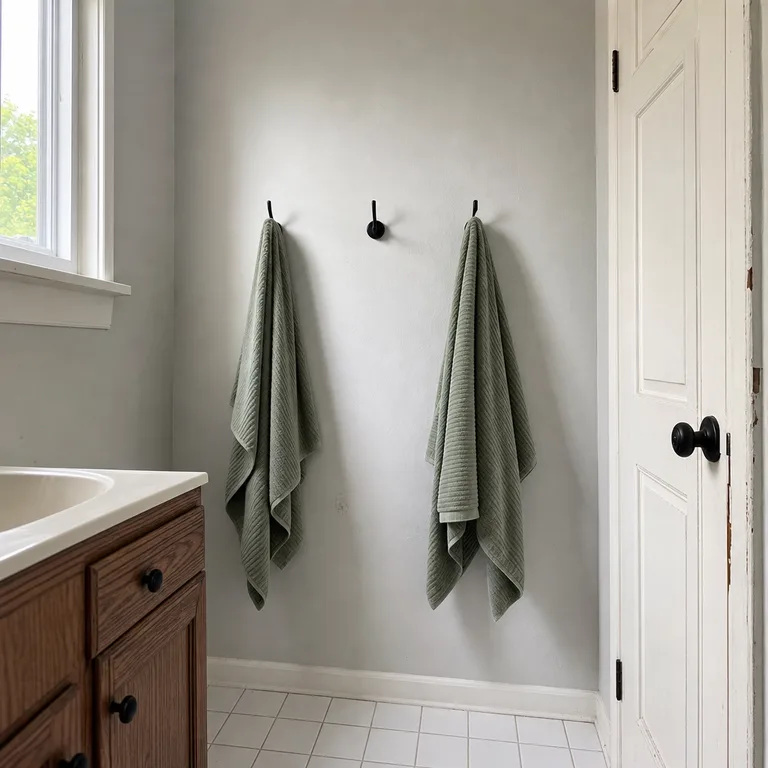
1.Clear the counter before every wipe-down
Move toothbrush cups, soap, and daily products to their usual cabinet, tray, or caddy before wiping the vanity. An open counter is quicker to clean, and it prevents toothpaste marks and water spots from collecting around bottle bases.
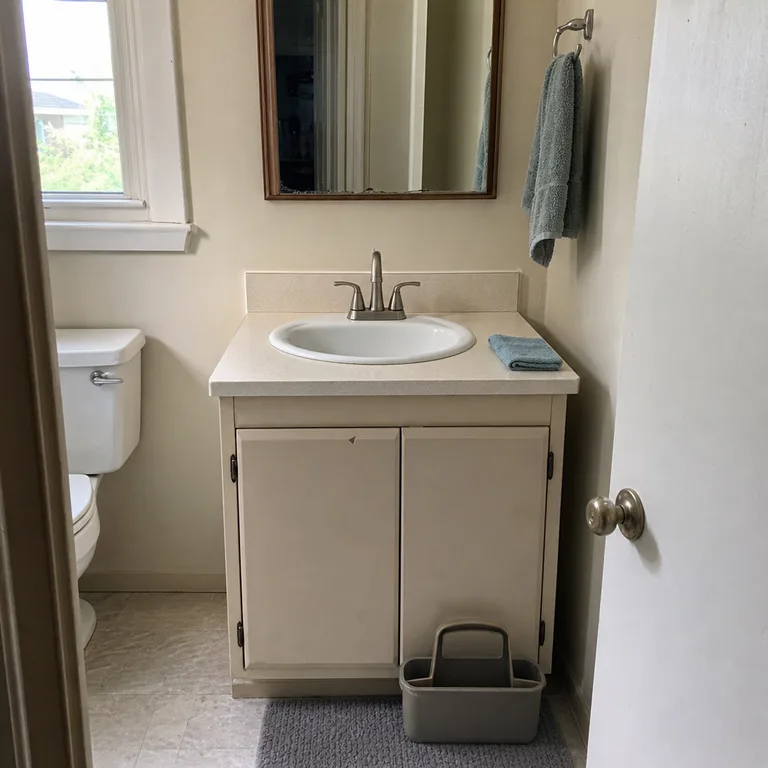
Make this part of the same short reset each time the counter needs attention. A handled caddy can keep shared items together while the surface is wiped, then return them without creating a new pile.
Worth knowing: This only works when every daily item has a consistent home nearby; an overcrowded cabinet can make the reset less practical.
Related: 10 Bathroom Counter Organization Ideas for Two People Sharing One Sink
2.Rinse basin residue while it is still fresh
After brushing teeth, shaving, or washing up, rinse compatible residue from the basin and around the drain. This keeps obvious marks from sitting long enough to dry onto porcelain or the faucet area.
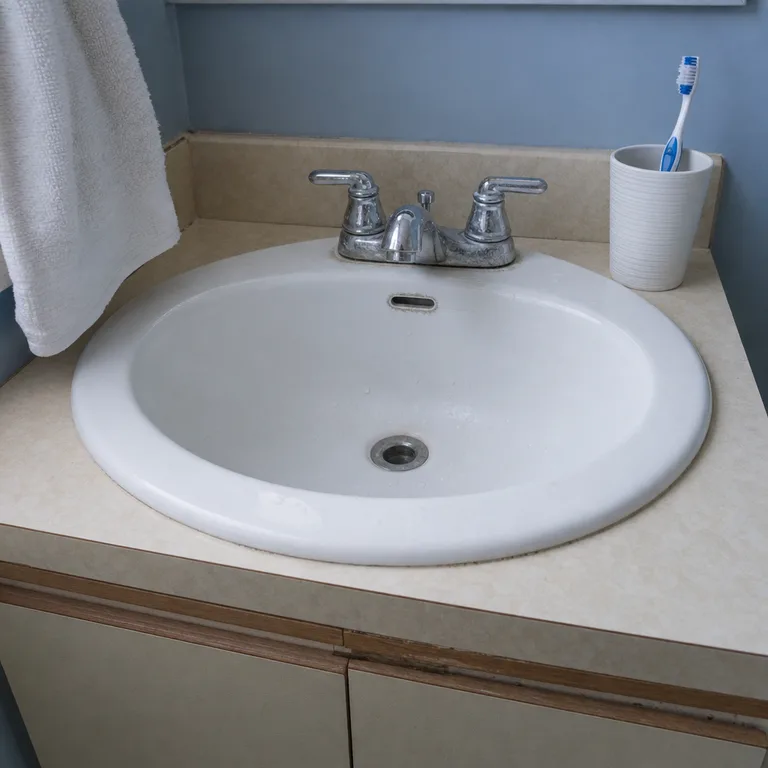
A quick rinse is most useful in a busy bathroom where several people use the same sink. Follow the sink and faucet manufacturer’s care directions, especially if the finish has special cleaning requirements.
Worth knowing: Rinsing reduces fresh residue but does not replace regular cleaning of soap film, mineral marks, or buildup.
3.Dry splashes around the sink and mirror
Keep one designated cloth close enough to dry visible droplets from the faucet, counter, sink rim, and lower edge of the mirror. Drying these spots helps the bathroom look tidier between full cleans.

This habit matters most where hard water leaves noticeable marks as droplets dry. Choose a clean, soft cloth and launder or replace it regularly so it does not simply spread residue across the surface.
Worth knowing: A cloth left damp in a poorly ventilated bathroom can develop an odor, so it needs room to dry between uses.
4.Put wet products back in a draining home
Set soap, toothbrush holders, and other damp counter items on a tray or holder that does not trap moisture underneath them. This keeps standing water easier to see and lets the main counter stay clearer.
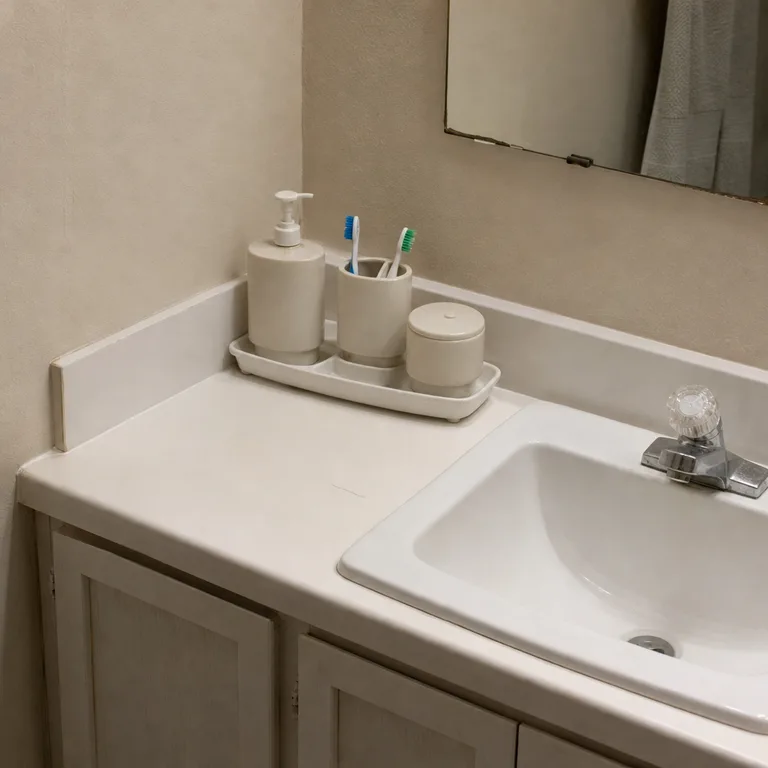
During the regular clean, lift the tray and empty or wipe away any water beneath the items. A simple raised tray or drying mat can be enough; there is no need to replace every matching bathroom accessory.
Worth knowing: A tray still needs cleaning, and tightly packed products can keep moisture from drying properly.
5.Hang each towel with room to dry
Give each towel its own hook, bar section, or over-door space instead of layering damp towels together. Air can move around the fabric more easily, which is especially helpful in a shared bathroom with frequent use.
Use the available wall and door space in a way that fits rental rules and does not block doors or drawers. In a small bathroom, alternating towel use can also reduce the number of wet towels competing for one bar.
Worth knowing: Towels may still dry slowly in a bathroom with limited ventilation or consistently humid weather.
6.Empty the bathroom bin before it is full
Add the small bathroom bin to the recurring reset rather than waiting for it to overflow. Used tissues, empty packaging, and other light rubbish are less likely to end up on the floor when the bin has room.
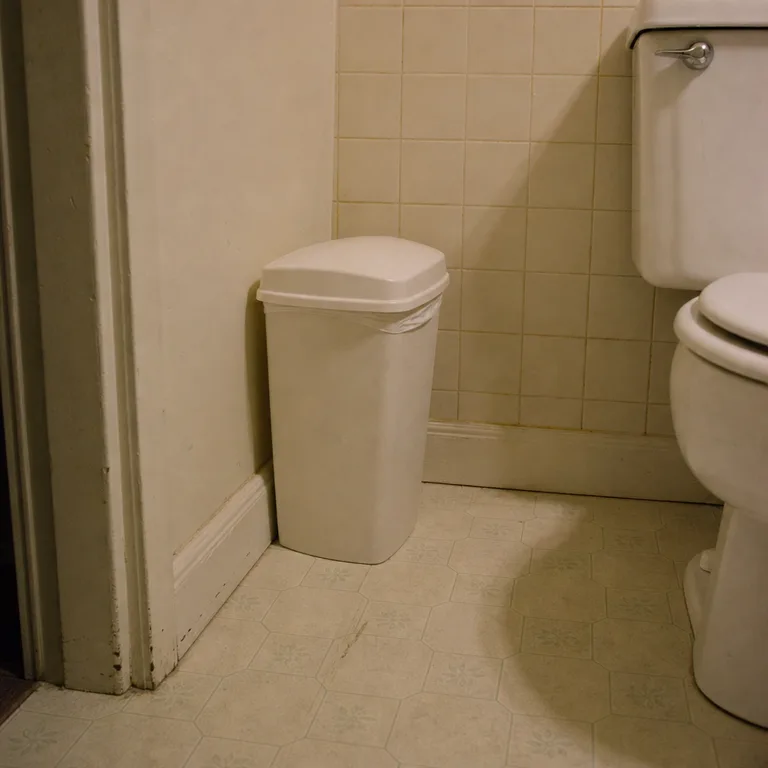
A liner can make the task faster, particularly in a shared bathroom. Keep the bin where it can be reached easily without interfering with the toilet, door swing, or cleaning access around the floor.
Worth knowing: A bin emptied often still needs occasional washing, especially if a leak or spill reaches the inside.
7.Match the cleaner to the surface
Use a simple routine that identifies which cleaner is intended for glass, porcelain, metal, and finished counters. Keeping products grouped by use makes it easier to reach for the right one rather than treating every surface the same.
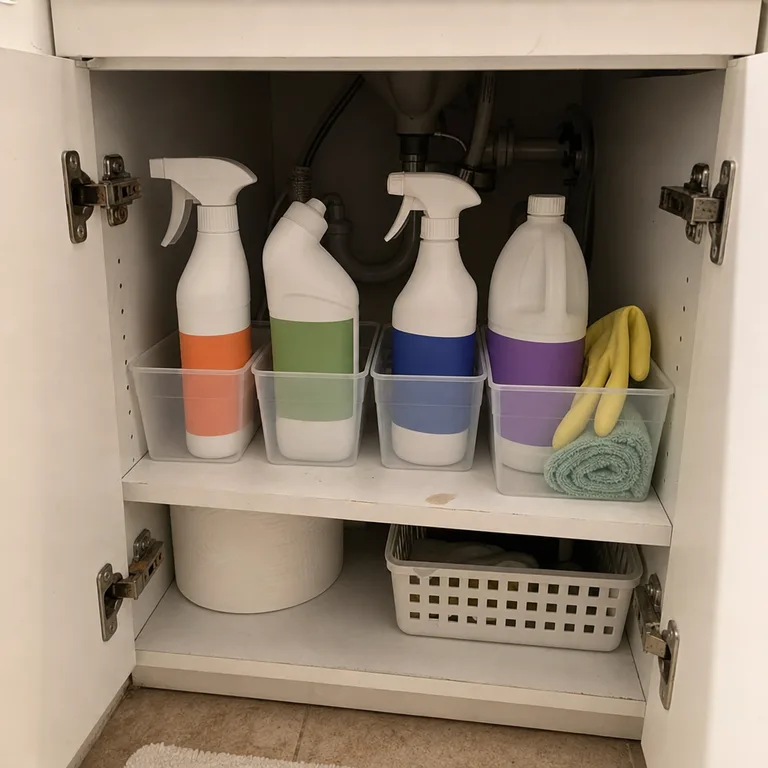
Follow product labels, surface care instructions, and ventilation guidance every time. Store products in their original containers, keep them away from children and pets as directed, and never mix cleaning products.
Worth knowing: Some older or damaged finishes need more cautious care, so the product label may not be enough without checking the fixture maker’s instructions.
8.Use a short repeatable cleaning checklist
Keep the routine in the same order: clear, rinse, dry, return, hang, empty, clean by surface, and reset. A short checklist reduces the need to decide what comes next when the bathroom is already busy.
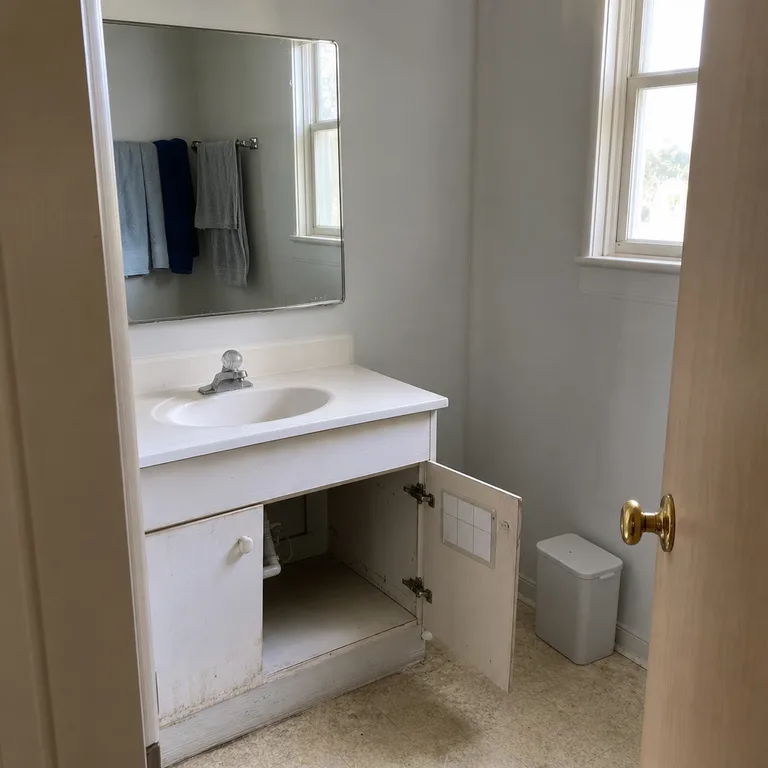
Place the list inside a cabinet door or another dry, private spot where household members can see it. The goal is a repeatable reset, not a long cleaning project every time someone uses the room.
Worth knowing: A checklist cannot account for occasional deeper jobs such as cleaning grout, washing textiles, or addressing a plumbing leak.
About the author
Dana Ruiz, Senior editor
Dana writes about small-space living, storage and low-cost decorating.
Keep reading
7 Easy Kitchen Reset Routines for a More Usable Kitchen
November 11, 2026
8 Budget Family Command Center Ideas for Easier School Weeks
November 11, 2026

7 Easy Rules to Declutter Sentimental Things Kindly
November 11, 2026
6 Easy Donation Systems That Get Usable Items Out
November 11, 2026