10 Easy Cleaning Tasks That Make a Home Feel Fresh
A few small, visible cleaning tasks can make the rooms used every day feel reset without turning the day into a whole-house project. Choose the surface or spot that catches the eye most, use cleaners suited to that material, and stop when the selected job is done.
As an Amazon Associate I earn from qualifying purchases.
1.Wipe the dining table and chair backs
Clear the dining table of crumbs, rings, and loose items, then wipe the surface with a cloth and cleaner that suit its finish. Run the cloth over the chair backs nearest the table too, where hands often leave fingerprints or cooking dust settles.
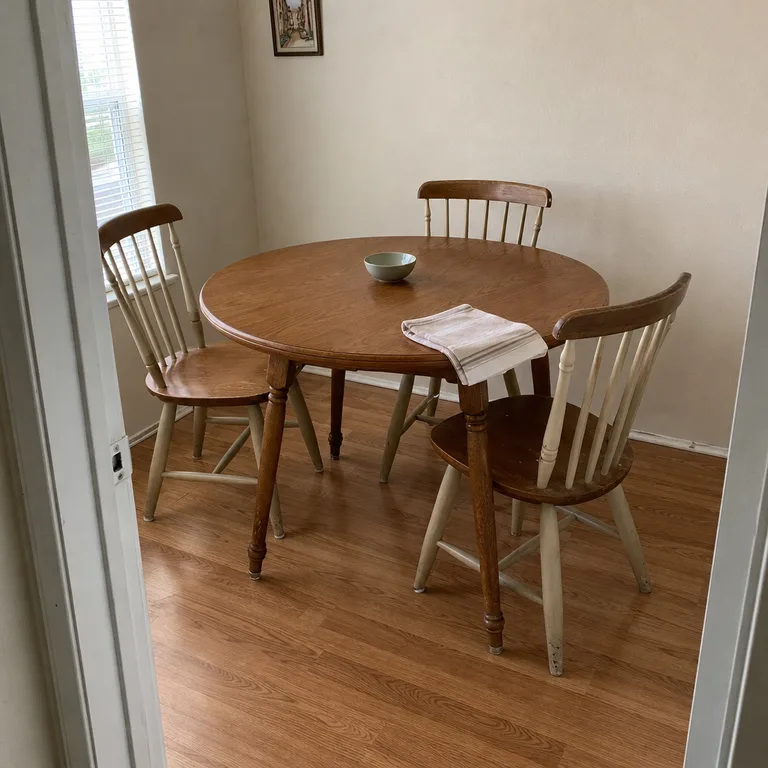
A clean eating surface makes the whole dining corner look more orderly, even if the rest of the room has not changed. Keep one simple bowl or other everyday item on the table if desired, rather than restyling the entire space.
For wood veneer, laminate, or painted surfaces, use a lightly damp cloth rather than soaking the surface. Dry it promptly, especially around seams and edges where moisture can cause damage over time.
Worth knowing: This will not remove deep stains, heat marks, or damage in a wood or veneer finish.
2.Pick up visible debris from the main floor path
Sweep or vacuum the open route people use most, such as the path from the front door to the sofa or from the kitchen to the dining table. Focus on grit, pet hair, dry leaves, and crumbs that show against the floor.
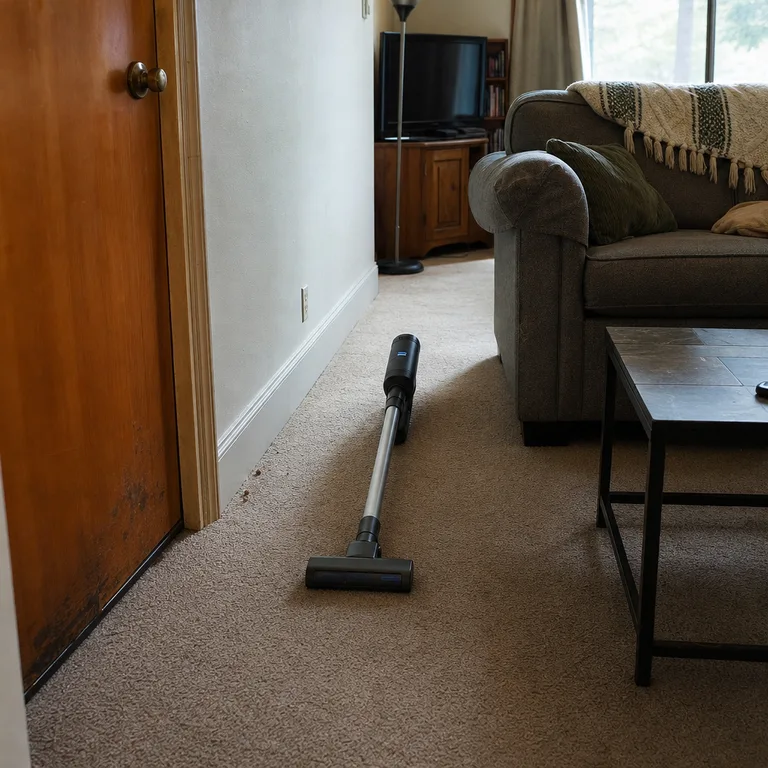
A clearer floor path changes the look of a room quickly because it removes the small messes visible at standing height. There is no need to move every piece of furniture for this to feel worthwhile.
Use the tool that fits the floor: a vacuum for carpet, a soft broom for hard flooring, or a handheld tool for tight edges. A quick pass around the sofa front and baseboards can be enough for a low-energy reset.
Worth knowing: This only handles visible debris and will not replace vacuuming under furniture or washing a dirty floor.
3.Clean the living-room mirror
Polish one mirror that catches daylight or reflects the main seating area. Wipe away fingerprints, dust, and visible streaks with a lint-free cloth and a glass cleaner used according to its directions.
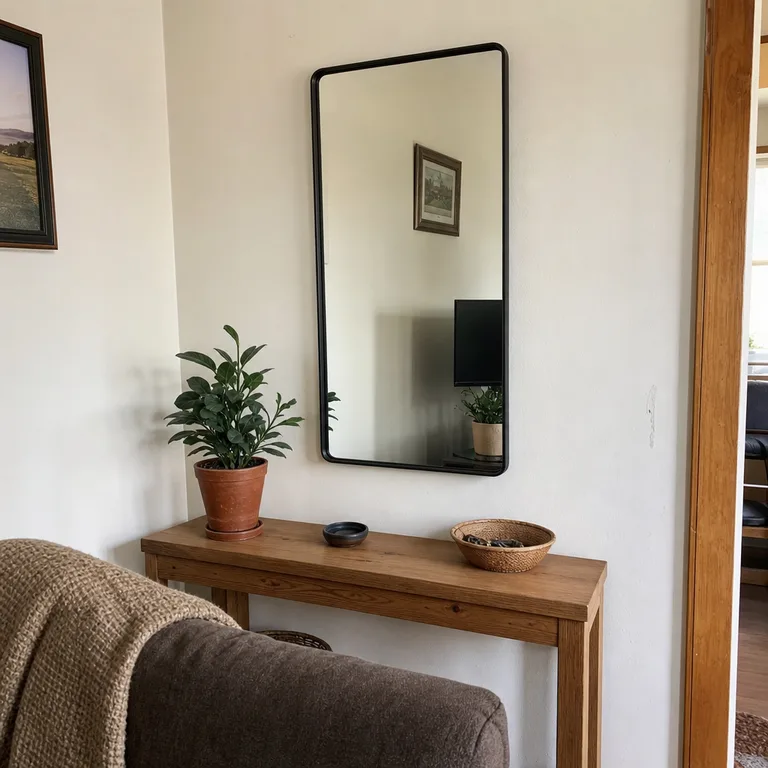
Mirrors amplify light, so haze and smudges can stand out more than on many other surfaces. Cleaning one can make a living room feel brighter without changing the furniture or decor.
Spray cleaner onto the cloth when working near a painted wall or a frame that could be affected by drips. Use light passes and a dry section of cloth to finish the glass rather than repeatedly adding product.
Worth knowing: A cleaning cloth will not fix scratches, edge damage, or dark spots inside an aging mirror.
4.Wash the kitchen sink basin
Wash away food residue, water marks, and dull buildup from the sink basin with a cleaner and scrubber suited to its material. Give attention to the drain area, corners, and the ledge around the basin where residue often collects.
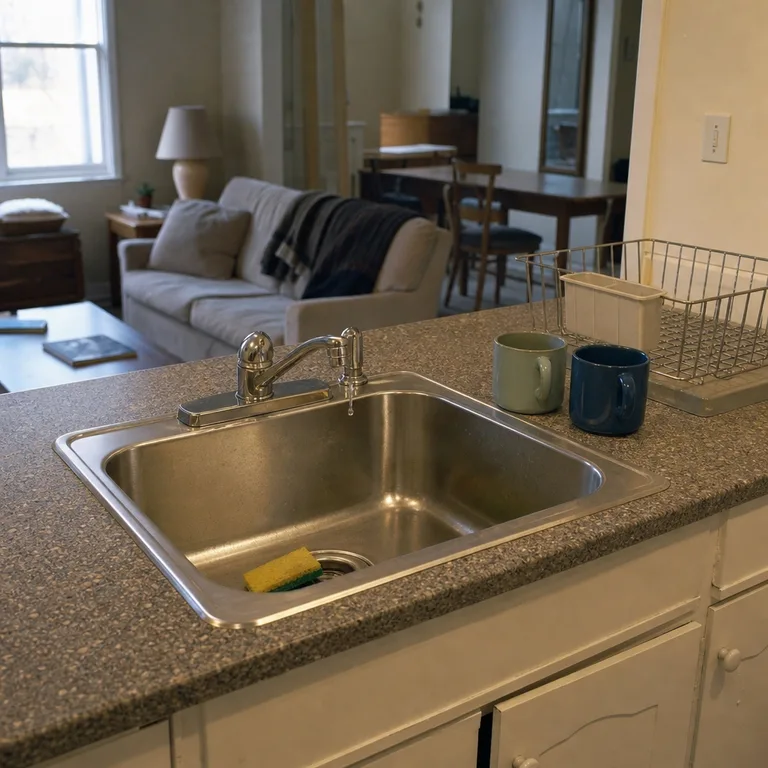
The sink is a small area with a large visual effect because it sits at the center of many kitchen tasks. A clean basin can make a kitchen look cared for even when dishes still need to be handled later.
Use a non-scratch sponge on finishes that can be damaged by abrasive pads, and follow the sink and cleaner instructions. Rinse well so cleaner residue does not dry onto the surface.
Worth knowing: This is a surface clean, not a solution for a slow drain, persistent odor, rust, or damaged finish.
5.Wipe fingerprints from cabinet handles
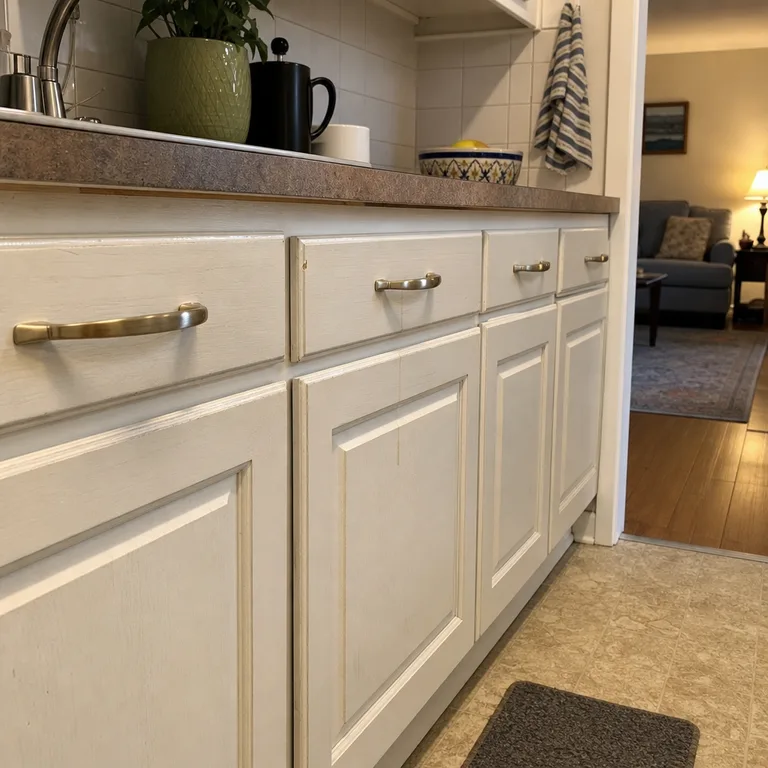
Wipe the cabinet pulls and handles used most often, especially those near the stove, sink, and refrigerator. Cooking residue and fingerprints can make cabinets look dull even when the doors themselves are fairly clean.
Cleaning the hardware gives cabinet fronts a sharper, more finished appearance without taking on a full cabinet-washing job. It is also easy to stop after the busiest drawers and doors are done.
Use a soft cloth with a compatible cleaner, taking care around unfinished wood, delicate finishes, and older hardware. A small detailing brush can help around handle bases, but avoid leaving moisture in those seams.
Worth knowing: It may not restore worn plating, tarnish, or paint loss on older pulls and handles.
6.Clean the accessible pane of one window
Choose one reachable interior window pane where haze or handprints interrupt the light. Clean only the glass that can be reached safely from inside, using a cloth or small squeegee.
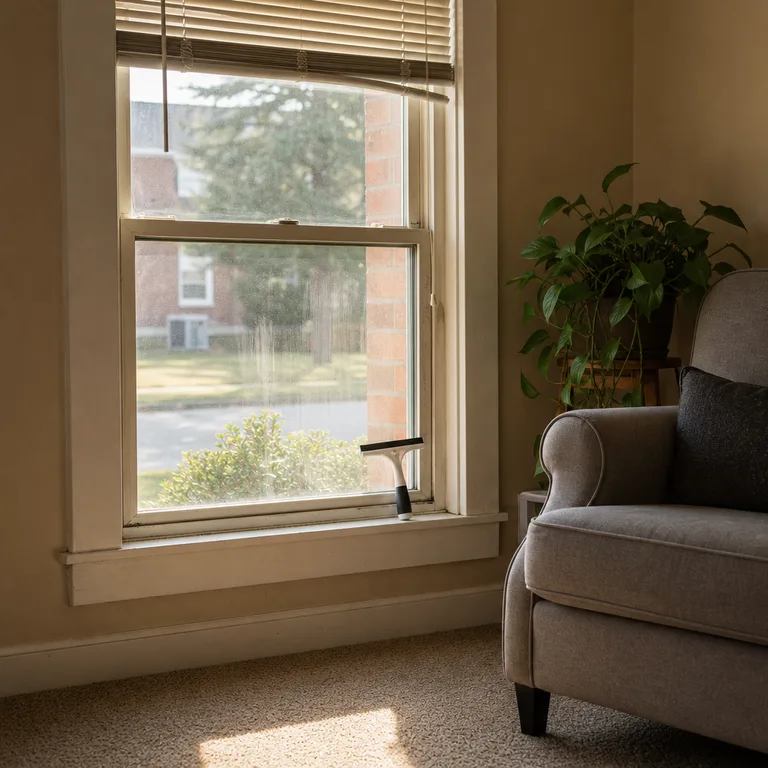
Clear glass makes daylight look cleaner and can improve the view from a sofa, table, or favorite chair. One bright window can make more difference to a room than trying to clean every window at once.
Work in vertical or horizontal passes, then dry the edges with a clean cloth. Avoid exterior work, ladders, or awkward reaches; windows with damaged seals or persistent condensation need a different kind of attention.
Worth knowing: This does not address exterior dirt, damaged screens, failed window seals, or hard-to-reach upper panes.
7.Launder one washable throw cover
Wash a removable throw cover, small blanket, or washable cushion cover that has made the sofa look rumpled or tired. Check the care label first, including whether it can be machine washed and how it should be dried.
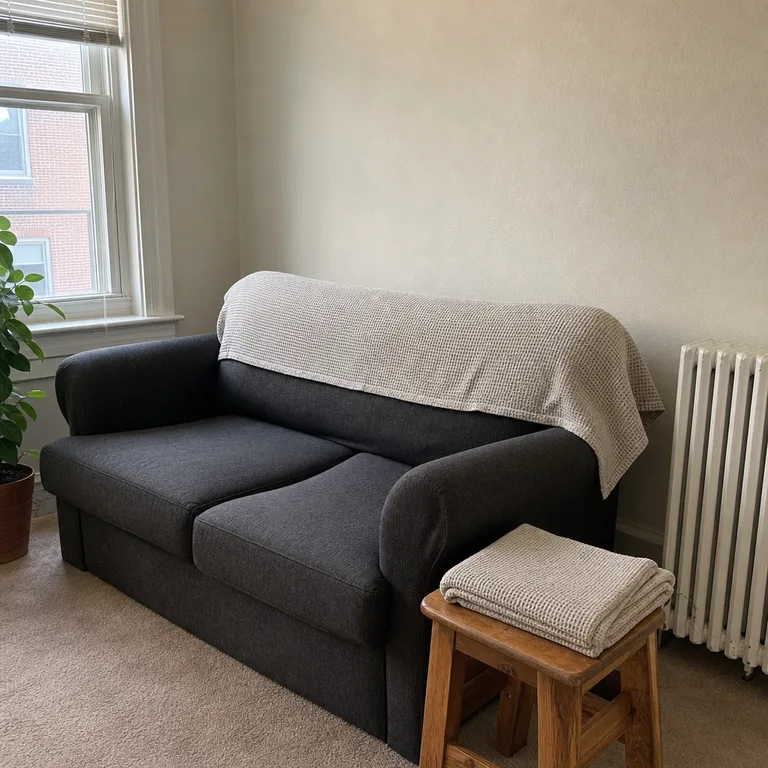
Fresh fabric changes the appearance of the seating area without requiring a full upholstery-cleaning project. A clean throw can also make a sofa look intentionally arranged after it is draped back in place.
Choose one item that is easy to remove and allow time for it to dry fully before using it again. Smooth it over the sofa while it is still slightly warm from drying if the care instructions allow, which can reduce the need for extra fussing.
Worth knowing: This is not suitable for non-washable textiles, and it will not clean the sofa upholstery underneath.
8.Clear and wipe one open shelf
Take everything off one shelf, wipe the exposed surface, and return only the books, containers, or decor that belong there. A single shelf is enough to remove a visible dust line and break up a crowded-looking wall.
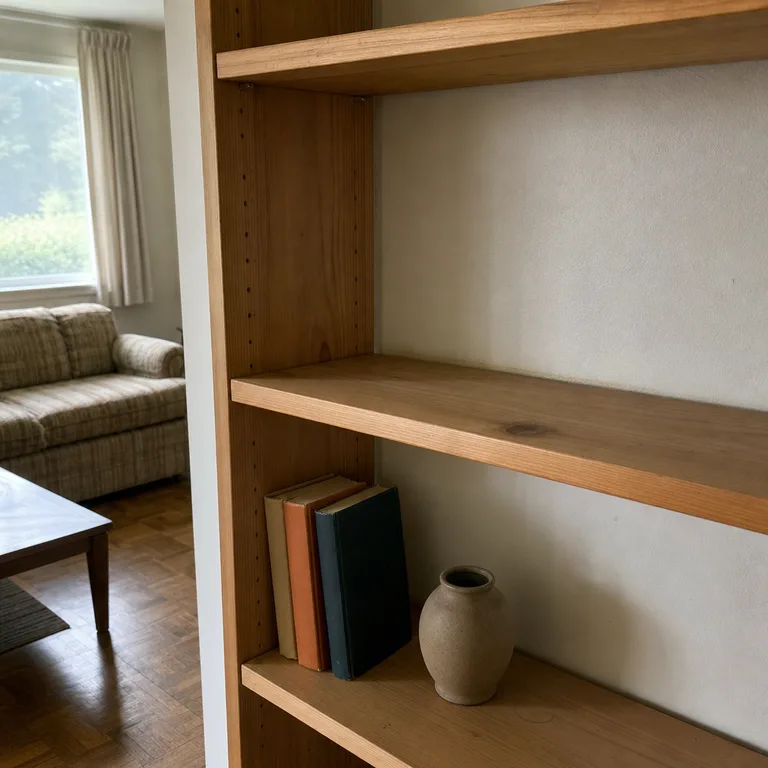
This task handles dust and visual clutter at the same time, which makes it especially useful for bookcases and open shelving. Leaving a little breathing room between items can make ordinary objects look more deliberate.
Use a dry microfiber cloth for loose dust, or a lightly damp cloth if the shelf finish allows it. Put small items on a tray or nearby surface while cleaning so they do not migrate into a larger sorting project.
Worth knowing: It will not solve storage shortages or remove stains that have soaked into unfinished wood.
9.Empty and rinse the living-room wastebasket
Empty the living-room wastebasket when receipts, wrappers, tissues, or pet hair are visible near the top. Wipe or rinse a removable liner if it needs it, then let it dry before putting it back.
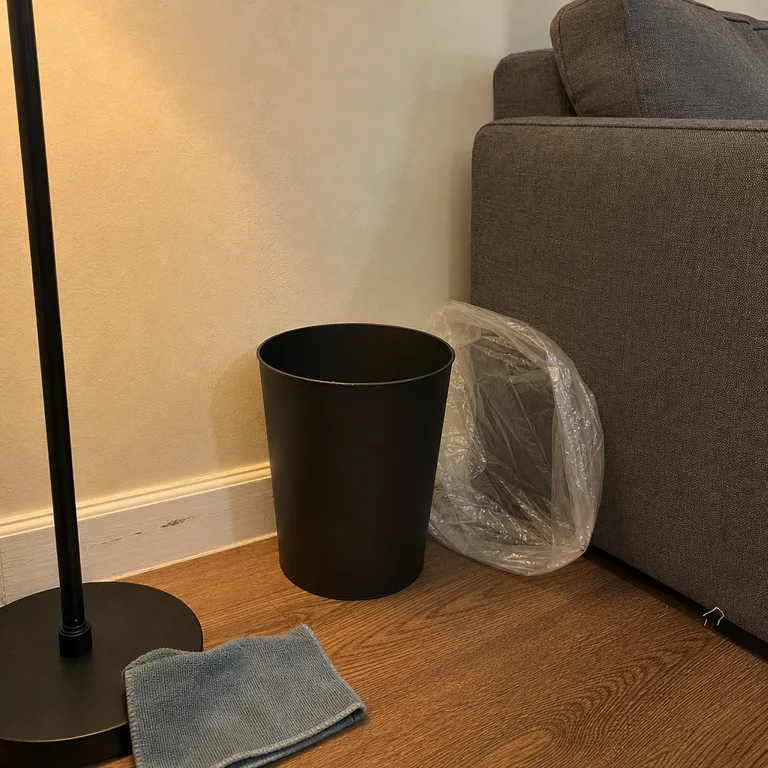
A small bin is easy to overlook, but an empty one makes the corner around a sofa, desk, or chair feel more maintained. This is a contained task with a clear endpoint, which suits a low-energy day.
Use a damp cloth for a quick wipe, or rinse a removable plastic liner if the material allows. Letting the liner dry helps prevent trapped moisture and lingering smells.
Worth knowing: This will not remove deeply set odors or cracks in an older bin or liner.
10.Spot-clean one compatible mark on a door
Choose one visible hand-height or lower-door mark and treat it only with a cleaner suited to the paint finish. Use a soft cloth, and test an inconspicuous spot first if the door finish is uncertain.
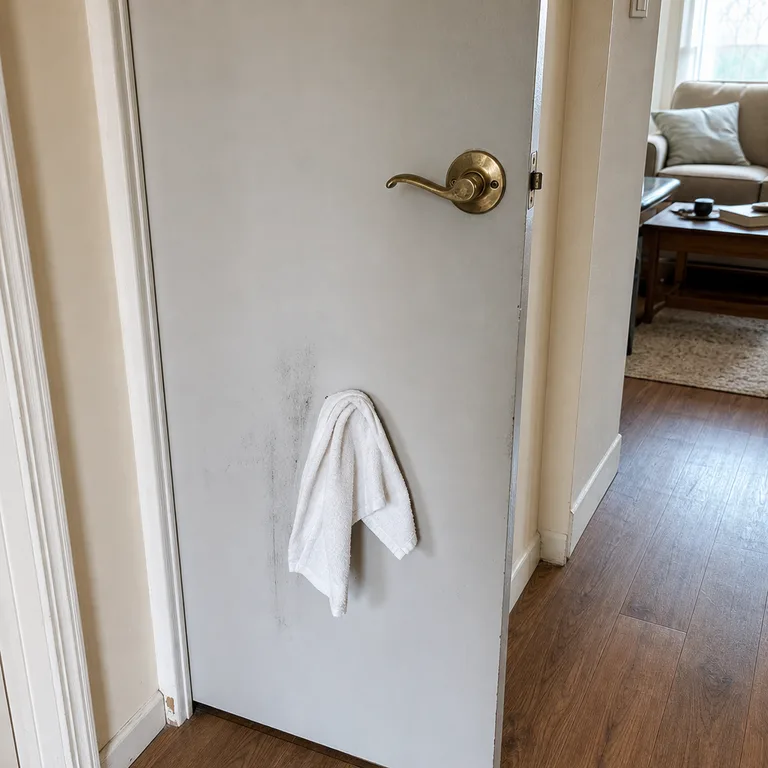
Removing one dark scuff can make an interior door look much less neglected because doors sit at eye level and frame everyday room views. It is a more manageable task than washing every wall and trim surface.
Use gentle pressure and stop if paint begins to dull, transfer, or lift. Mild cleaners are generally safer for painted doors than aggressive scrubbing, particularly on older paint or matte finishes.
Worth knowing: This cannot repair chipped paint, deep scratches, or marks that have penetrated the finish.
About the author
Dana Ruiz, Senior editor
Dana writes about small-space living, storage and low-cost decorating.
Keep reading
8 Budget Ways to Clear Kitchen Counters Without Organizers
November 9, 2026
9 Easy Bedroom Reset Ideas That Make Mornings Easier
November 8, 2026
8 Budget Ways to Display Family Keepsakes Without Clutter
November 9, 2026
7 Budget Small Backyard Layouts That Keep Clotheslines Useful
November 9, 2026