6 Easy Donation Systems That Get Usable Items Out
A donation system works when usable items have a visible, limited holding place and a specific trigger for leaving the house. Check what the receiving organization accepts and whether it offers local drop-off or collection options, then choose one format that keeps the entry clear.
As an Amazon Associate I earn from qualifying purchases.
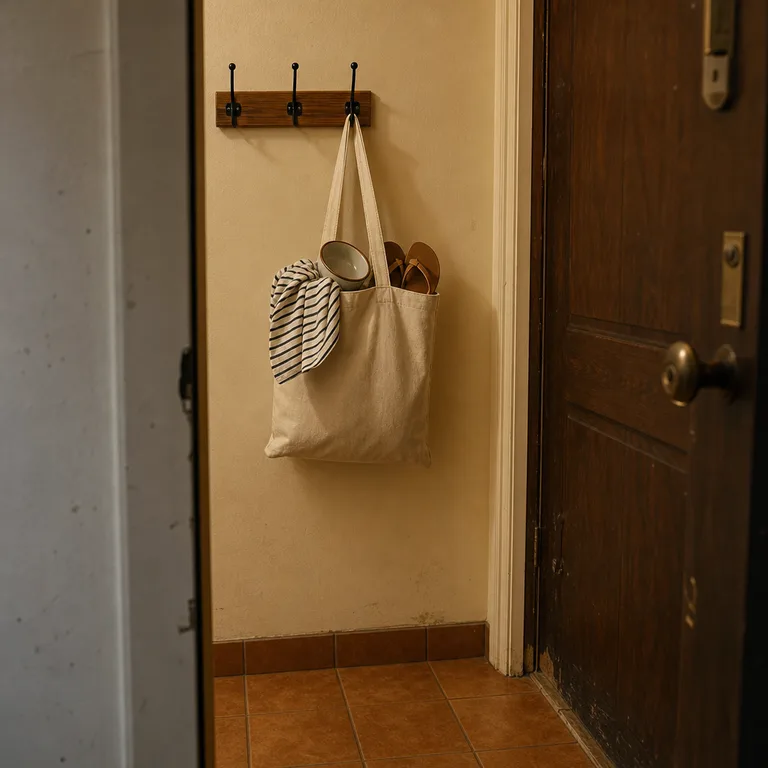
1.Keep a Small Weekly Exit Basket by the Door
Put a handled basket near the door and make it the only place for small, usable donation items that are ready to leave. Keep its size modest so it cannot turn into a permanent overflow pile in the entry.
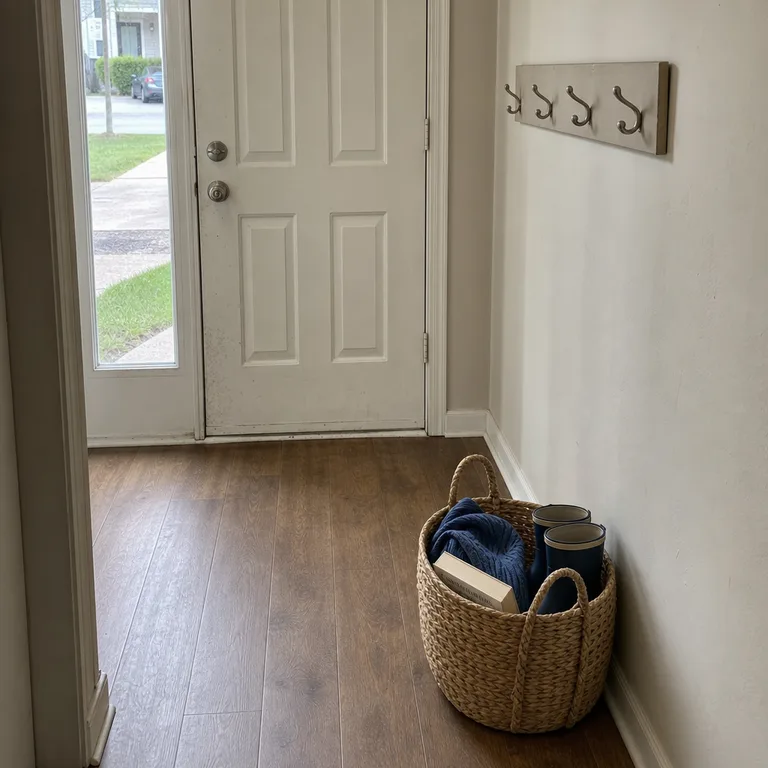
Tie the basket to an errand already on the calendar, such as a regular grocery or library trip. When it is full, confirm the drop-off location accepts the contents, then take the basket or transfer the items into a bag for the car.
Worth knowing: This works best for light, clean items; larger donations need a separate route so they do not block the doorway.
2.Sort Donations in a Labeled Category Box
Use one lidded box for a single category a nearby organization accepts, such as clean linens, books, or kitchenware. A category-specific box avoids a mixed bag of items that may need to be sorted again at the drop-off point.
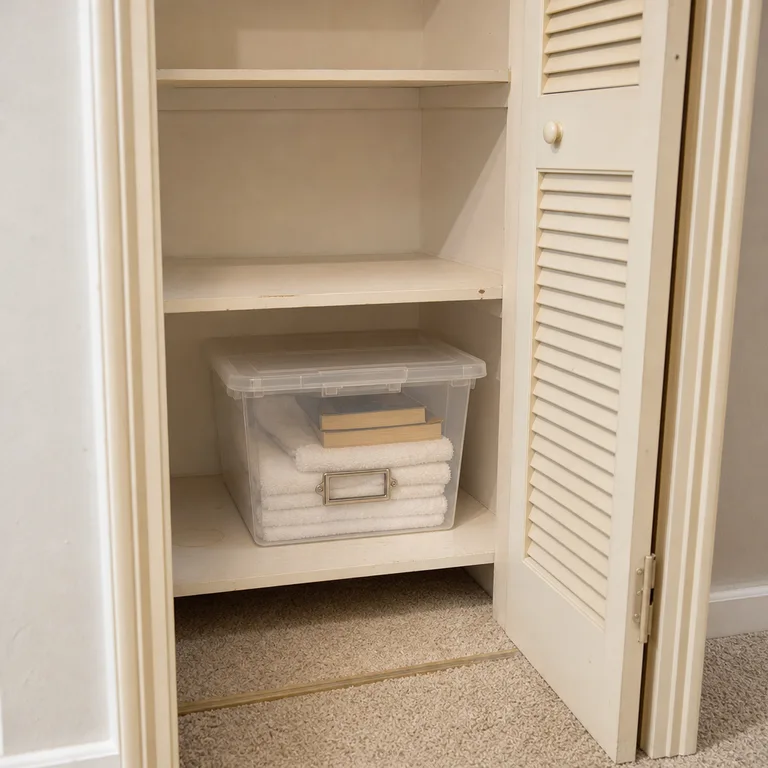
Set the box on a low closet shelf or another dry, accessible spot rather than in a main walkway. A simple label with the category and intended recipient helps everyone in the household add only suitable items.
Worth knowing: Acceptance rules vary, so the category and destination may need to change if the receiving organization stops taking that type of item.
3.Reserve a Holding Area for a Scheduled Pickup
Once a pickup has been verified, place sealed bags or boxes together in one holding area near the planned collection point. A garage corner, mudroom edge, or covered entry can work if it stays dry and leaves the route to the door open.
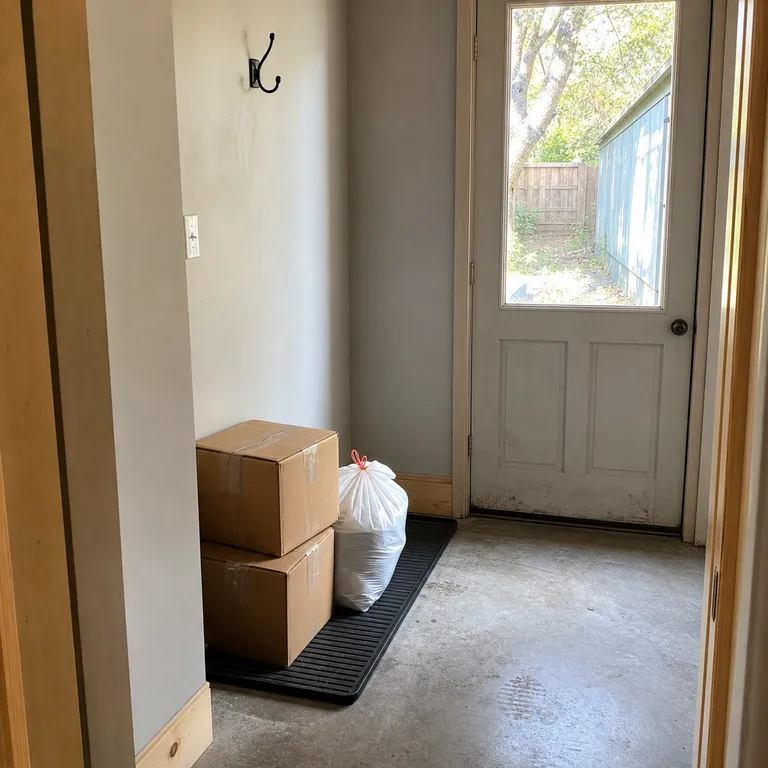
Use a mat, shelf edge, or other clear boundary to keep the pickup items separate from household storage. Labeling bags by recipient can help if more than one organization or person is collecting items.
Worth knowing: Do not stage donations outdoors or in an unsecured area unless the confirmed pickup instructions specifically allow it and local weather will not damage the items.
4.Use a Reusable Bag for a Regular Drop-Off Trip
Hang one sturdy donation bag near keys, shoes, or the door used for regular errands. Add only a manageable load of clean items that a confirmed destination will accept, so the bag remains easy to carry and load into the car.
Pair the bag with a route already traveled instead of creating a special trip for every item. This format suits small household goods, clothing, or books when the drop-off location is convenient to a recurring errand.
Worth knowing: The bag can become easy to ignore if the drop-off is not actually on a regular route or if it gets too heavy to carry comfortably.
5.Create a Household Handoff Shelf
Assign a shallow shelf near the exit for donation items that another household member has agreed to deliver. Keeping the handoff visible makes the responsibility clear without leaving bags on the floor or mixing them with mail and daily clutter.
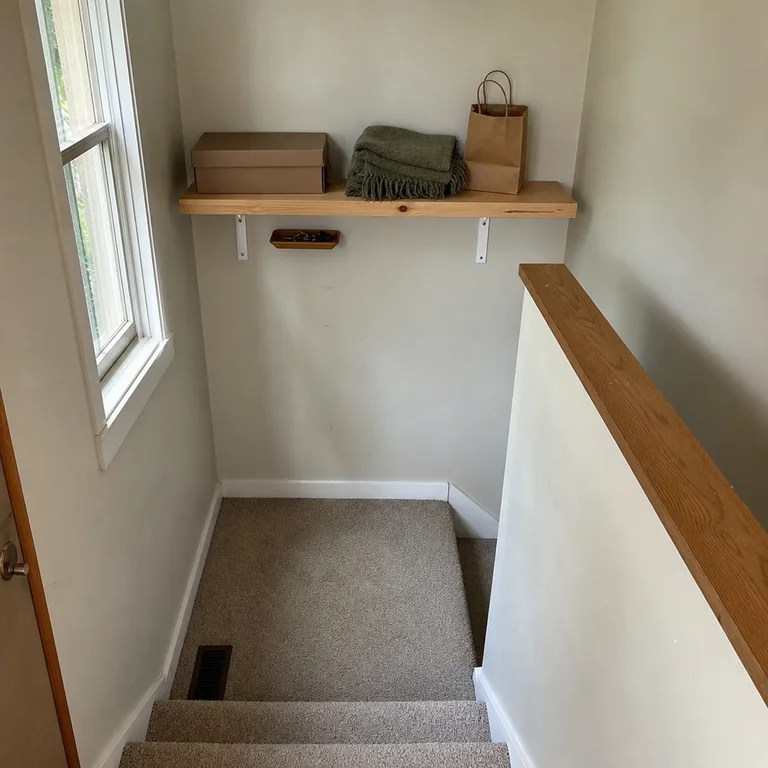
Use the shelf only after the recipient and handoff plan are confirmed. A closed shoe box or handled bag can contain small loose items, while a tray for keys helps connect the shelf to the person making the trip.
Worth knowing: This system depends on a specific person agreeing to the handoff; without a date or regular route, items can remain there too long.
6.Stage One Seasonal Clear-Out Tote
Keep one covered tote for clean, usable seasonal items that are ready to pass on, such as winter accessories or holiday-specific household goods. Place it at an accessible storage edge, not deep in an attic or packed basement, so it can be emptied during the next seasonal reset.
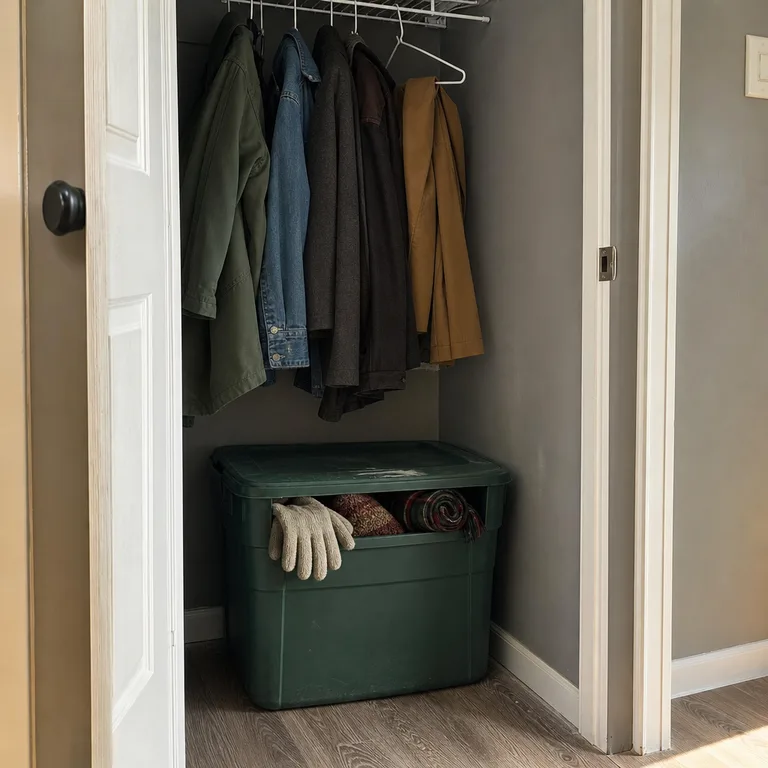
Choose a calendar cue for moving the tote out, such as the end of the cold-weather season or when coats are swapped. Check local acceptance before filling it, especially for seasonal gear that some organizations may take only at certain times.
Worth knowing: A seasonal tote moves slowly by design, so it is not the right choice for items that need to leave the house promptly.
Related: 9 Winter Mitten and Scarf Stations That Separate Damp Gear From Dry Gear
About the author
Dana Ruiz, Senior editor
Dana writes about small-space living, storage and low-cost decorating.
Keep reading

7 Easy Rules to Declutter Sentimental Things Kindly
November 11, 2026
10 Easy Cleaning Tasks That Make a Home Feel Fresh
November 9, 2026

8 Budget Ways to Clear Kitchen Counters Without Organizers
November 9, 2026

7 Budget Ways to Give a Plain Bookcase More Character
November 11, 2026