12 Refrigerator Organization Habits That Do Not Require Matching Bins
A crowded refrigerator works better when each food category has a visible home and the oldest items are easy to spot. These habits use shelves, crispers, reusable trays, and simple reset routines while protecting airflow, raw-food separation, and a refrigerator temperature of 40°F or below.
As an Amazon Associate I earn from qualifying purchases.
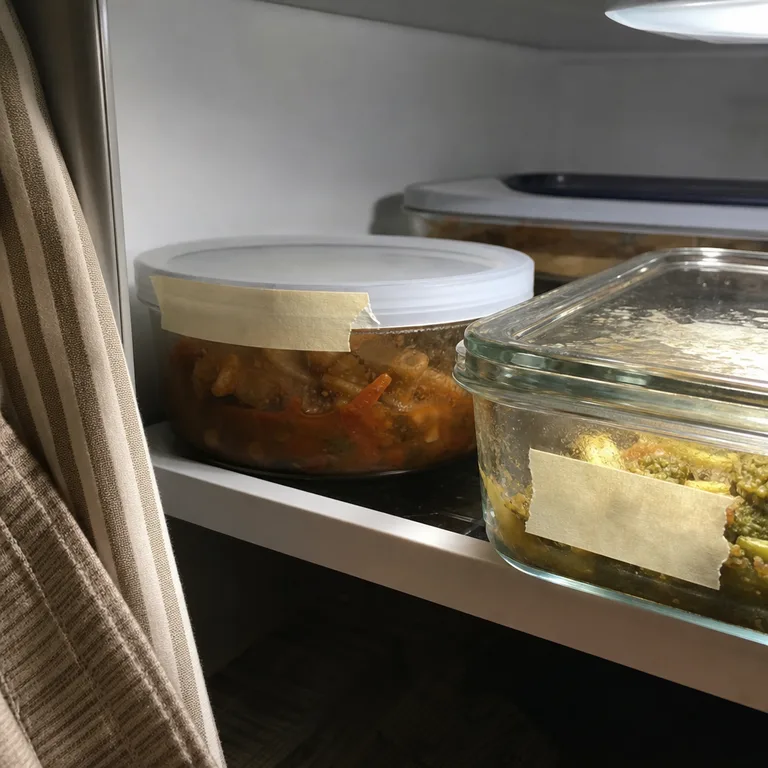
1.Keep an Eat-First Section at the Front of One Shelf
Reserve the front section of a shelf for opened foods, nearly finished items, and ingredients that need using soon. Keeping this area small makes it faster to scan when planning a meal or packing lunch.
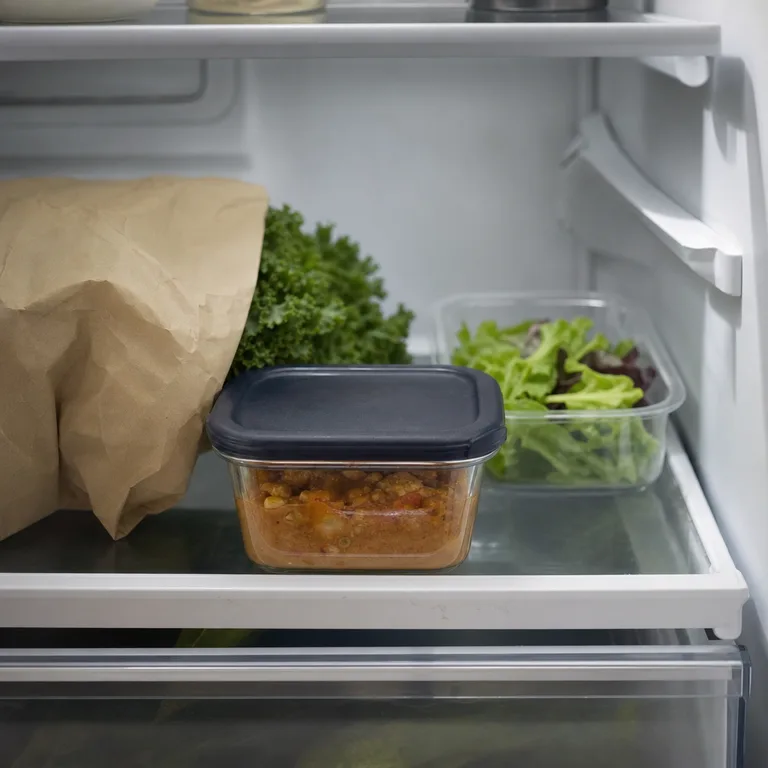
Move items into this section as soon as they are opened, rather than creating a separate bin for every category. A removable label on the shelf edge can define the zone, but the habit matters more than the label.
Keep the area clear enough that cold air can circulate around containers, and do not let it become a place for forgotten food.
Worth knowing: This works only if household members return opened items to the same front section after using them.
2.Group Leftovers Together in Covered Food-Safe Containers
Keep prepared food and leftovers together in one part of a shelf instead of scattering containers among groceries. A single visible grouping makes dinner options easier to find and reduces the chance that a container gets pushed to the back.
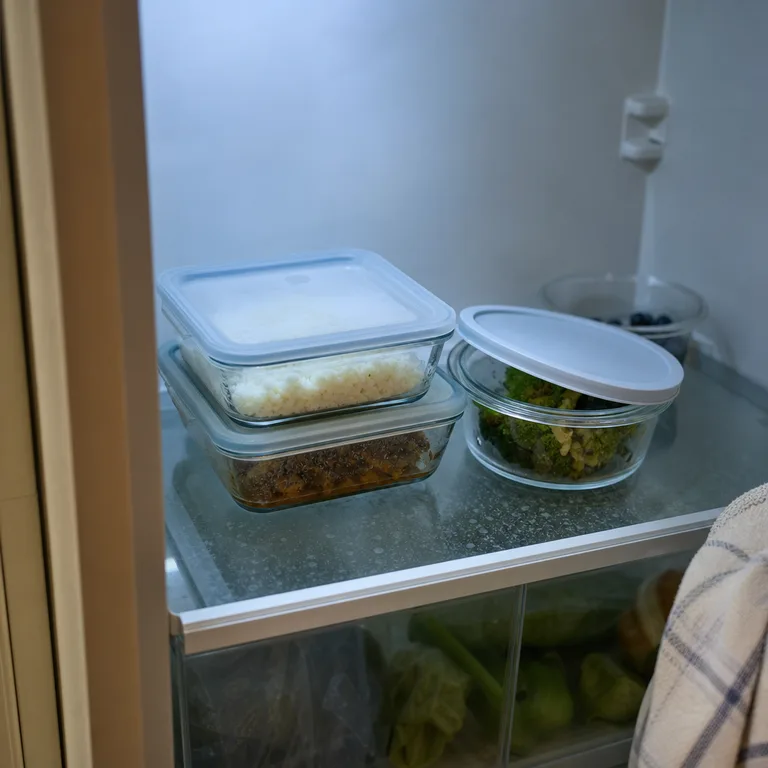
Use covered food-safe containers in shapes that stack safely, including containers already on hand. Put newer leftovers behind older ones so the first container seen is the one to consider first.
Avoid stacking containers so high that they block sightlines or interfere with shelves and vents.
Worth knowing: A leftover group can still become cluttered when containers are stored without a clear date mark.
3.Give Unopened Groceries an Original-Packaging Row
Set aside a row for unopened yogurts, drinks, snacks, and similar groceries in their original packaging. This separates backup food from opened food, so the refrigerator does not look full when much of it is still untouched.
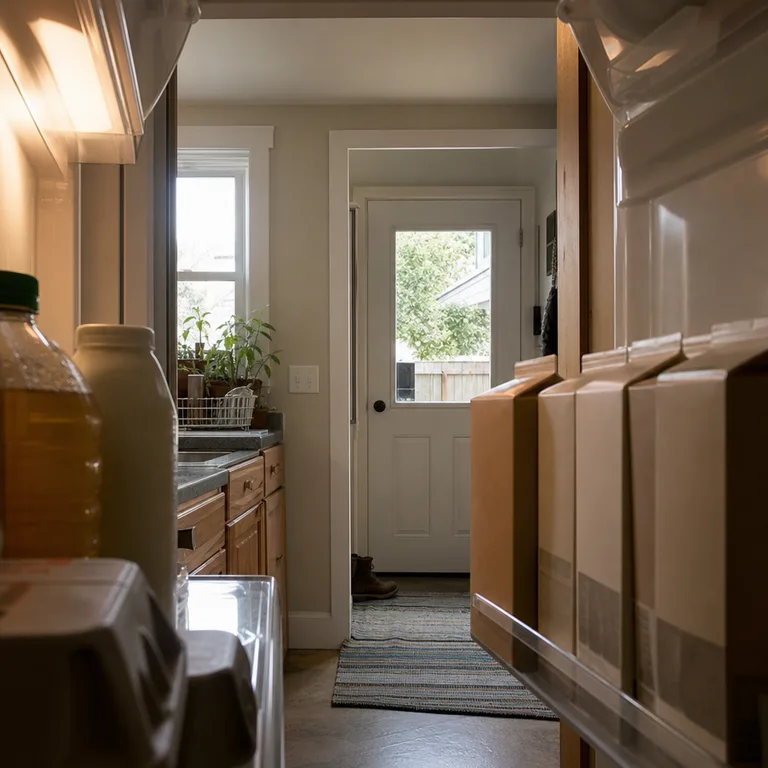
Line packages up across the back or side of a shelf according to what fits your refrigerator. There is no need to decant items that are already easy to identify and store safely in their packaging.
Leave a little space around the row rather than packing it tightly against the rear wall or air vents.
Worth knowing: Bulky packaging can take up more room than loose items, especially in a smaller refrigerator.
4.Contain Raw Meat on a Low, Easy-to-Clean Surface
Place securely wrapped raw meat on a rimmed, food-safe tray or in a contained section that is easy to wipe. This helps catch drips and keeps raw food separate from ready-to-eat items.
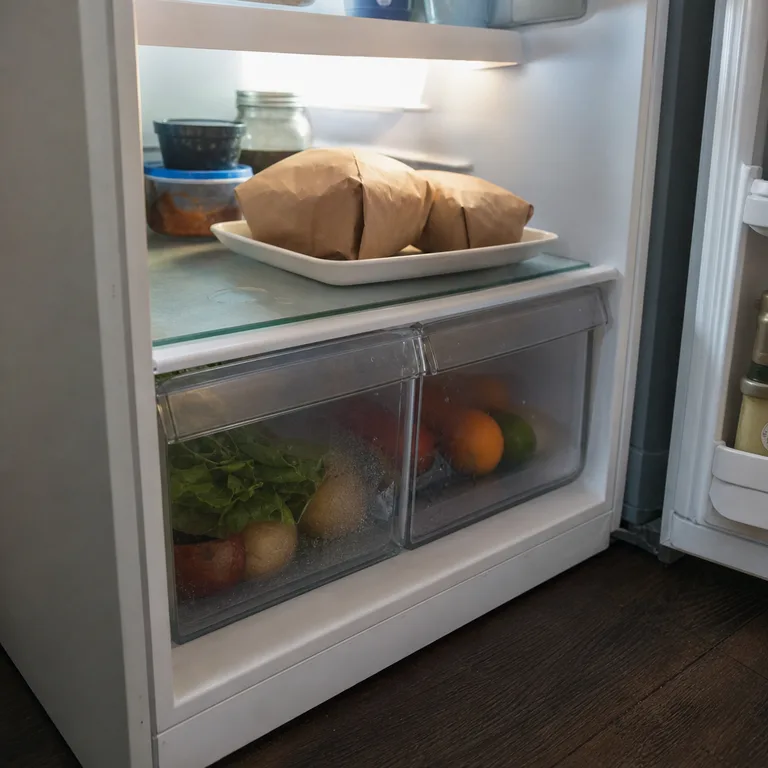
Use the shelf location recommended in the refrigerator manual, since appliance layouts and airflow vary. A tray already used for food storage can work if it is washable, intact, and large enough to contain the package.
Wash the tray promptly after a leak, and keep it dedicated to raw foods rather than using it for produce or leftovers.
Worth knowing: A tray reduces the spread of spills, but it does not replace secure packaging or regular cleaning.
5.Mark Dates Where They Can Be Seen Quickly
Add a clear date mark to leftovers and opened foods where it can be read from the front of the shelf. This gives the eat-first section useful context without requiring a complicated tracking system.
Use removable labels, masking tape, or another food-safe labeling method that stays attached in cold conditions and comes off reusable containers cleanly. Keep the writing simple: a date and a brief description are usually enough.
Replace labels that have loosened or become unreadable from condensation and handling.
Worth knowing: Labels help identify when food was stored, but they do not make unsafe food safe or replace sound judgment about spoilage.
6.Use a Reused Tray for Small Loose Items
Use a clean, washable reused tray to hold small jars, cheese portions, or snack packets that otherwise scatter across a shelf. Pulling out one tray is easier than searching behind larger containers.
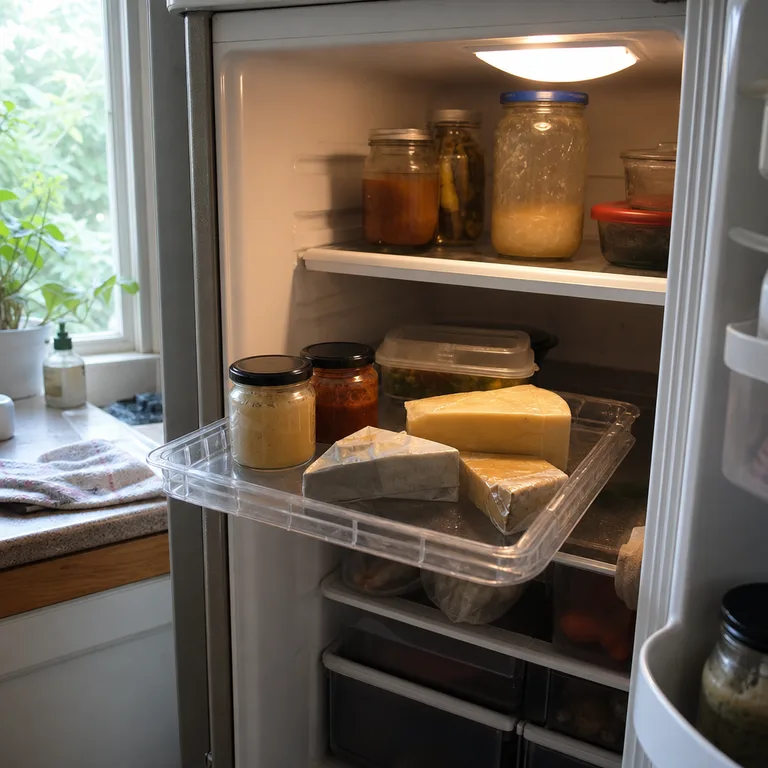
A sturdy food tray from another purchase can work if it is undamaged and easy to clean. Group items by how they are used, such as sandwich extras or small cooking ingredients, instead of trying to create a perfect matching set.
Do not overfill the tray; the point is to keep small items visible rather than creating another deep container to dig through.
Worth knowing: A tray takes up shelf space, so it is less useful when the refrigerator is already tightly packed with large containers.
7.Match Shelf Height to What You Actually Store
Adjust shelf heights around the foods that routinely cause crowding, such as tall bottles, stacked leftovers, or large produce containers. Better spacing makes food easier to see and prevents precarious piles.
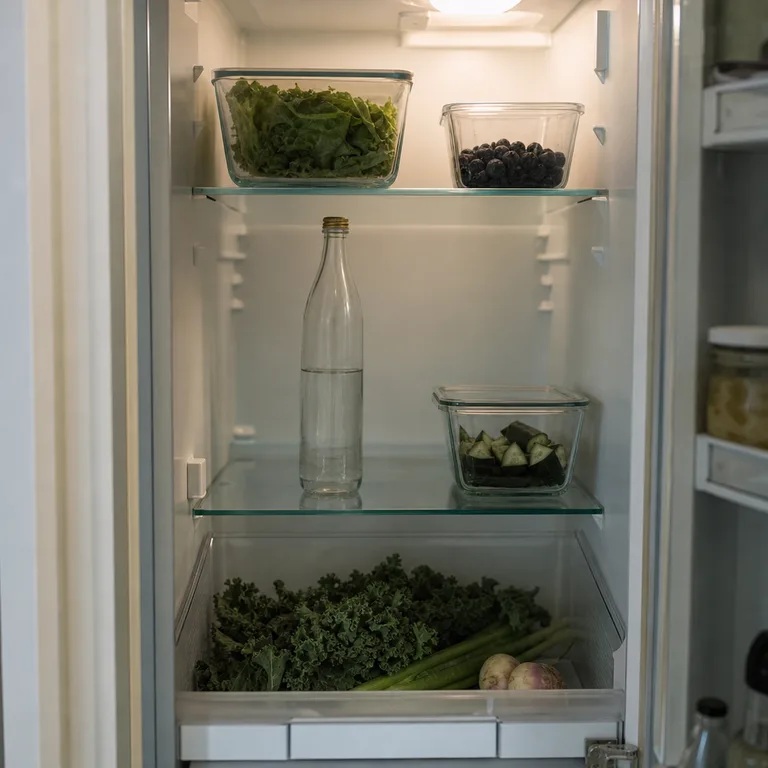
Try to create a few practical heights rather than many narrow gaps. A shelf that fits standard leftover containers without stacking can make everyday storage simpler and reduce hidden food.
Check that an adjusted shelf is seated securely in its supports and does not obstruct vents, drawers, or the door when it closes.
Worth knowing: Shelf layouts are limited by the appliance design, and some refrigerators offer few adjustment positions.
8.Do a Weekly Front-to-Back Inventory Scan
Once a week, look across every shelf from front to back and pull overlooked items forward. This brief reset keeps the zones useful and shows what should be used before another grocery trip.
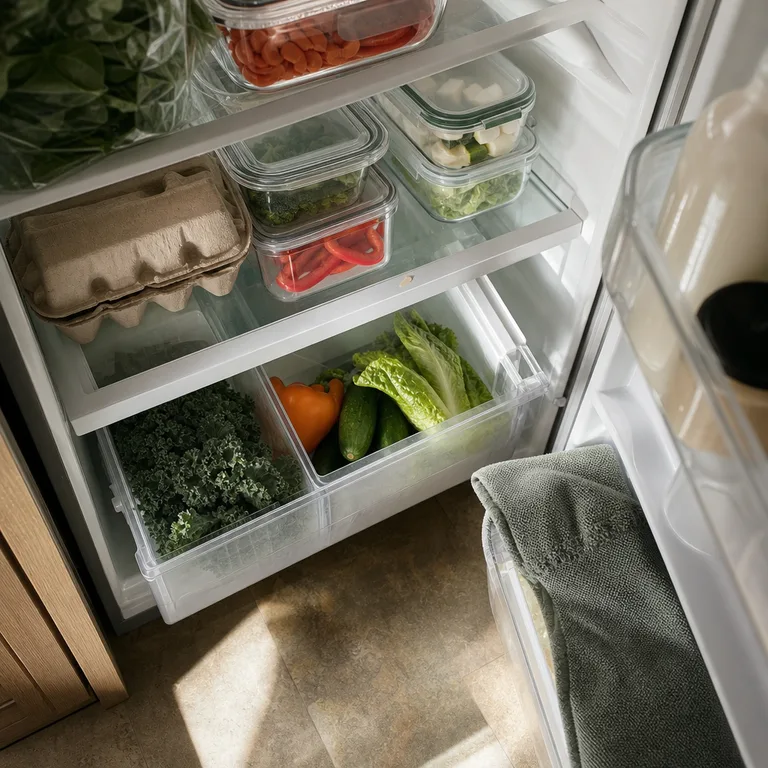
Wipe small spills while you are already moving food, then return items to their assigned area. The goal is not a full refrigerator clean each time, but a quick check that prevents buildup and confusion.
Use the scan to make sure containers are covered, raw foods remain contained, and the refrigerator is maintaining 40°F or below.
Worth knowing: A weekly scan will not prevent waste if food is regularly bought in quantities the household cannot use.
9.Arrange Door Condiments by Everyday Use
Arrange condiments and similar items in visible door rows when their labels and the refrigerator manufacturer’s guidance indicate that door storage is suitable. Grouping everyday bottles by use makes it easier to return them after meals.
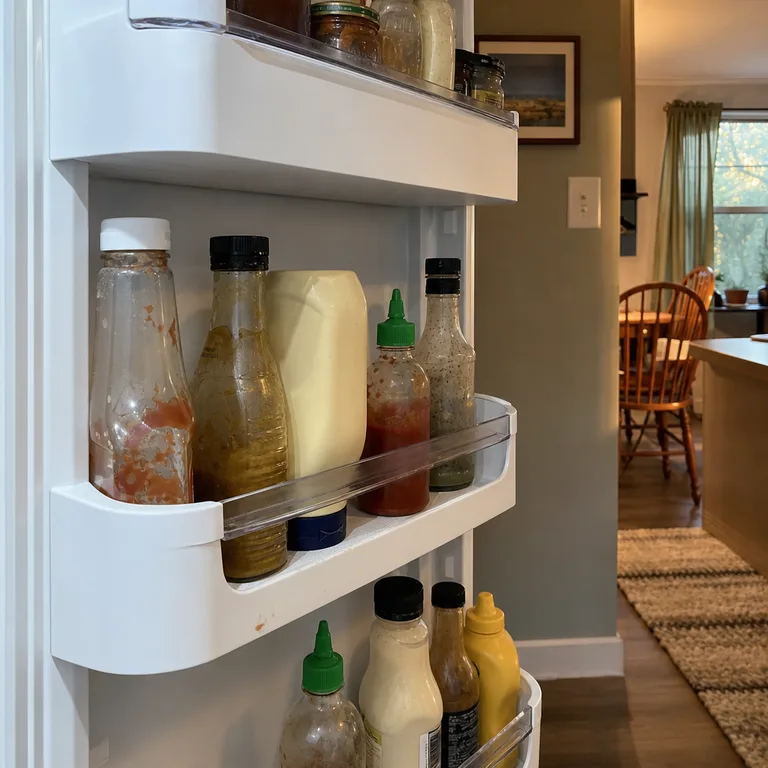
Keep taller bottles together and place shorter jars where they remain visible behind the door guard. Wipe bottle bases occasionally so drips do not collect in the door shelves.
Use more stable, colder refrigerator areas for foods that need them rather than moving temperature-sensitive foods to the door just to make a neat zone.
Worth knowing: Door shelves experience more temperature change than interior shelves, so they are not appropriate for every food.
10.Reserve a Narrow Lane for Lunch Ingredients
Assign a narrow shelf lane to lunch ingredients such as cheese, deli items, snack packs, or sandwich vegetables. Keeping these components together shortens the search without mixing them into the leftover section.
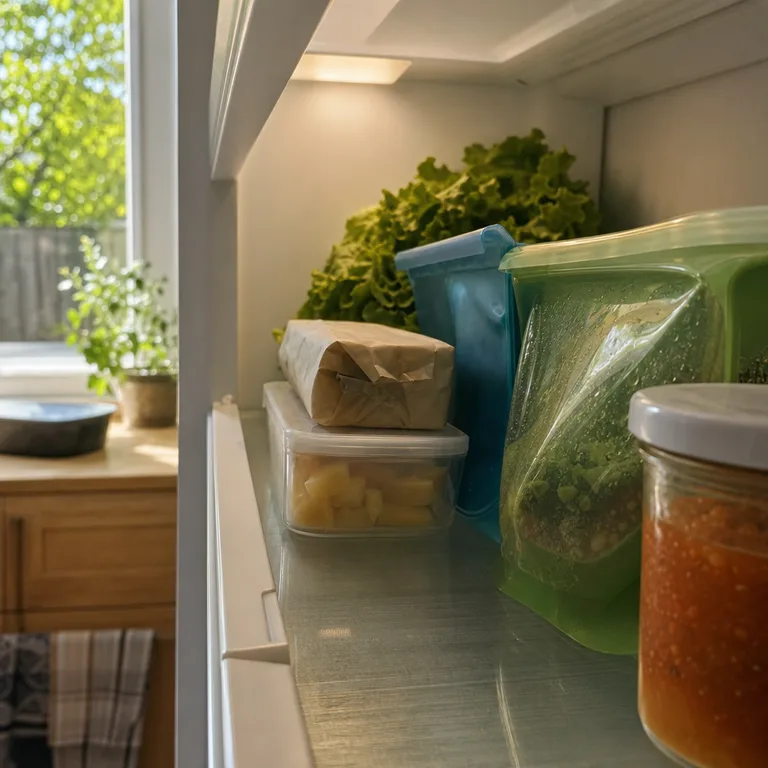
A small reused tray, a simple divider, or even an open stretch of shelf can define the lane. Keep it narrow enough that it does not crowd out dinner ingredients or block access to larger containers.
Store foods according to their package directions and keep the lane easy to wipe when crumbs or moisture collect.
Worth knowing: This lane can turn into a catchall if it is used for every small item rather than just lunch components.
11.Sort Produce by Crisper and Moisture Needs
Use the refrigerator’s existing crisper drawers to group produce with similar storage needs. Keep leafy greens together in one drawer, for example, and use the other drawer for produce that suits a different humidity setting when the appliance manual supports it.

Follow produce-specific storage guidance and adjust crisper controls only when they match the drawer design and what is being stored. A paper bag or reusable produce bag can help keep loose items together without adding rigid bins.
Remove damaged produce promptly, since it can affect nearby items and make the drawer harder to keep clean.
Worth knowing: Not all produce belongs in the refrigerator, so a crisper system still requires checking the needs of each item.
12.Make a Tall-Bottle Area With One Shelf Adjustment
Create one stable area for milk, pitchers, and tall bottles by adjusting a shelf to give them enough upright clearance. This reduces the temptation to lay containers on their sides or wedge them among shorter foods.
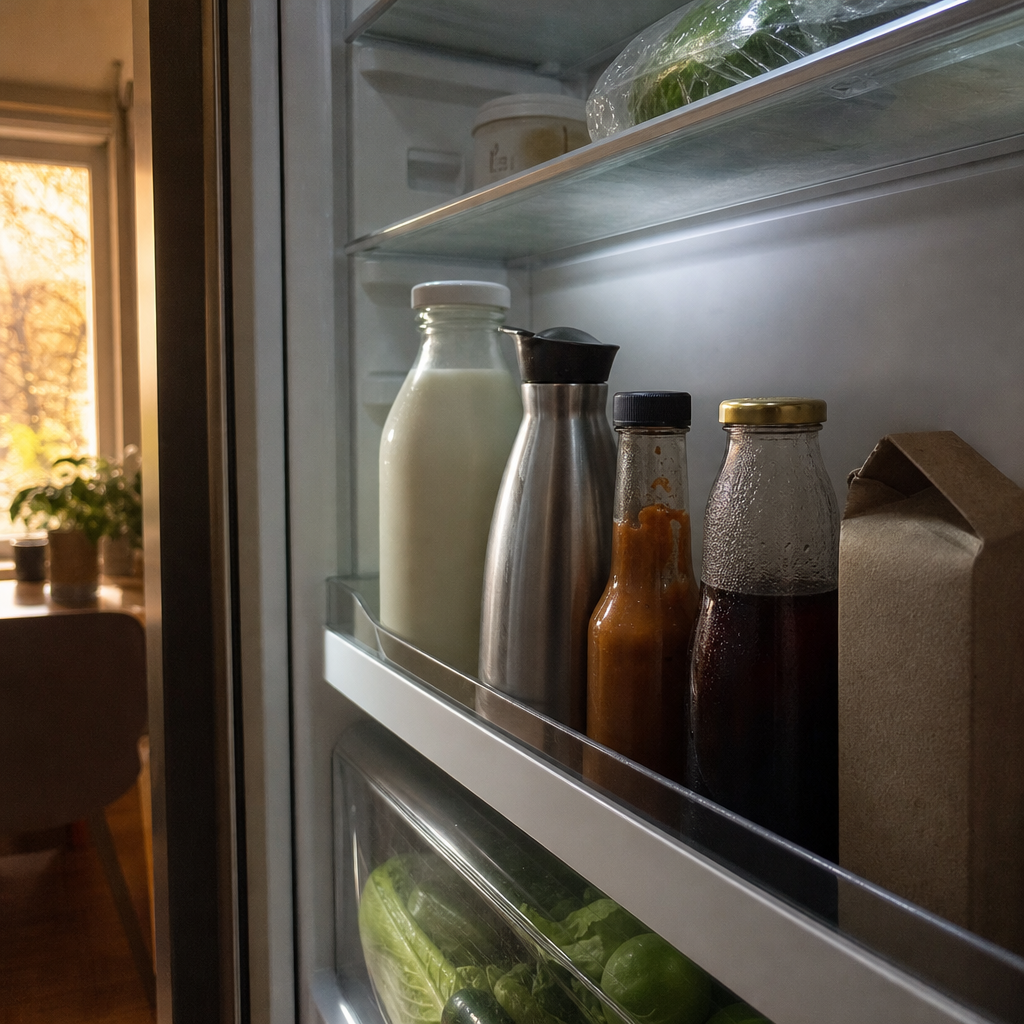
Choose a spot that keeps bottles easy to lift out without knocking over nearby items. Keep the heaviest containers on a sturdy shelf, and check that the shelf is fully supported after adjusting it.
Avoid filling the tall-bottle area so tightly that bottles press against the rear wall, door, or interior vents.
Worth knowing: A dedicated tall area may reduce room for stacked containers, so it needs to reflect the foods used most often.
About the author
Dana Ruiz, Senior editor
Dana writes about small-space living, storage and low-cost decorating.
Keep reading
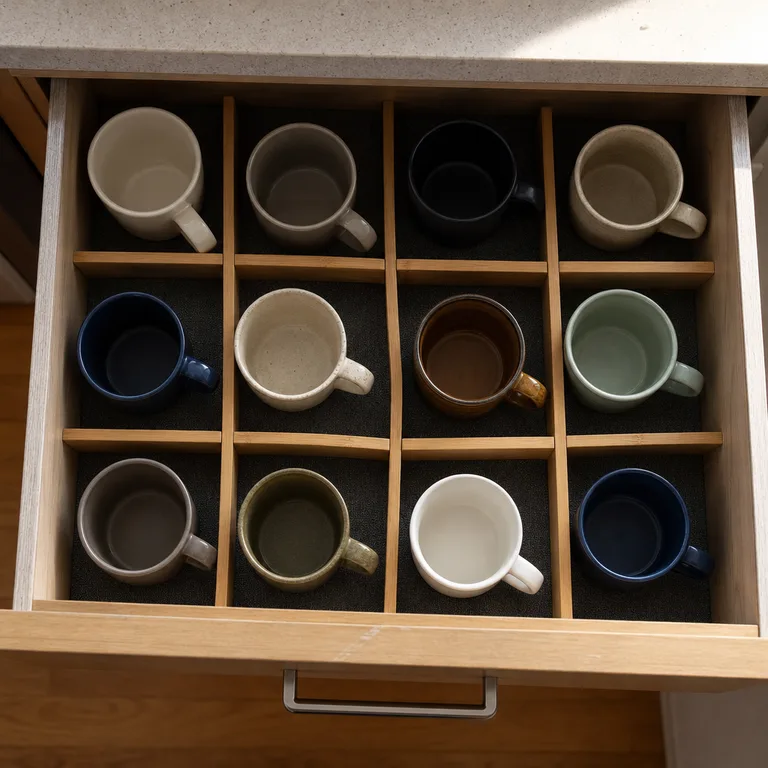
8 Mug Storage Ideas for a Small Kitchen With Mismatched Cups
October 19, 2026
8 Foil and Food Wrap Storage Ideas for Kitchens With Shallow Drawers
October 18, 2026
7 Broom and Mop Storage Ideas for Homes Without a Utility Closet
October 18, 2026
10 Small Appliance Storage Ideas for Kitchens Without an Appliance Garage
October 18, 2026