10 Food Container Storage Ideas That Keep Every Lid Easy to Find
Mismatched food containers take less space when boxes are nested by shape, lids are stored separately, and each size has a defined home. These simple cabinet and drawer setups make it easier for families to grab a matching container without emptying the whole stack.
As an Amazon Associate I earn from qualifying purchases.
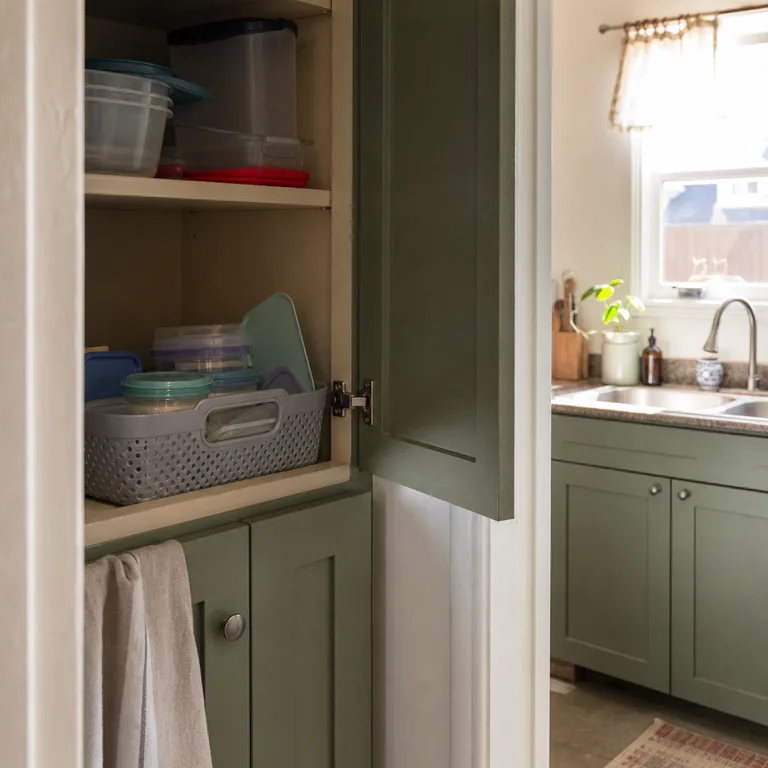
1.File Lids Upright in a Narrow Cabinet Bin
Put lids on their edges in a narrow open bin, with the containers nested on the shelf right beside it. Sort the lids loosely by shape so round lids do not get mixed into a row of rectangular ones.
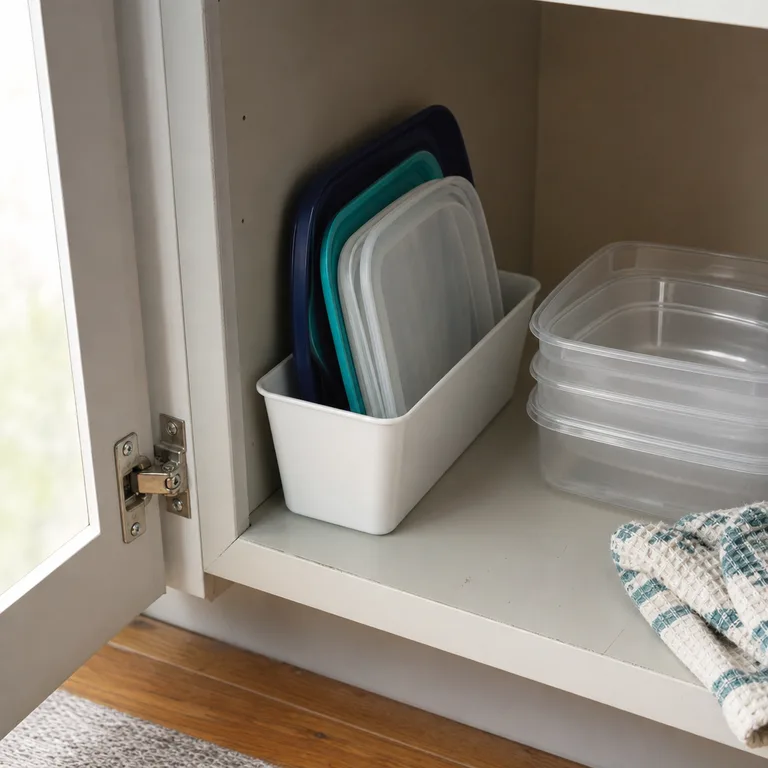
This turns a loose lid pile into a visible file system. A simple plastic bin or adjustable lid organizer is usually enough, and it can be moved easily when the cabinet needs cleaning.
Use this setup on a shelf with enough vertical clearance for the tallest lids. It works best for reasonably flat lids; deep or heavily curved lids can slip out of a very narrow bin.
Worth knowing: A bin that is too wide lets lids slump together, so this is less effective for a large mix of unusually shaped lids.
Related: 12 Corner Kitchen Cabinet Organization Ideas Without a Remodel
2.Nest Round Containers in Size Order
Make separate stacks for round containers, nesting each stack from largest to smallest. Keep them away from square and rectangular pieces, which tend to catch on the rims and create unstable piles.
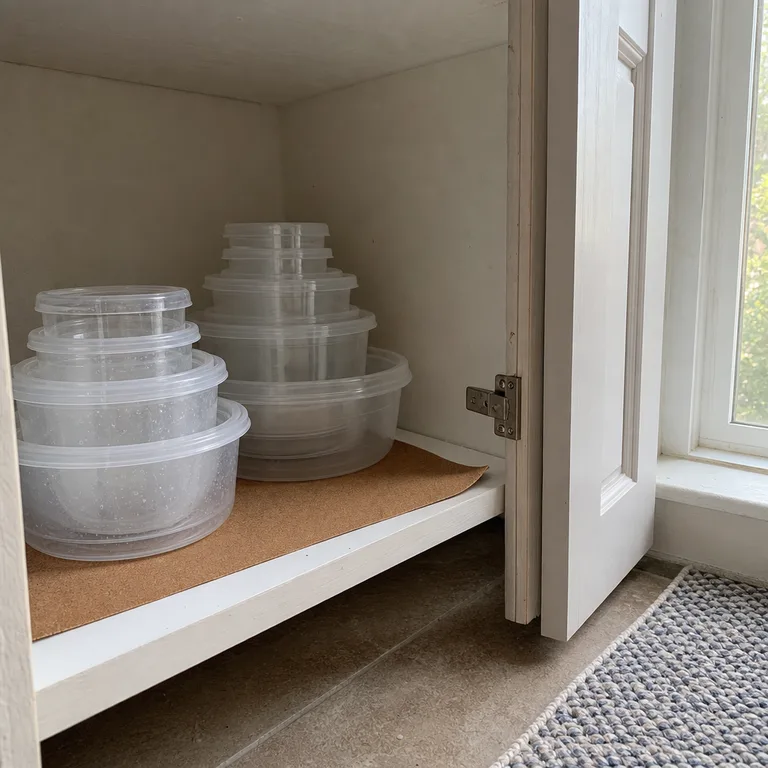
Round containers take up less cabinet depth when their sizes are in order. It also makes missing sizes obvious, which helps prevent a cabinet from filling with pieces that no longer have a useful match.
Use a shelf liner or shallow tray under the stacks if containers slide when the cabinet door closes. Avoid nesting containers while they are still damp, especially in a closed cabinet where trapped moisture can leave odors.
Worth knowing: This method needs occasional sorting if several container sets have nearly identical but incompatible sizes.
3.Separate Rectangles From Squares With Drawer Dividers
Use a deep drawer for nested square containers, rectangular containers, and lid stacks, giving each group its own lane with adjustable dividers. Put the most-used sizes at the front so they can be lifted out without disturbing everything behind them.
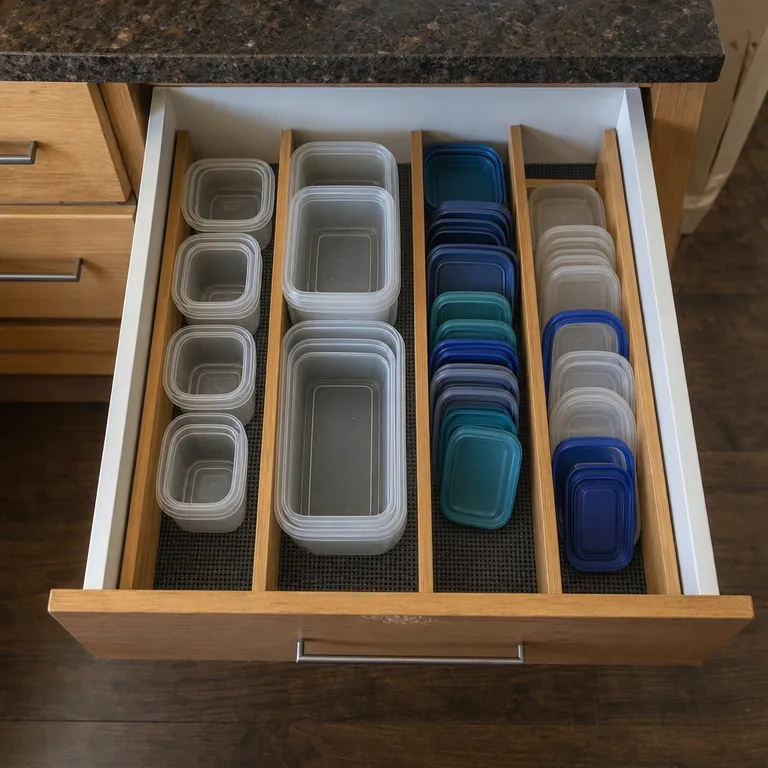
Dividers stop different shapes from leaning into one another. The drawer stays easier to reset because each type of container has a clear boundary instead of one large shared pile.
Choose dividers that grip the drawer sides firmly, and line the base if smooth plastic containers tend to slide. This works especially well in a drawer that is deep enough for containers to sit upright without scraping the top.
Worth knowing: Shallow drawers are usually better reserved for lids or small containers rather than full nested stacks.
Related: 12 Kitchen Drawer Organization Ideas Using Simple Dividers
4.Use a Dish Rack as a Lid Slot Organizer
Set a small wire dish rack on a cabinet or pantry shelf and slide flat lids into its slots. Keep the matching containers behind or beside the rack, with the most common lid sizes toward the front.
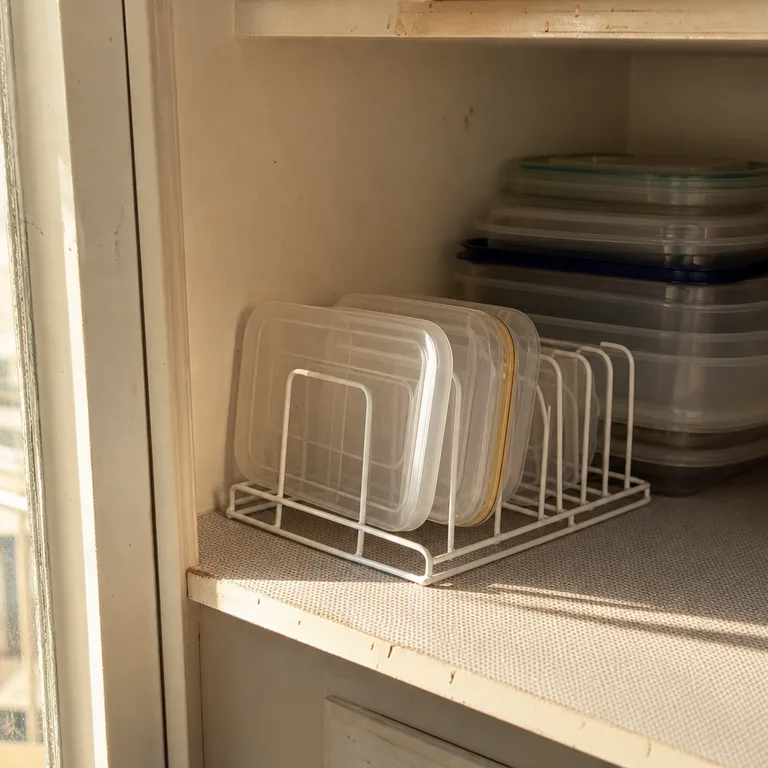
A dish rack creates ready-made spacing without a special organizer. It is particularly useful for a group of similar rectangular lids that otherwise lie flat in a hard-to-search stack.
Look for a compact rack with slots wide enough for the thickest lids in the collection. Add a washable shelf liner underneath if the wire feet scratch painted shelves or shift when lids are removed.
Worth knowing: Very flexible silicone lids and tiny snack-container lids may bend or fall through the slots.
5.Put Lunch Containers in One Grab-and-Go Basket
Gather the small containers used for school lunches, snacks, and work meals in one handled basket. Store their lids in the same basket or in a small upright section at the front, depending on the basket shape.
Daily-use containers stop getting buried under large leftover boxes, which makes rushed mornings less frustrating. A basket also gives children and other household members one clear place to return clean lunch pieces.
Use a basket that fits the cabinet shelf without needing to be forced in or pulled around other items. If lunch containers are used for different dietary needs, keep any necessary labels visible on the outward-facing side.
Worth knowing: A full basket can become a mixed pile, so it needs a quick reset when containers return from the dishwasher.
6.Assign One Bin to Small Sauce Cups and Tiny Lids
Give sauce cups, snack tubs, baby-food containers, and tiny lids one shallow bin in a drawer or cabinet. Keep these small pieces separate from full-size storage containers so they cannot settle into gaps at the bottom of a stack.
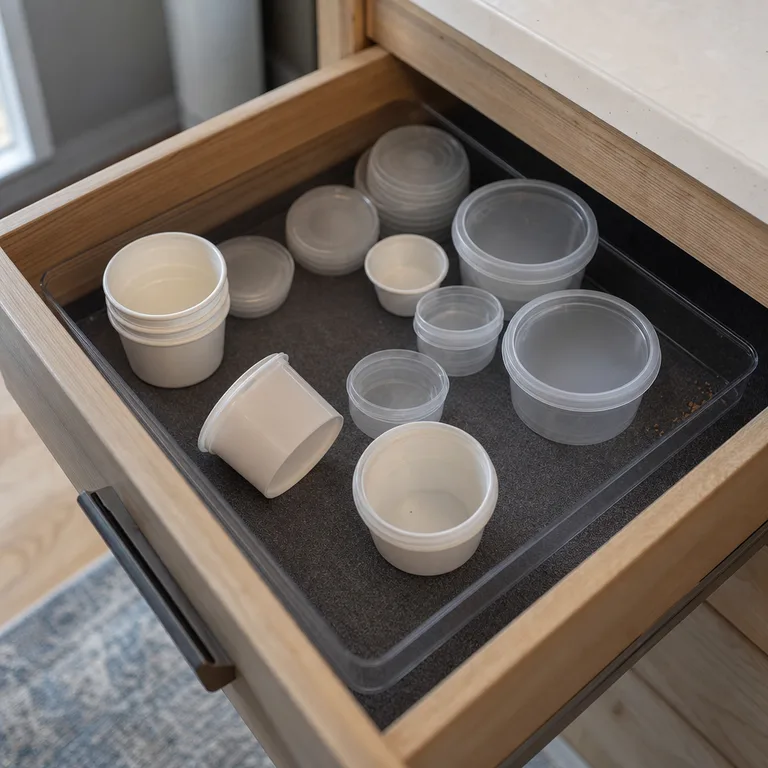
A contained zone makes small reusable pieces easier to see and keeps them from scattering every time a larger container is removed. A clear, low-sided bin is simple to lift out and wipe clean.
Place the bin near the lunch-container area if those pieces are used together. A drawer works well because shallow sides make it easier to scan the contents from above.
Worth knowing: Small containers can multiply quickly, so this area may need regular decluttering to stay useful.
7.Divide Deep Cabinet Space With Pull-Out Bins
Use pull-out bins to divide a deep lower cabinet into container categories, such as glass storage, plastic leftovers containers, and lid storage. Each bin can be pulled forward instead of requiring a search at the back of the shelf.
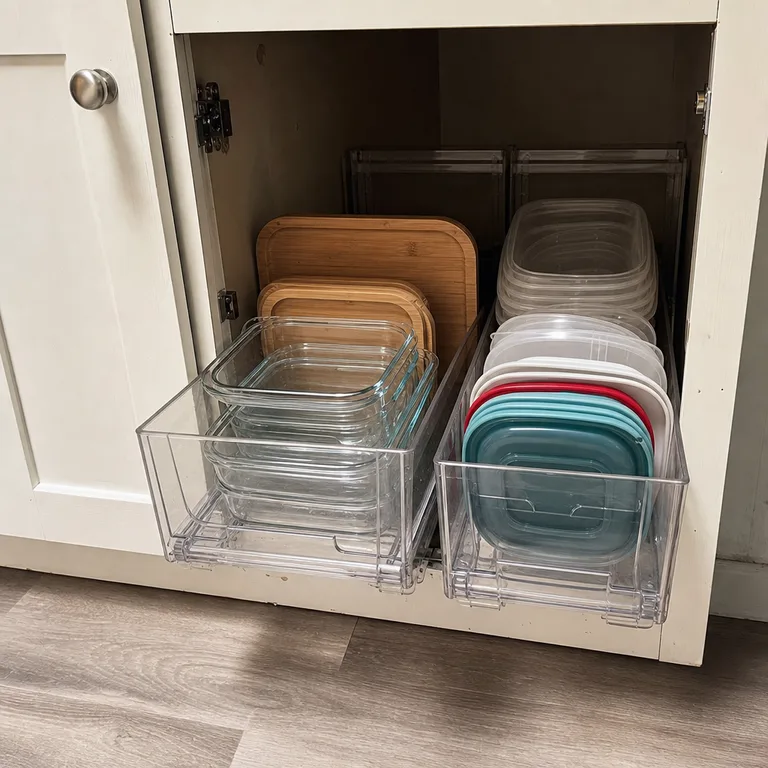
This arrangement makes deep cabinet space usable without creating a hidden pile. It can also reduce the chance of dropping glass containers while reaching over other stacks.
Choose bins that slide smoothly on the existing shelf, or use a cabinet pull-out organizer if installation is practical. Check the available cabinet height first, since tall containers and upright lids can interfere with a pull-out bin above them.
Worth knowing: Installed sliding organizers take more setup than loose bins and may not be suitable for rentals.
Related: 12 Under-Sink Storage Ideas That Work Around Pipes
8.Keep Freezer-Safe Containers in Their Own Zone
Reserve one shelf section or one bin for containers regularly used in the freezer, keeping their lids with that group. Put everyday lunch and leftover containers elsewhere so heavier cold-use pieces do not crowd the most active storage area.
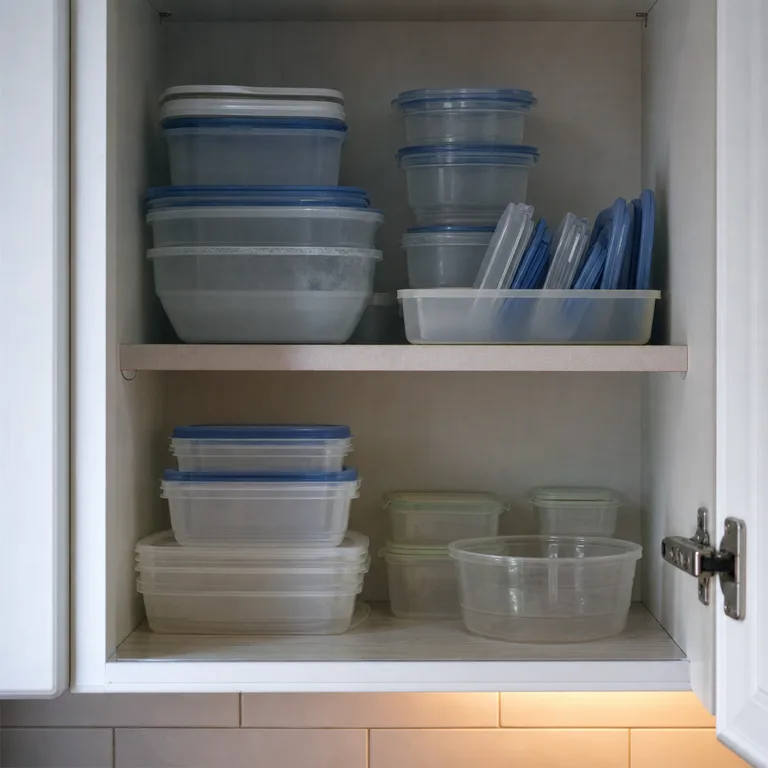
Freezer containers are often sturdier and less interchangeable with lightweight pantry or lunch containers. A separate zone makes it easier to grab a complete set when portioning meals or storing batch cooking.
Keep this group near the kitchen work area if it is used often, rather than in a hard-to-reach upper shelf. Dry containers completely before nesting them to prevent moisture from being sealed into the stack.
Worth knowing: A dedicated zone can waste space if freezer containers are only used occasionally.
9.Use a Turntable for Odd-Shaped Containers
Place produce keepers, divided lunch boxes, tall specialty containers, and other awkward shapes on a turntable in a pantry or cabinet corner. Keep standard nesting containers on regular shelves where they stack more efficiently.
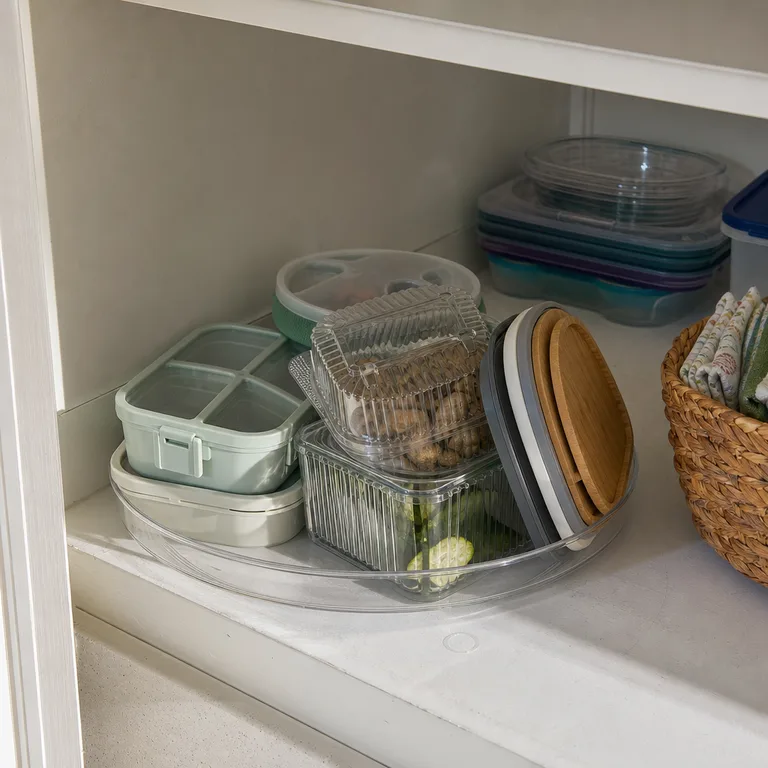
Turning the tray brings irregular pieces to the front without forcing a rearrangement of the whole cabinet. It makes good use of corners that are difficult to reach, especially in a deep pantry.
Use a turntable with a stable rim if the containers are tall or likely to tip. Keep it clean and avoid overloading it, since bulky pieces can stop the tray from rotating freely.
Worth knowing: A turntable uses more open shelf area than a nested stack, so it is best for a small group of specialty pieces.
10.Reserve One Shelf for Containers With Retained Labels
Set aside a shelf area for containers that need retained labels, such as allergy-aware meals, bulk ingredients, or planned leftovers. Store these containers in a neat row with the label side facing outward, and keep their lids in a slim tray nearby.
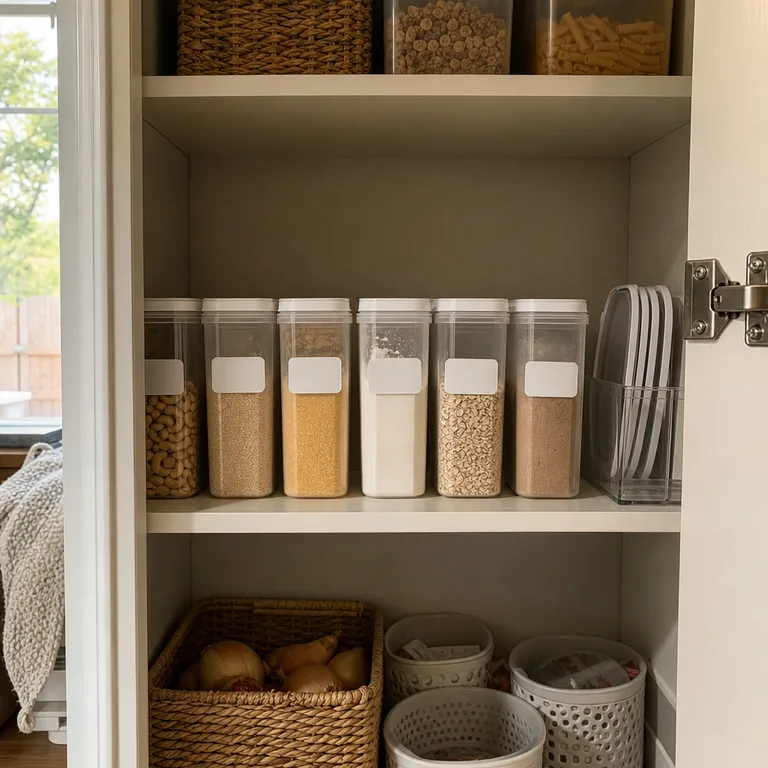
This keeps important identification visible without covering every container in the kitchen with labels. The rest of the collection can stay flexible, while the containers with a specific purpose are easy to identify quickly.
Use removable labels when the contents change often, and replace damaged labels so they remain legible. In homes with food allergies, avoid relying on container color alone to identify meals or ingredients.
Worth knowing: A label system only works when it is updated, so unlabeled leftovers can still create confusion.
About the author
Dana Ruiz, Senior editor
Dana writes about small-space living, storage and low-cost decorating.
Keep reading
10 Gift Wrap Storage Ideas for Homes Without a Craft Room
September 30, 2026
12 Family Photo Display Ideas Beyond a Matching Frame Set
October 4, 2026
10 Pedestal Sink Ideas for Bathrooms With Almost No Counter Space
October 4, 2026
10 Small Raised-Bed Garden Ideas for Beginners on a Budget
October 4, 2026