12 Under-Sink Storage Ideas That Work Around Pipes
Under-sink cabinets are difficult to organize because drain pipes, shutoff valves, and disposal units break up the available space. These ideas use removable, pipe-aware storage that keeps leak checks, cleaner labels, and plumbing repairs easy to manage.
1.Use Two Narrow Bins on Either Side of the Drain Pipe
The open floor space on either side of a drain pipe is often more useful than the center of the cabinet. Set one narrow, open bin on each side to hold related supplies, such as dish soap and sponges in one bin and cleaning cloths in the other.
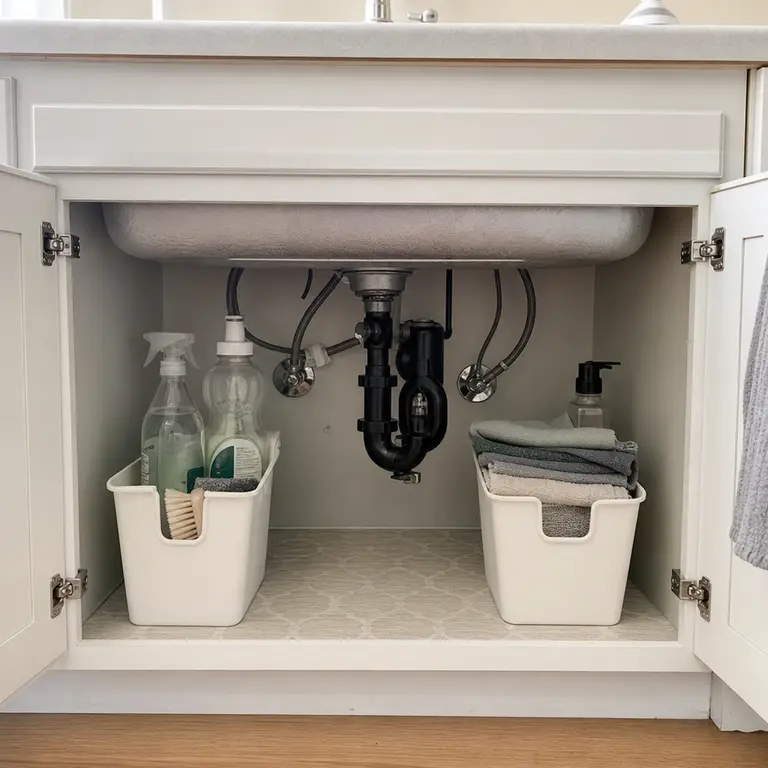
Choose bins that can be lifted out in one hand rather than fitted tightly around the plumbing. This keeps pipe joints and shutoff valves visible, and makes it easier to pull everything aside if a drip appears.
Worth knowing: This works best when the pipes sit near the middle of the cabinet; offset plumbing may leave room for only one bin.
2.Add a Shallow Pull-Out Caddy in the Front
The front edge of the cabinet is the easiest place to reach, so use it for items used every day. A shallow removable caddy can hold sponges, brushes, and a small number of upright bottles without taking over the deeper plumbing area.
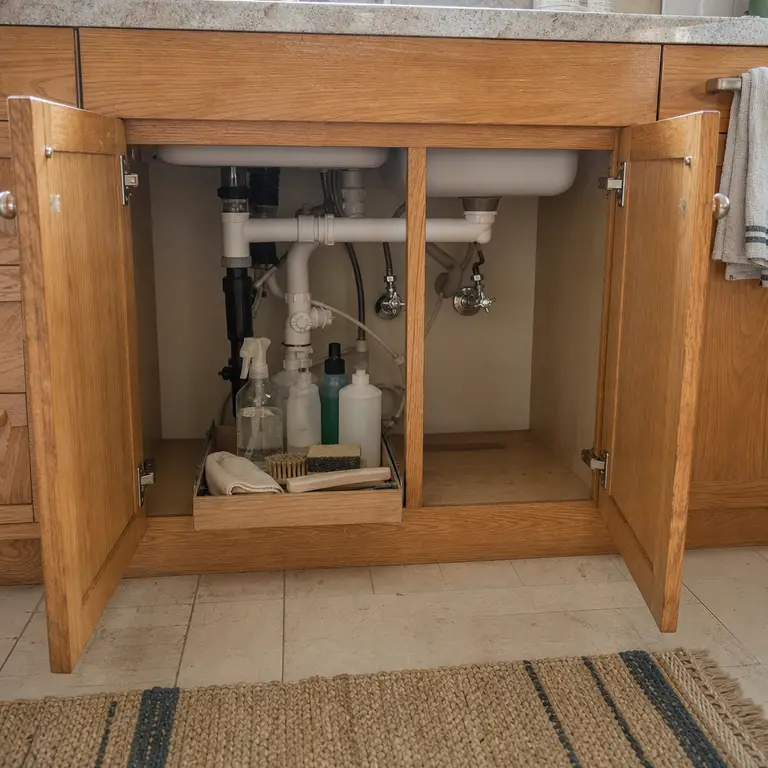
A freestanding caddy is usually simpler for renters than a fixed drawer system. Pull it out for cleaning, then slide it back while leaving a clear route to the pipes, valves, and disposal connection behind it.
Worth knowing: Tall bottles may prevent the cabinet door from closing if the caddy is too deep or too high.
3.Hang a Tension Rod for Spray Bottles
A tension rod mounted across a clear upper section of the cabinet can turn unused air space into spray-bottle storage. Hang bottles by their trigger handles and keep the cabinet floor available for bins or a caddy.
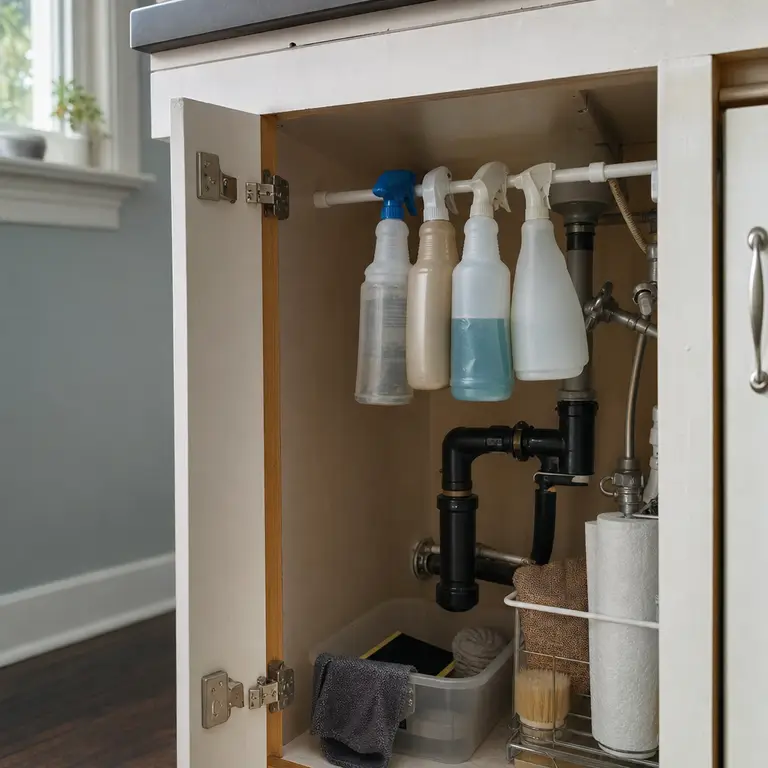
Test the rod with the door closed and make sure bottles do not touch the drain line, disposal unit, or valves. Keep cleaner labels facing out where possible, and do not hang leaking or heavy bottles overhead.
Worth knowing: A tension rod can slip on slick cabinet walls or sag under too much weight.
4.Mount a Slim Basket on the Cabinet Door
The inside of a cabinet door can hold light, awkward items that otherwise get buried on the floor. A slim basket is useful for gloves, a scrub brush, or small packs of sponges.
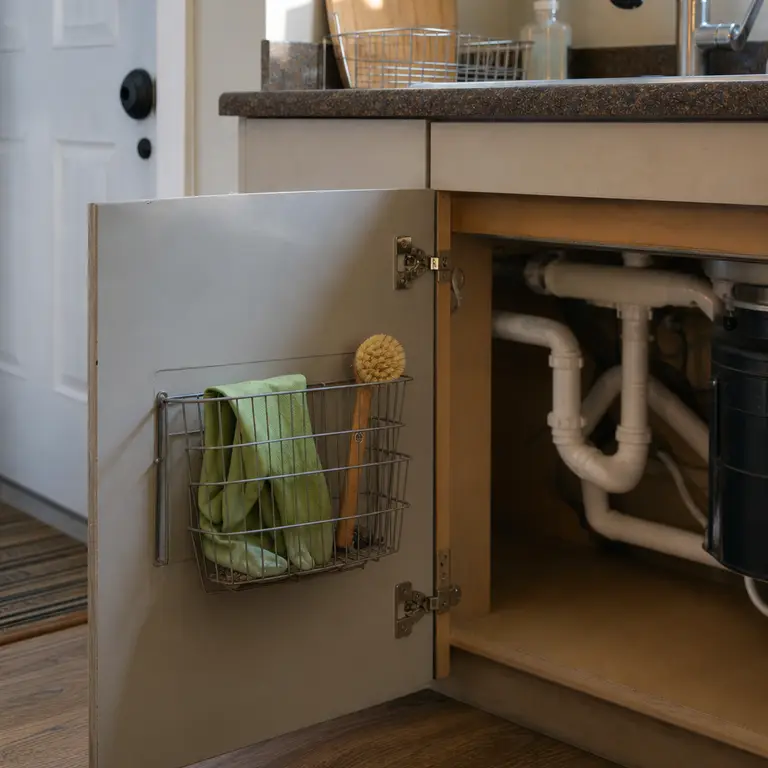
Use adhesive mounting only on a clean, smooth surface if the rental agreement allows it, or choose a removable over-door option. Check clearance slowly before filling the basket, since its contents can hit pipes or shelves when the door closes.
Worth knowing: Door-mounted storage is not suitable for heavy bottles, and some cabinet doors are too shallow for it.
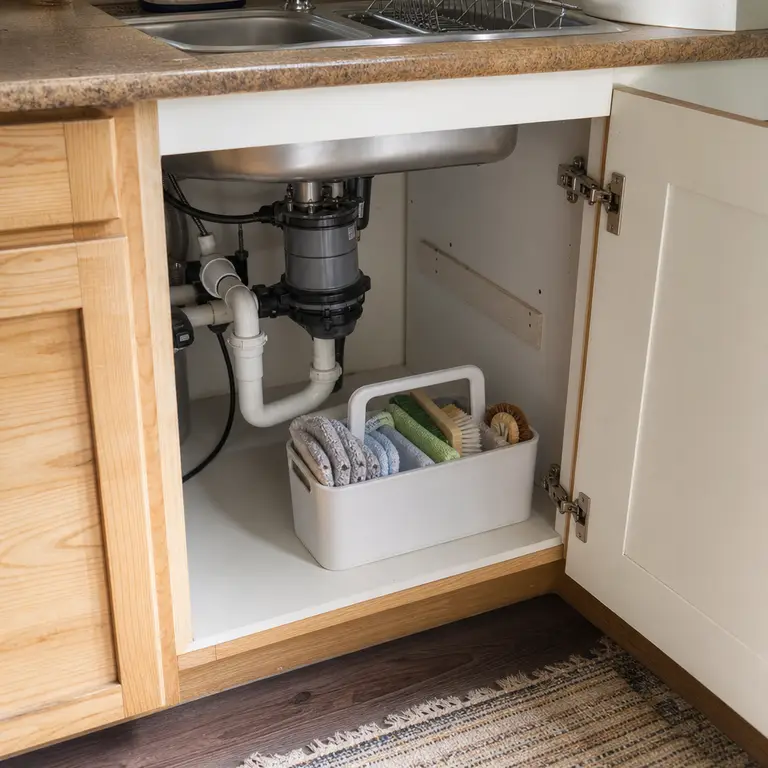
5.Corral Cleaning Cloths in a Handle Caddy
A compact handled caddy gives cloths, brushes, and a few daily-use supplies one defined home. It also prevents damp cleaning textiles from spreading across the cabinet floor around plumbing.
Choose a caddy with an open shape that can be rinsed or wiped out easily. When it is time to inspect for leaks or clear a clog, lift out the whole group instead of moving items one by one.
Worth knowing: Cloths need to dry between uses, so a closed caddy can develop odors if it is used for damp items.
6.Use a Pipe-Cut Shelf Riser at the Back
A low shelf riser with an open center can create a second layer of storage around the drain assembly. Put light, infrequently used items on the upper level while keeping the pipe joints in view below it.
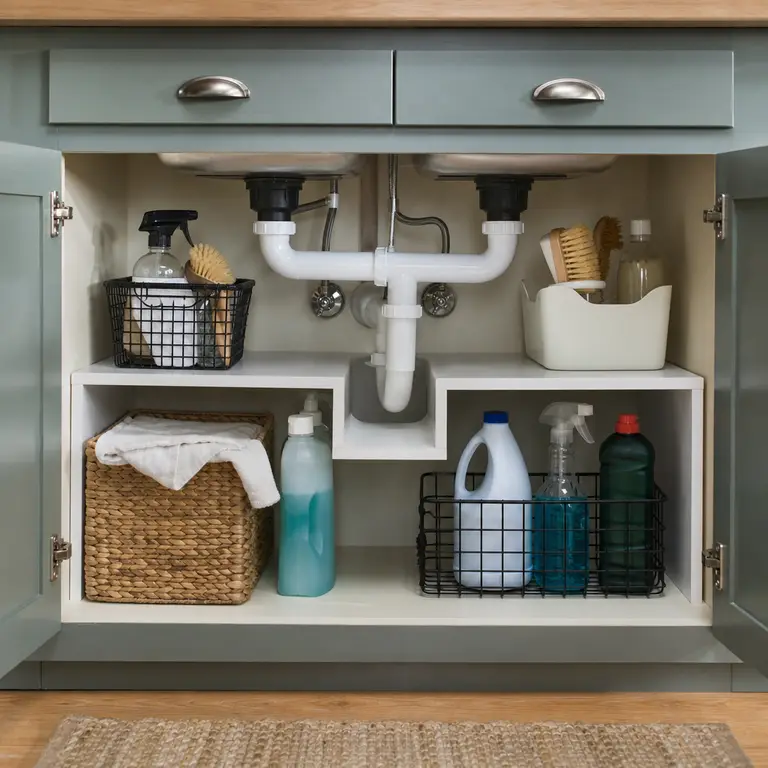
Look for a freestanding riser that can be repositioned rather than building a tight permanent shelf around the pipes. Leave open space around shutoff valves and avoid resting the riser against drain fittings, which need room for maintenance.
Worth knowing: A riser will not fit well in cabinets with low plumbing, a large disposal unit, or several water lines.
7.Store Dishwasher Tablets in a Sealed Bin
Dishwasher tablets or powder are easier to manage when they stay in one sealed, clearly labeled container. Place the bin on a stable, dry side of the cabinet rather than directly below a pipe connection that could drip.
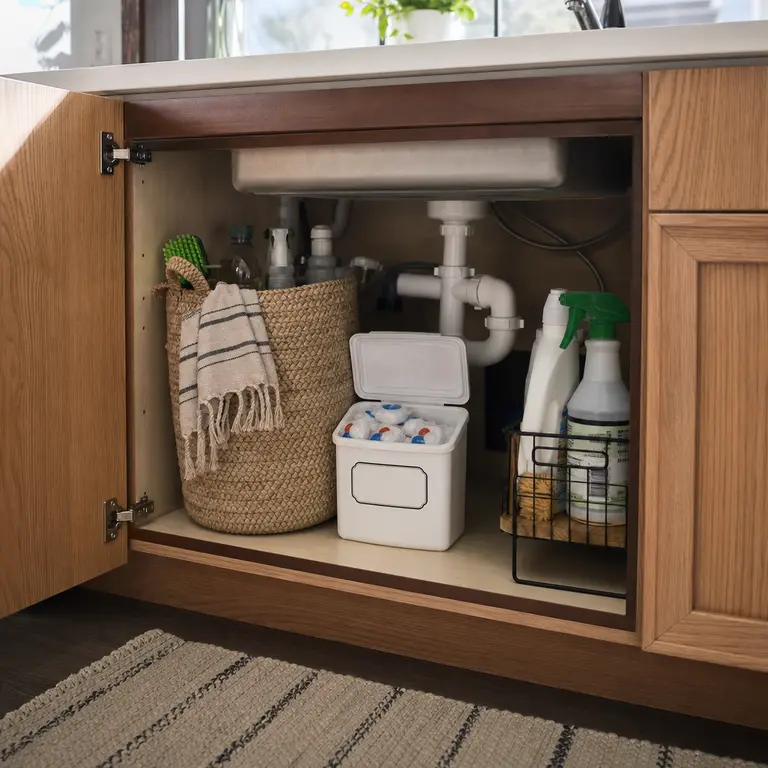
Keep detergent separate from other cleaners, especially products that should not mix. In homes with children or pets, use child-resistant storage and follow the safety directions on the original product packaging; retaining that packaging or its label information is helpful.
Worth knowing: Transferring products out of original packaging can remove important safety instructions unless the container is labeled carefully.
8.Create a Back-Corner Reserve Supply Zone
The back corner is a sensible place for unopened refill bottles, extra sponges, or replacement trash bags. A low open bin keeps these reserves contained without making them look like clutter.
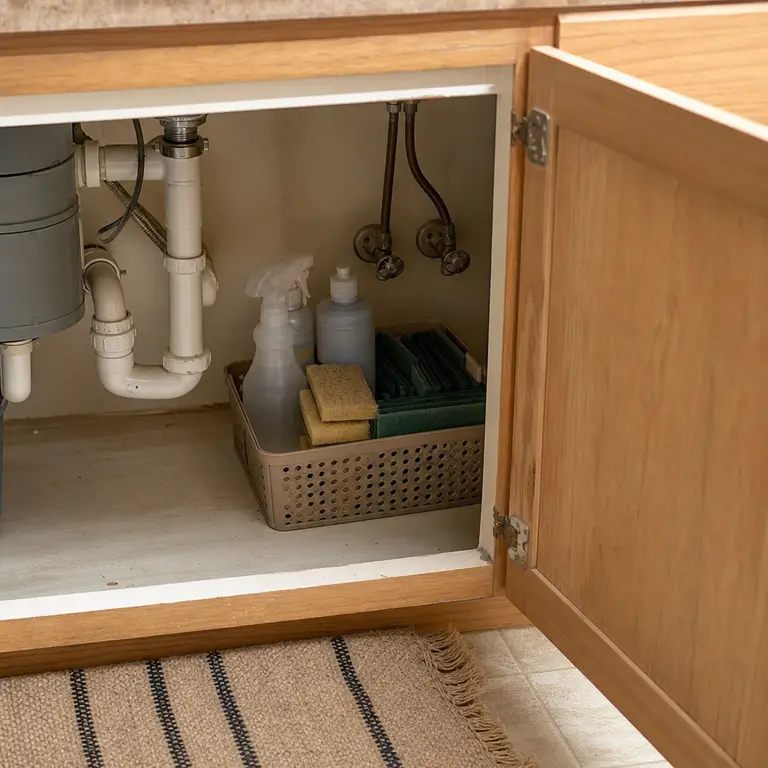
Keep the reserve zone small enough that it does not block access to the shutoff valves. Store only compatible items together, and keep chemicals upright in their original containers with labels readable.
Worth knowing: Back-corner storage is easy to forget, so it may lead to duplicate purchases if it is overfilled.
9.Add Stackable Open Bins Below a Disposal Unit
A disposal unit can make an under-sink cabinet look unusable, but it often leaves a small section of floor space at one side. Short open bins can sort scrub pads, cloths, or trash bags in that leftover area.
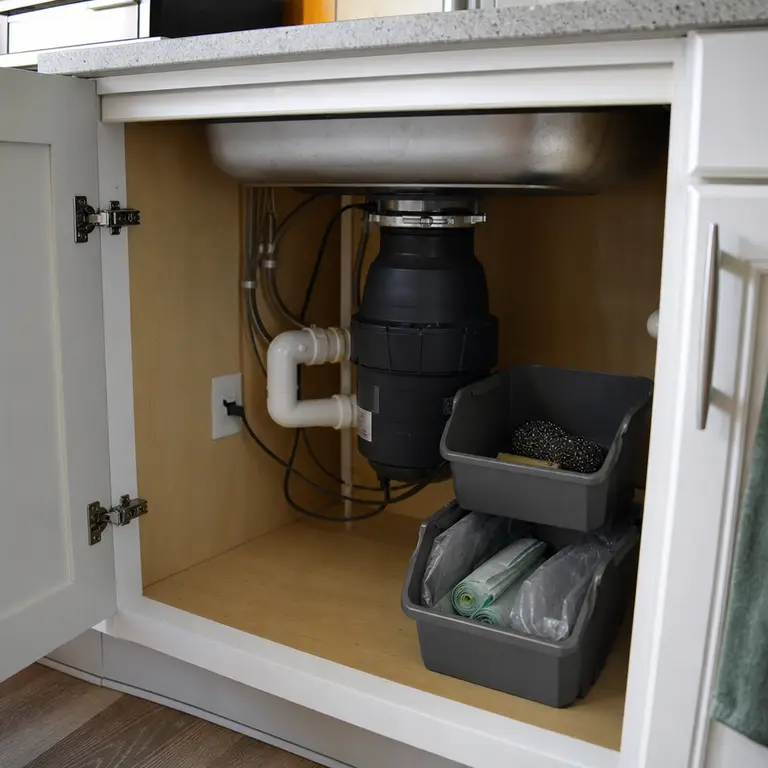
Use only bins that sit clear of the disposal body, drain connections, and electrical cord. Keep the stack low and easy to separate so a repair does not require unloading a large, unstable tower.
Worth knowing: Cabinets with a large disposal or limited side clearance may not have enough safe floor space for stacked bins.
10.Keep Trash Bags on a Removable Dispenser
Loose trash-bag rolls tend to unravel and occupy the whole cabinet floor. A removable dispenser along one side wall or on the floor keeps the roll tidy and makes each bag easier to pull out.
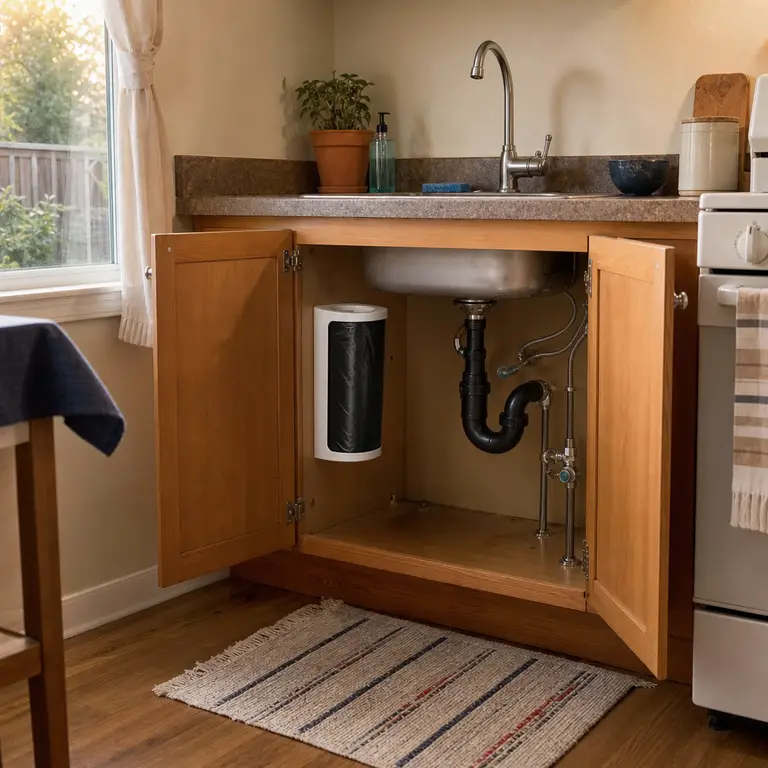
Choose a location that does not cover plumbing access, and make sure the dispenser can be removed without tools when needed. A freestanding version can be especially practical in a rental where permanent mounting is restricted.
Worth knowing: A side-mounted dispenser may interfere with the cabinet door or pull-out trash hardware.
11.Use a Tall Rear Bin for Cutting Boards and Mats
Slim sink mats, flexible cutting boards, and similar flat items are difficult to stack neatly under the sink. A narrow upright bin at an open side can hold them vertically so they stay visible and do not cover the cabinet floor.
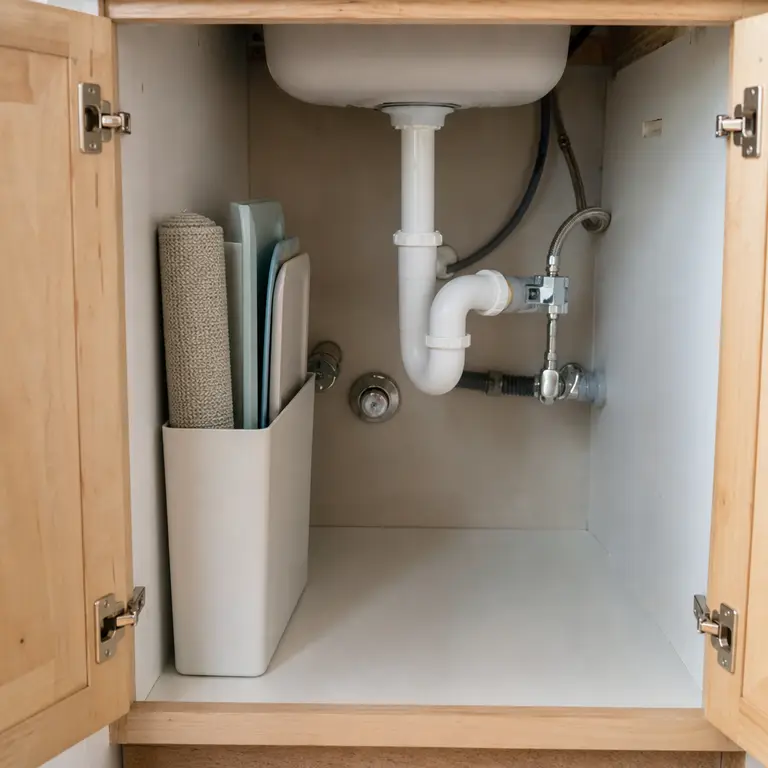
Keep the bin away from drain lines and avoid forcing items into a gap where they bend against fittings. Dry mats before returning them to the cabinet, particularly in humid climates where trapped moisture can encourage mildew.
Worth knowing: This arrangement needs a tall, clear section of cabinet wall, which many compact sink cabinets do not have.
12.Reserve One Empty Spot for Leak Checks and Repairs
The most useful under-sink storage choice may be leaving part of the cabinet empty. Keep a defined open patch directly beneath the drain trap so moisture is easy to notice and a towel, bucket, or repair hand can reach the fittings.
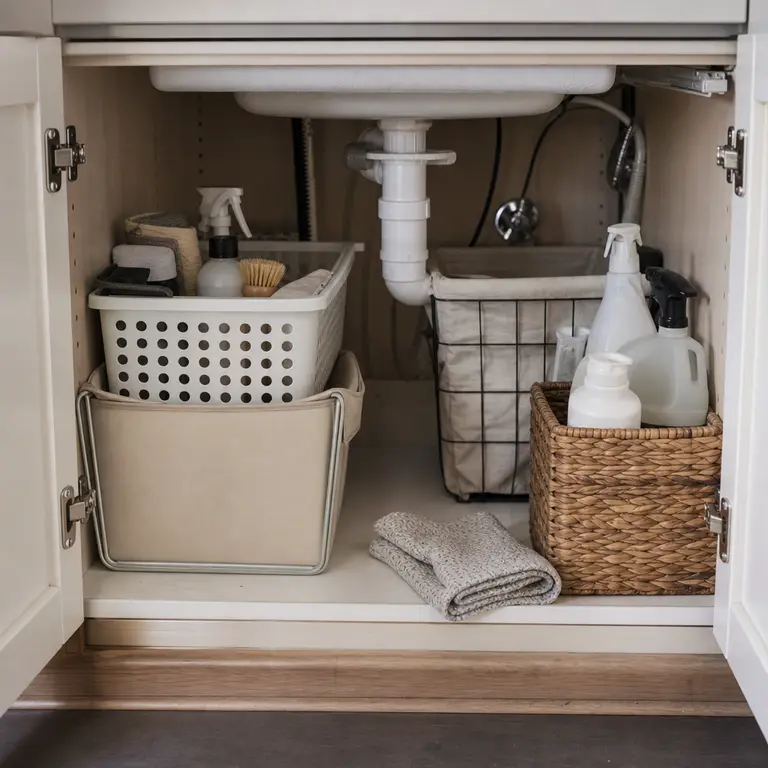
Arrange bins around the sides instead of filling every inch of the floor. A small towel nearby can handle a minor drip, but recurring moisture, water damage, or a loose connection needs prompt attention rather than more storage around it.
Worth knowing: An intentionally empty area reduces the cabinet's total storage capacity, especially in a small kitchen.
About the author
Dana Ruiz, Senior editor
Dana writes about small-space living, storage and low-cost decorating.
Keep reading
12 Small Bathroom Storage Ideas When You Have No Linen Closet
September 19, 2026
15 Small Pantry Organization Ideas Without Matching Containers
September 19, 2026
12 Shoe Storage Ideas for a Narrow Entryway
September 18, 2026
10 Small Patio Dining Ideas Without a Big Furniture Set
September 19, 2026