8 Steps to Clean and Reuse Empty Garden Pots Before Replanting
Reusing nursery pots keeps a useful collection in circulation, but each container needs a quick condition check and a material-appropriate cleaning process before it returns to service. This eight-step routine moves from sorting through dry storage, with extra care for containers used for edible plants or pots that held diseased plants.
As an Amazon Associate I earn from qualifying purchases.
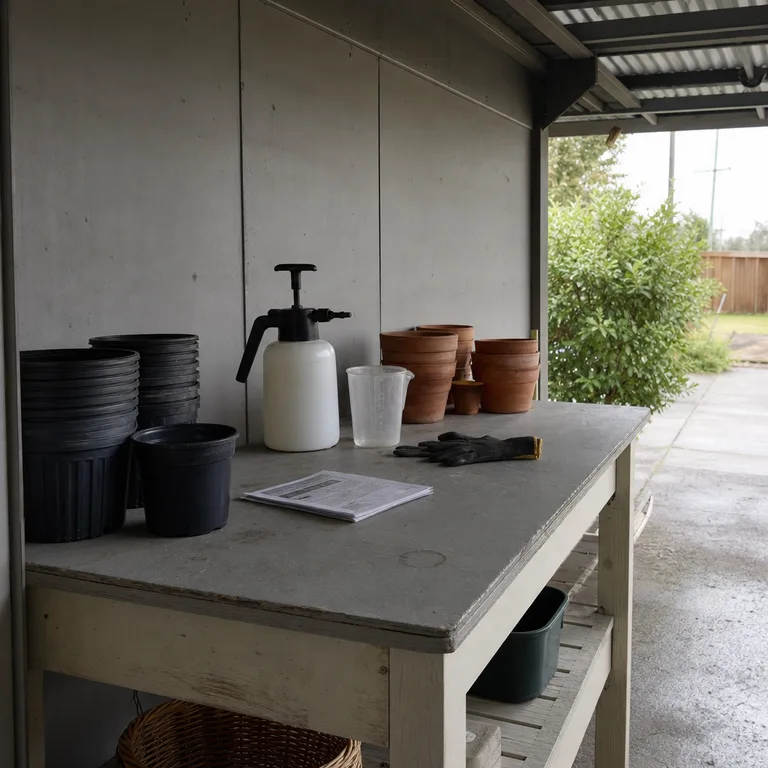
1.Sort Pots by Material, Size, and Intended Use
Start by making separate groups for plastic nursery pots, terracotta, glazed ceramic, and any other container material. Sorting also makes it easier to nest similar sizes later without forcing rims or cracking fragile pots.
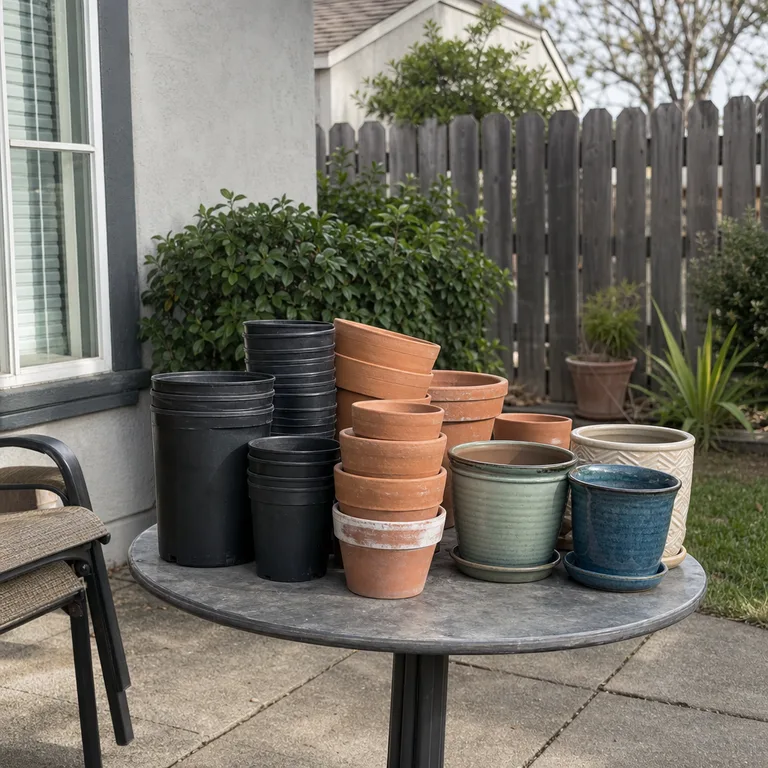
Keep containers intended for vegetables, herbs, or other edible plants in their own group. University of Maryland Extension notes the importance of using suitable food-grade containers for growing food, so check the container material and its original purpose rather than assuming every reused pot is appropriate.
This first pass also helps match pots to likely jobs. Small nursery pots may suit seedlings, while larger containers can be held for patio planting once their drainage holes and structure have been checked.
Worth knowing: Material alone cannot confirm whether a container is suitable for food crops; avoid pots with an unknown prior use or materials that are not appropriate for edible gardening.
Related: 12 Container Garden Ideas for a Small Patio on a Budget
2.Remove Old Soil, Roots, and Plant Labels
Tip out all old potting mix and loosen compacted roots from the base and drainage holes. A hand trowel, old fork, or stiff dry brush can clear stubborn debris without turning this stage into a wet cleanup job.
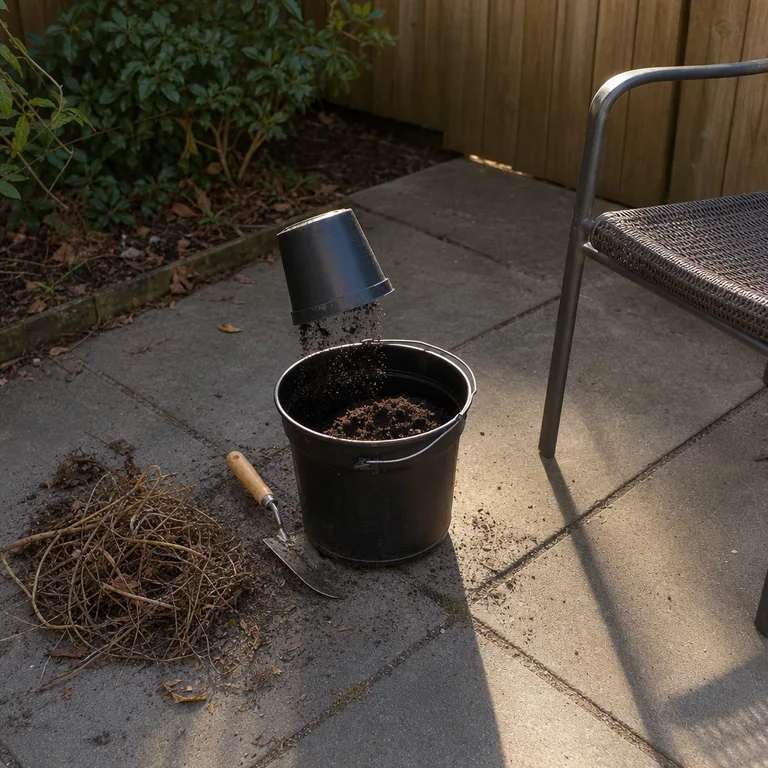
Plant labels are worth removing too, especially faded ones that may no longer identify a variety correctly. Save only labels with useful, reliable information, and discard damaged plastic tags according to local recycling rules.
Old mix can go into compost only if the plant was healthy and the material is free of pests, disease, and invasive weeds. When there is any uncertainty about what affected the plant, keep that debris out of home compost and follow local disposal guidance.
Worth knowing: Removing debris does not make a pot ready for reuse after disease or pest trouble; those pots need a more careful material-appropriate cleaning process.
3.Set Aside Cracked and Warped Containers
Inspect each empty pot in good light, paying close attention to rims, sidewalls, bases, and drainage holes. Fine surface wear may be harmless, but deep cracks, brittle plastic, bowed sides, and loose pieces can make a planted container unstable.
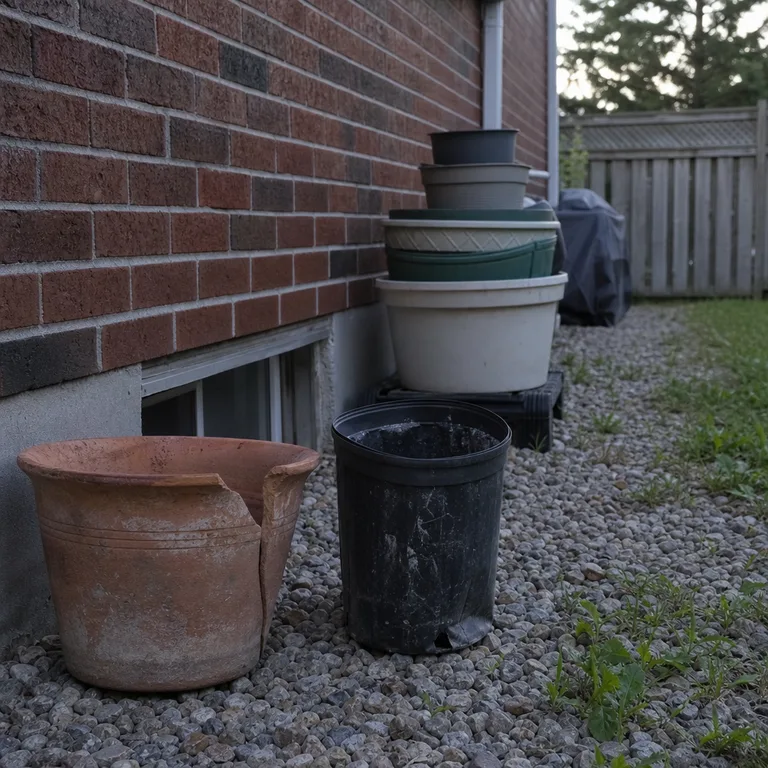
Set damaged pots apart before washing so time is not spent cleaning containers that cannot return to regular planting. Check whether your local recycling program accepts the specific type of plastic nursery pot, since garden plastics are not collected everywhere.
Some sound-looking pots can still be repurposed for non-planting tasks, such as holding tools or catching drips beneath another container. Do not use a damaged pot where it could split under the weight of wet soil or become a tripping hazard.
Worth knowing: Terracotta can crack further after repeated wet-and-dry cycles or freezing weather, so a small crack may rule out outdoor use in cold climates.
4.Wash Pots That Tolerate Scrubbing
Wash durable containers with water, a brush, and a cleaner that is compatible with the pot material and used according to its label. Focus on rims, drainage holes, and the inside bottom, where old soil and mineral residue tend to cling.
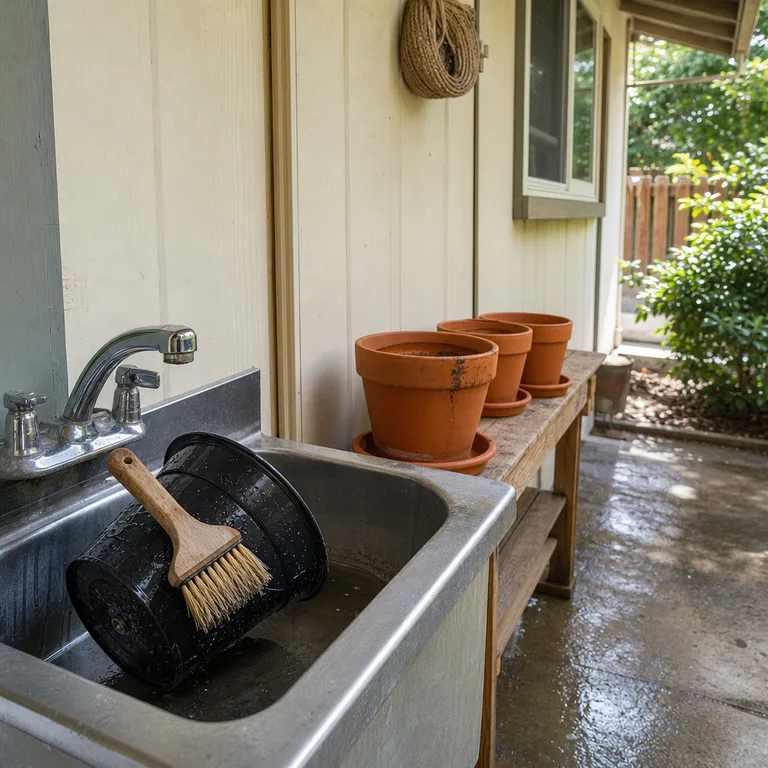
Plastic nursery pots usually tolerate gentle scrubbing well, while porous terracotta and decorative finishes need a lighter touch. Avoid abrasive tools on glazed ceramic or any surface that can scratch, chip, or lose its protective finish.
Work over a suitable wash area where muddy water will not wash into vegetable beds or storm drains. A utility sink, gravel area, or contained work surface can make cleanup simpler.
Worth knowing: Scrubbing removes visible dirt but may not address disease concerns, and aggressive brushing can damage brittle plastic or glazed surfaces.
5.Use Sanitation Methods That Match the Pot and Plant History
A pot that held a healthy plant may need only a thorough wash, while one associated with a plant disease or serious pest issue deserves more caution. Use current extension guidance and the directions for the specific sanitation product, taking the pot material into account.
Do not treat every container with one universal recipe. Porous terracotta, plastic, glazed finishes, and containers for food-growing plants can have different limits, and product directions may specify contact time, protective equipment, ventilation, or rinsing.
Keep cleaners and sanitation products separate, and never combine chemicals. If the prior plant problem is unknown or the pot cannot be cleaned safely, discarding or recycling the container may be the more practical choice.
Worth knowing: Sanitation can reduce risk but cannot guarantee that a previously contaminated pot is safe for every plant or situation.
6.Rinse Pots Only as the Product Directions Require
Rinse a pot when the cleaner or sanitation product instructions say to rinse it. Use clean water and give special attention to drainage holes, rims, and textured surfaces where residue can remain.
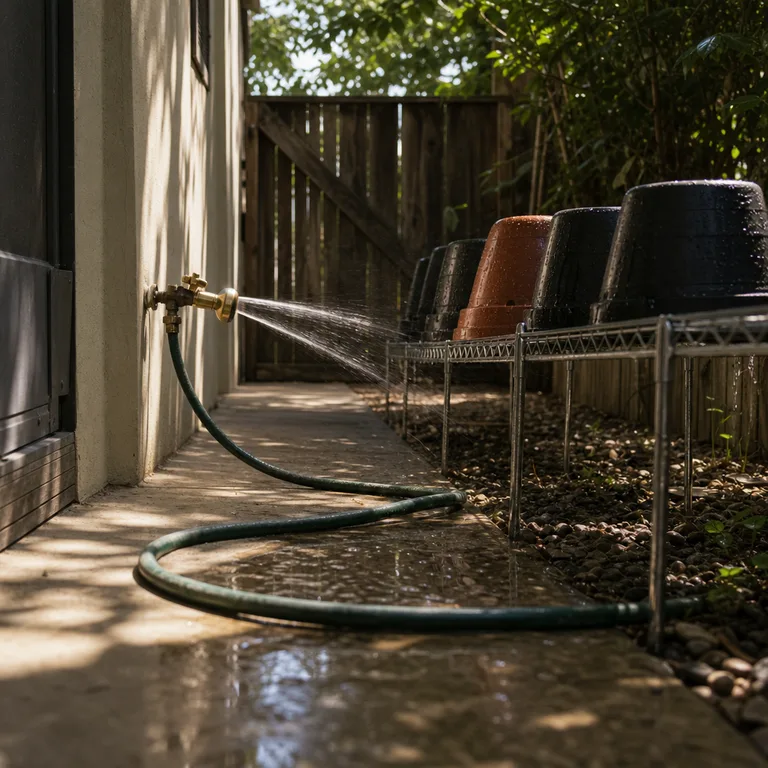
Avoid unnecessary rinsing when a product’s directions do not call for it, since extra runoff creates more water to manage. Keep wash water away from ponds, storm drains, and garden beds, particularly beds used for vegetables and herbs.
Set rinsed pots where water can drain freely rather than leaving them upright in a puddle. This also reveals whether drainage holes are still blocked by roots or debris.
Worth knowing: Rinsing requirements vary by product, so the label and current local or extension guidance should take priority over a general routine.
7.Dry Every Pot Inside and Out
Place pots upside down in an airy, protected spot after washing or rinsing. This lets water leave through the drainage holes instead of collecting in the base, and it exposes the inside surface to moving air.
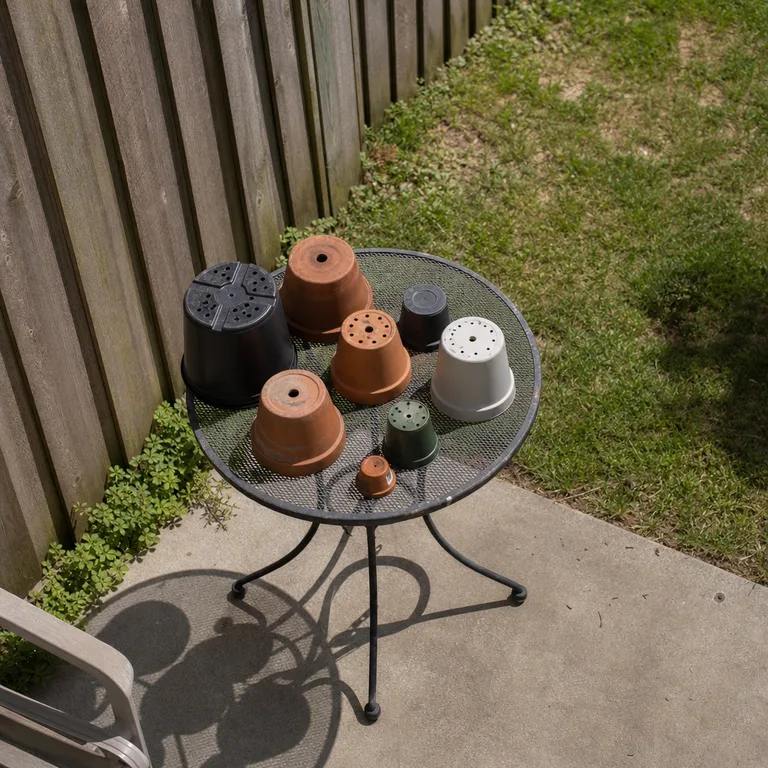
Allow enough time for the pot to dry completely before nesting it with others. Dry containers are less likely to develop algae, trap moisture between stacked surfaces, or transfer damp soil residue to clean pots.
A wire rack, slatted bench, or old outdoor table keeps pots off the ground while they dry. In humid weather, move the task under cover with good airflow rather than stacking pots while they are still damp.
Worth knowing: Drying can take longer in cool, humid, or rainy conditions, and a covered area still needs airflow to prevent moisture from lingering.
8.Stack Clean Pots in a Dry, Sheltered Spot
Once fully dry, nest pots by size and store them off wet ground on shelving, a pallet, or a rack. Keep stacks stable and avoid forcing pots together, especially thin plastic containers that can warp or terracotta that can chip at the rim.
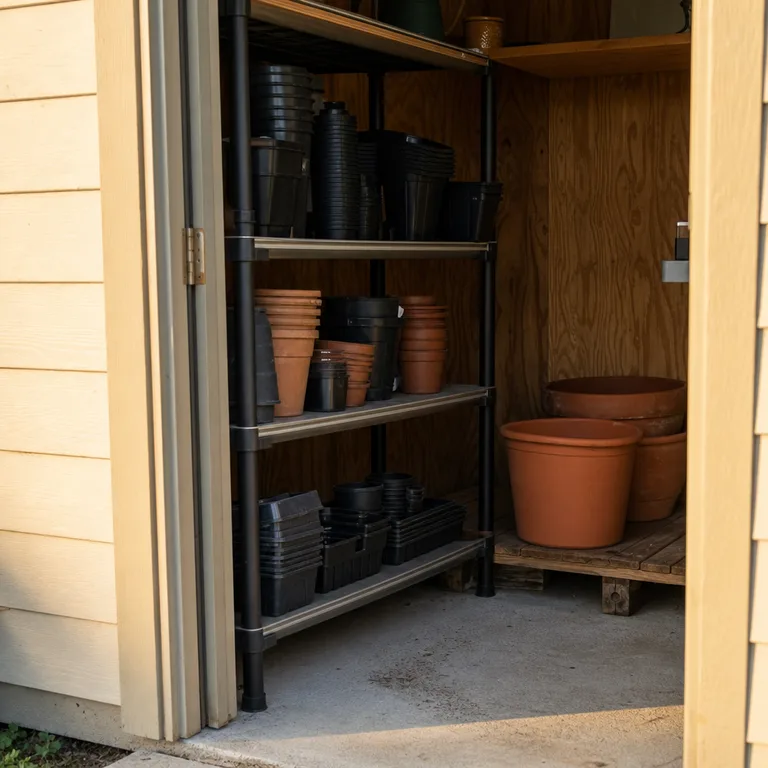
A shed, covered patio, or protected storage area keeps the collection ready for the next local planting season. Check it occasionally for trapped moisture, insects, rodents, and forgotten pots that have collected rainwater.
In areas with freezing winters, protect containers that can crack when wet, particularly terracotta and other porous materials. Keeping them dry and sheltered is usually easier than replacing a collection that has been damaged in storage.
Worth knowing: Storage space can limit how many pots are worth keeping, so retain the sizes and materials that fit actual planting plans rather than saving every container.
About the author
Dana Ruiz, Senior editor
Dana writes about small-space living, storage and low-cost decorating.
Keep reading
7 Narrow Foundation Bed Layouts for the Front of a Small House
October 31, 2026
8 Christmas Porch Planters Using Empty Summer Pots
October 29, 2026

8 Small Front Yard Layouts for a Plain Rectangular Lawn
October 29, 2026

8 Christmas Gift-Wrapping Stations That Pack Away in a Small Home
October 31, 2026