8 Seed Saving Steps for Beginners With a Small Vegetable Garden
Seed saving is easiest when a small garden focuses on one well-identified crop from a healthy plant, rather than collecting every seed that appears. This eight-step plan covers variety type, pollination, harvest, cleaning, drying, and storage, with local weather and crop-specific guidance shaping the final details.
As an Amazon Associate I earn from qualifying purchases.
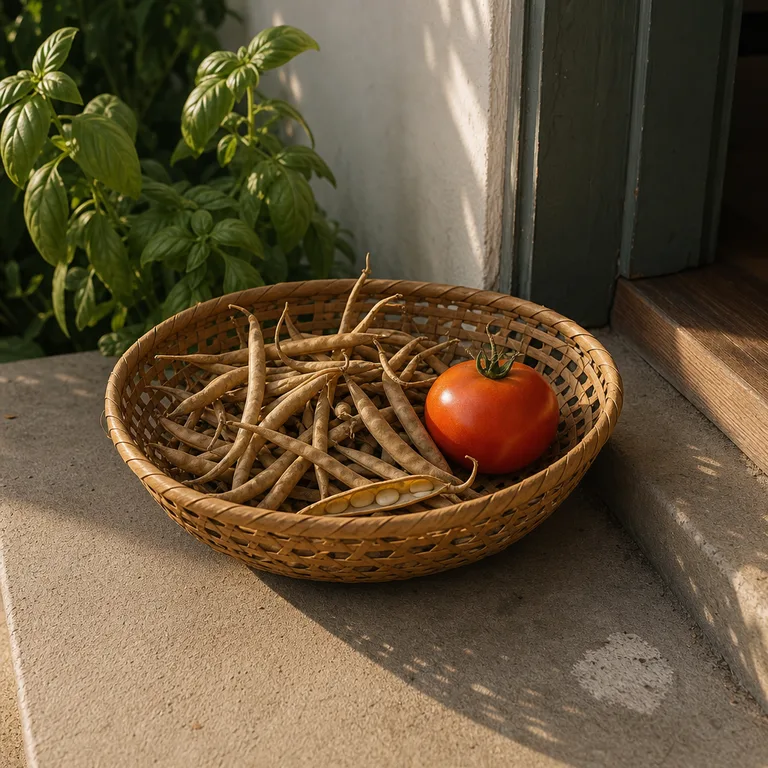
1.Choose One Beginner-Friendly Crop to Follow
Keep the first seed-saving project narrow: choose one crop with obvious mature seed and enough time to finish in the local season. Dry beans, peas, lettuce, and fully ripe tomatoes can be approachable options because their seeds are relatively easy to find and handle.
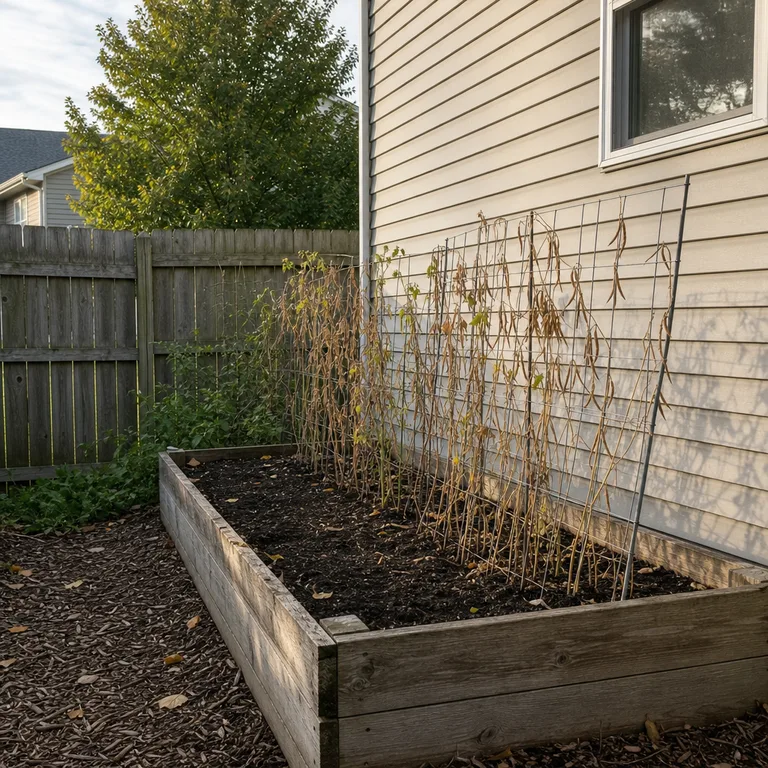
Following one crop makes it easier to learn its particular signs of maturity instead of applying the same method to every vegetable. A plant marker, saved seed packet, or simple garden note can keep the chosen variety clear through the season.
Use a crop already growing well in the garden rather than adding several new varieties just for seed. In short-season or wet climates, select a crop that reliably reaches its seed stage before frost, persistent rain, or early cold weather.
Worth knowing: Not every crop that produces edible produce will reliably mature usable seed in every local growing season.
2.Confirm Whether the Variety Is Open-Pollinated or Hybrid
Save seed from an identified open-pollinated variety when the goal is to grow plants that are more likely to resemble the parent. Keep the original packet, plant label, or a written record with the plant so the variety is not guessed at later.
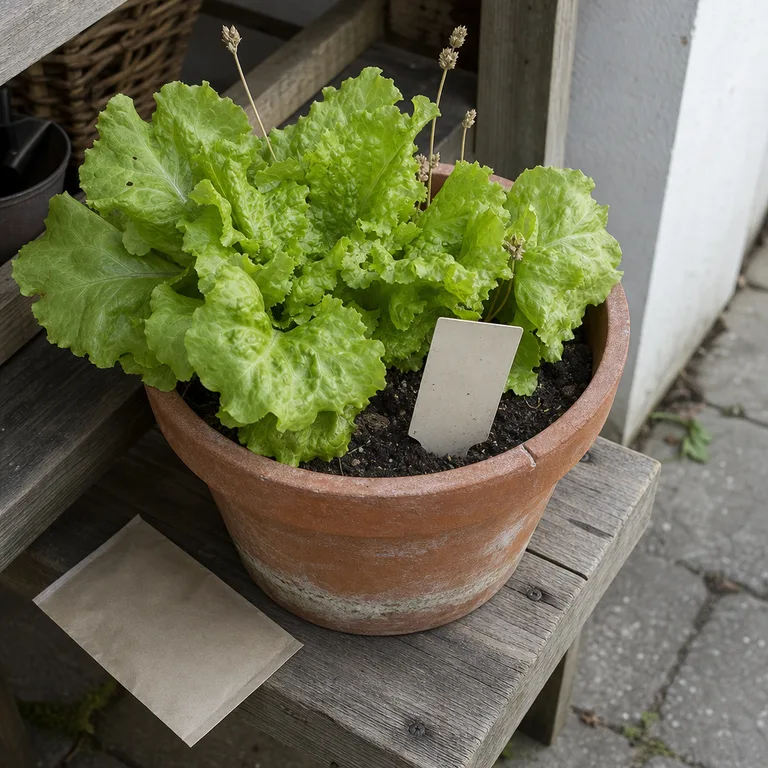
Hybrid vegetables can still produce seed, but the next generation may vary in flavor, size, growth habit, yield, or other traits. That uncertainty can be interesting for an experiment, but it is less useful when a small garden depends on predictable plants.
A blank plant tag and an envelope for the original packet are inexpensive ways to preserve the variety record. If the variety type is unknown, label the saved seed as unknown rather than assuming it will grow true to type.
Worth knowing: Even seed from an open-pollinated variety can produce unexpected results if it crossed with a compatible nearby plant.
3.Mark Healthy Plants as Seed Parents
Choose seed parents that look vigorous and show the qualities worth keeping, such as good flavor, productive growth, or plants that handled local conditions well. Avoid saving from plants with visible disease symptoms, severe pest damage, or stunted growth.
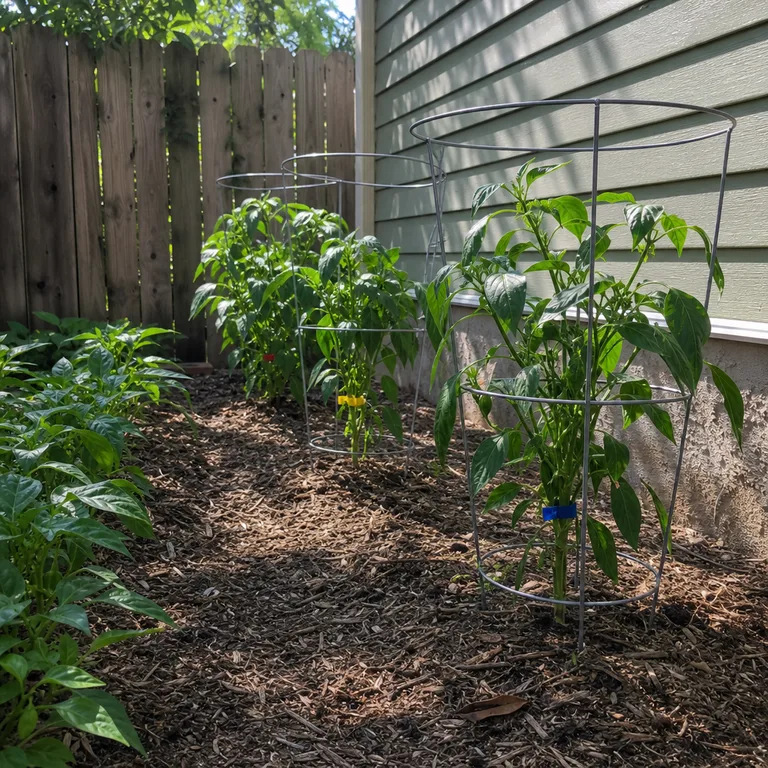
Mark selected plants early, while there is still time to observe them. A soft tie, flag marker, or labeled stake helps prevent the best fruits or pods from being picked for dinner by mistake.
Use ties that will not cut into stems as plants thicken, and check them during routine garden work. In a crowded small bed, clear marking also prevents seeds from different plants or varieties being mixed together.
Worth knowing: A healthy-looking plant may still carry some diseases that can be transmitted through seed, so visibly affected plants should not be used as seed parents.
4.Allow for Pollination and Nearby Varieties
Some vegetables are more likely than others to cross-pollinate with compatible varieties nearby. If two related varieties flower at the same time, seed from either plant may produce offspring that differ from the variety being saved.
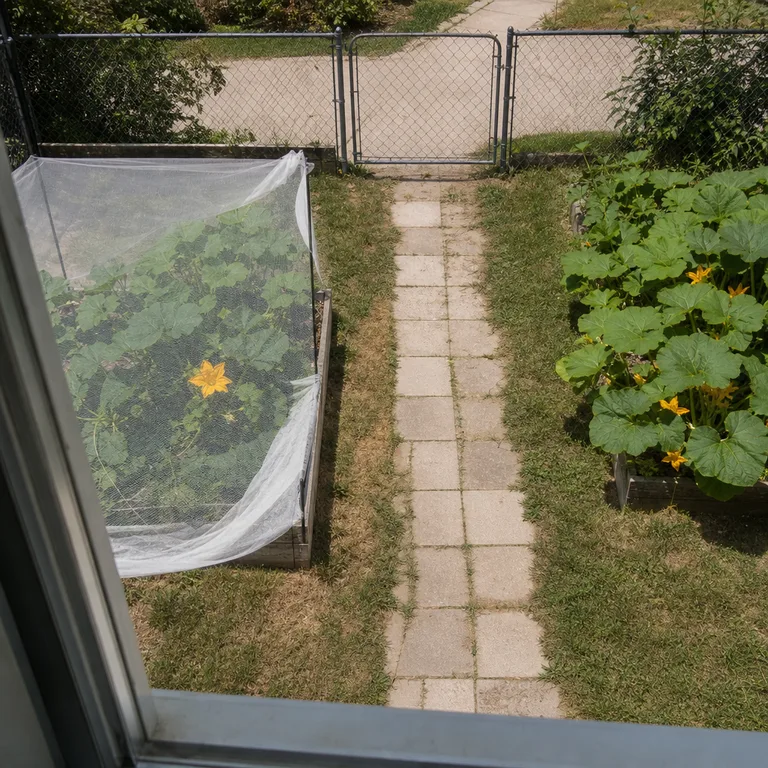
Check the crop’s pollination habits through a local extension resource or a reliable seed-saving guide. Depending on the vegetable and the available space, separation, staggered flowering, or fine mesh covers can reduce crossing risks.
Physical covers need practical planning because flowering plants may require insect access or careful hand pollination. In a small yard, saving seed from only one compatible variety at a time is often simpler than trying to isolate several.
Worth knowing: Distance and covers can reduce crossing, but they do not automatically guarantee genetically pure seed.
5.Harvest Seed Only at the Crop’s Mature Stage
Harvest timing depends on the vegetable, not on when its edible portion is usually picked. Beans and peas grown for seed need pods to dry and mature on the plant, while tomatoes need to become fully ripe before their seeds are removed.
Let seed maturity guide the harvest rather than using a single calendar date. Dry-podded crops should have mature, dry-looking pods, while fleshy fruits need their full ripeness signs; local rain, frost, and humidity may require closer observation near the end of the season.
Bring in dry pods before prolonged wet weather if they are mature enough, then finish handling them under cover. Harvest ripe fruits carefully and process them promptly so decay does not complicate seed cleaning.
Worth knowing: Picking too early can leave seeds immature, while leaving crops out too long can expose them to rot, weather damage, or wildlife.
6.Clean Seeds Using the Method for That Crop
Use a cleaning process suited to the crop. Dry bean or pea seeds are usually separated from their pods and chaff, while seeds from fleshy fruits may need to be scooped, rinsed, or otherwise processed according to guidance for that vegetable.
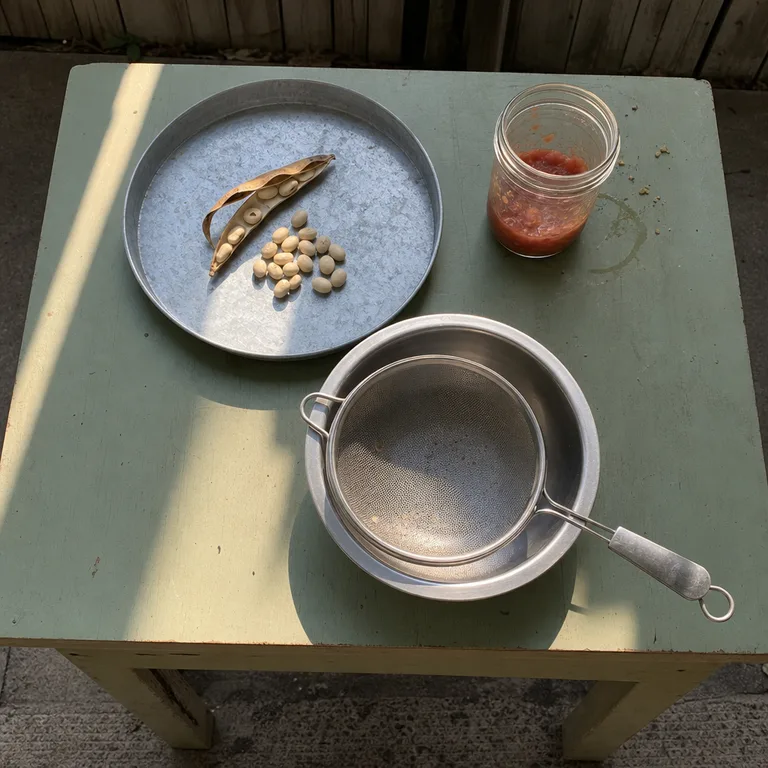
A shallow tray, bowl, sieve, and clean jar can handle many small-garden batches without specialty equipment. Work on one variety at a time and keep the seeds with their label throughout cleaning to prevent accidental mixing.
Do not assume that a method used for tomato seed is right for squash, peppers, lettuce, or beans. Crop-specific instructions matter because seed coatings, pulp, disease concerns, and drying needs differ.
Worth knowing: Improper cleaning can leave behind plant material that holds moisture or encourages mold during storage.
7.Dry Seeds Fully in an Airy Protected Spot
Spread cleaned seeds in a thin layer on a suitable clean surface and place them somewhere airy, sheltered, and out of direct weather. A covered porch, indoor table away from moisture, or open shelf can work when conditions are stable.
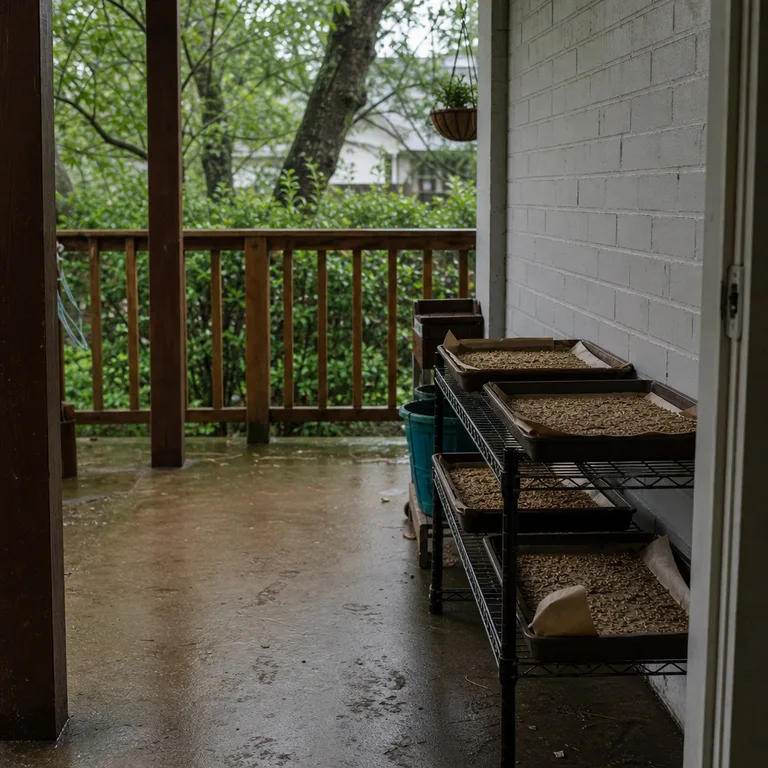
Strong heat and direct sun are not a shortcut for drying. Gentle airflow is more useful, especially in humid weather, and seeds may need longer when the air is damp or rain is frequent.
Paper liners, coffee filters, or trays can make small batches easier to move and inspect. Turn or separate clumps carefully if the crop’s guidance allows it, and keep each batch clearly identified while it dries.
Worth knowing: Humid homes and damp weather can make thorough drying difficult, increasing the risk of mold or poor storage performance.
8.Label and Store Dry Seeds in a Cool, Dry Place
Once seeds are fully dry, package each variety separately and label it with the crop, variety, and harvest year. Notes about the parent plant, pollination concerns, or unusual weather can also be useful when deciding whether to grow the seed later.
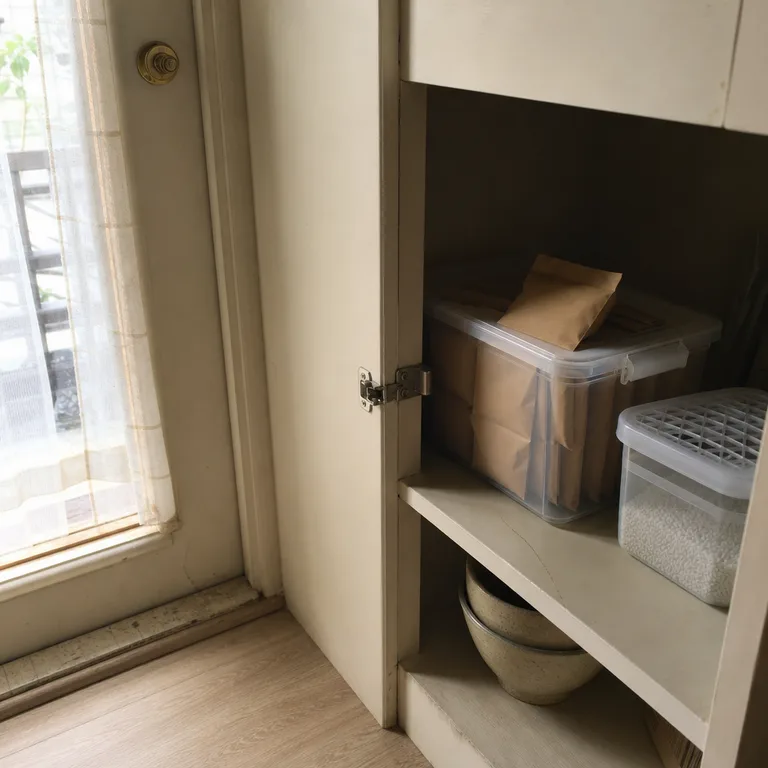
Store packets in a cool, dry place with limited temperature swings, away from steamy kitchens, damp sheds, and direct sunlight. A lidded container can keep packets organized, while a moisture absorber may help where household humidity is a concern.
Check stored seeds periodically for moisture, mold, insect damage, or unclear labels. Saving a modest amount from one well-documented crop is easier to manage than storing many anonymous packets that may never be used.
Worth knowing: Good storage supports seed quality but cannot guarantee germination, particularly as seeds age or if drying was incomplete.
About the author
Dana Ruiz, Senior editor
Dana writes about small-space living, storage and low-cost decorating.
Keep reading

7 Narrow Foundation Bed Layouts for the Front of a Small House
October 31, 2026
8 Christmas Porch Planters Using Empty Summer Pots
October 29, 2026

8 Small Front Yard Layouts for a Plain Rectangular Lawn
October 29, 2026

8 Christmas Gift-Wrapping Stations That Pack Away in a Small Home
October 31, 2026