15 Small Pantry Organization Ideas Without Matching Containers
A small pantry cupboard works best when everyday food is easy to see, reach, and put back in its original packaging. These low-cost systems use simple categories, shelf space, and rotation habits rather than a wall of matching containers.
1.Give Each Shelf One Clear Food Category
Assign broad zones such as breakfast, canned meals, baking, snacks, and dinner staples. A cupboard feels easier to use when each shelf answers one simple question about what belongs there.
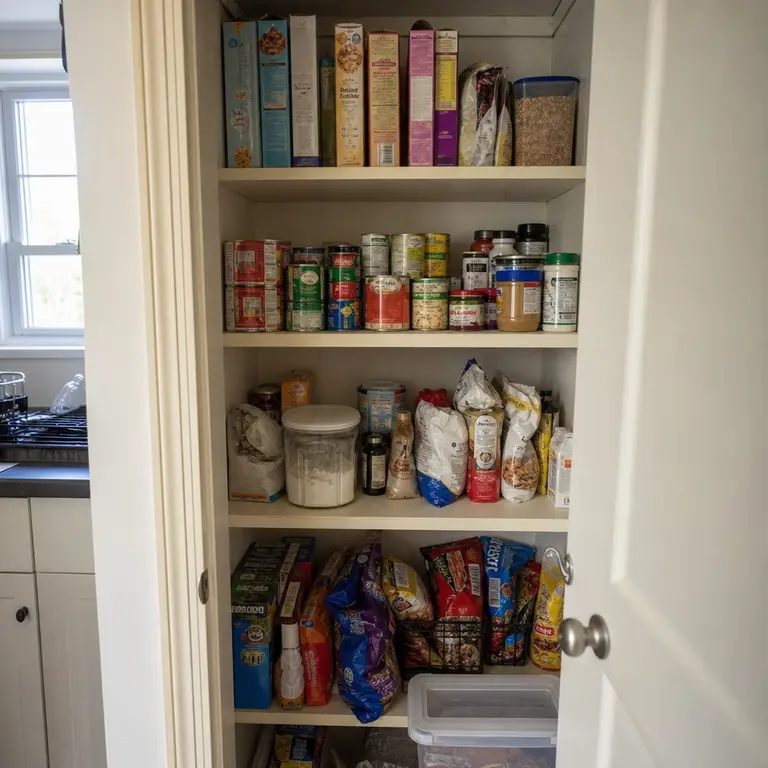
Keep categories flexible enough to suit the food your household actually buys. Original boxes, bags, and cans can stay as they are when the shelf itself provides the structure.
Worth knowing: This works best when categories stay broad; too many narrow groups can make a small cupboard harder to maintain.
2.Keep Everyday Food Between Waist and Eye Level
Put the foods used most often on the shelves that are easiest to reach. Pasta, breakfast items, tea, lunch supplies, and frequently used canned goods are usually better placed in this middle zone than on the highest shelf.
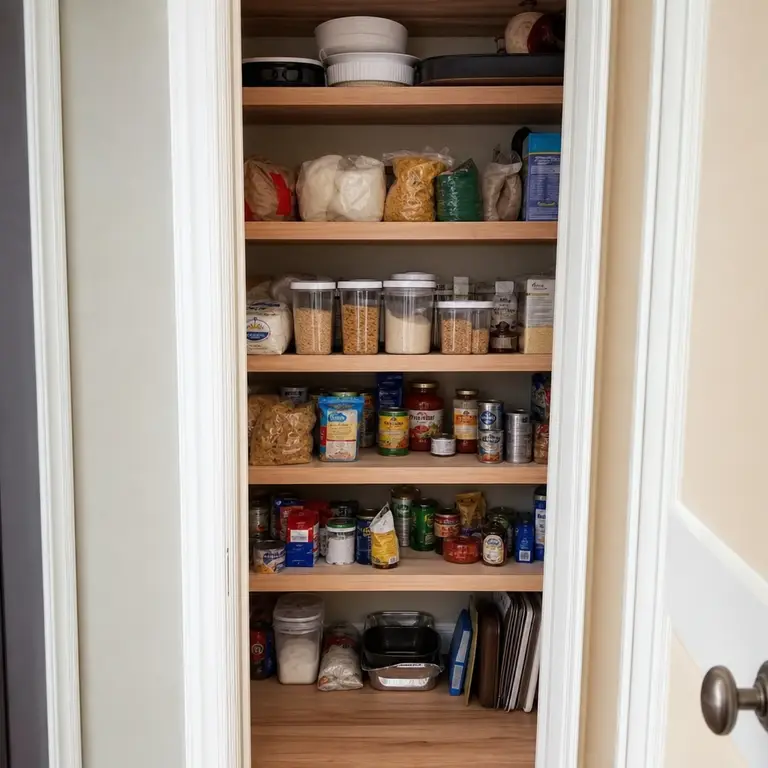
Use low shelves for heavier backups and high shelves for items used less often. This reduces digging and makes it simpler to put groceries away in the right place.
Worth knowing: A very short cupboard may not offer much height variation, so prioritize the most convenient shelf for the items used every day.
3.Use a Shallow Basket for Snack Packets
Gather loose snack packets in one shallow open basket rather than letting them spread across a shelf. The basket can be pulled forward when someone is choosing a snack, then pushed back without rearranging everything around it.
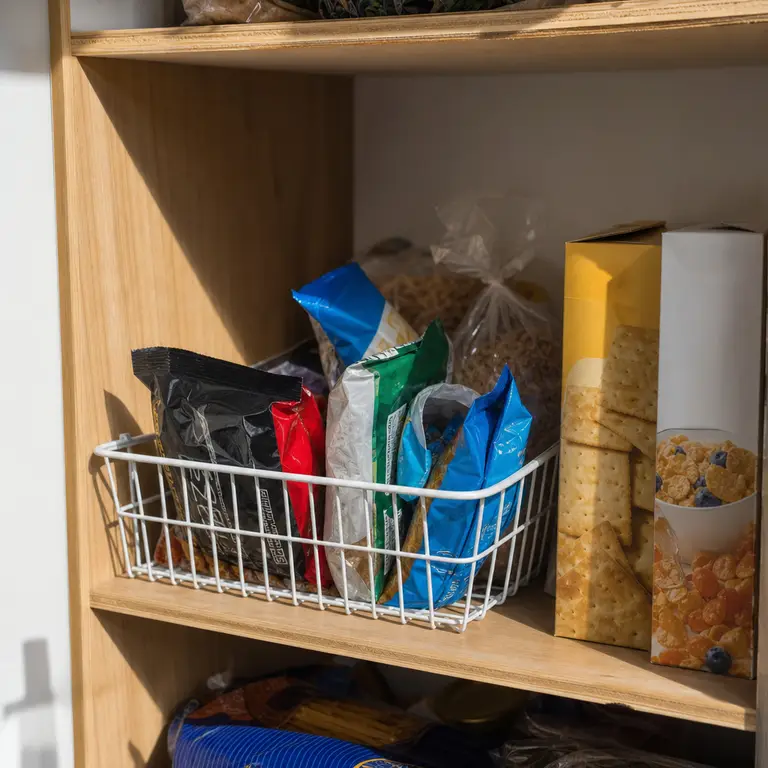
A shallow shape is useful because packets remain visible instead of forming a deep pile. Reuse a sturdy basket or small open container already on hand if it fits the shelf cleanly.
Worth knowing: Soft packets can still become messy if the basket is overfilled, so keep only the current supply in it.
4.Stand Pouches and Mix Packets in a File Sorter
Use a basic file sorter or upright rack for gravy mixes, seasoning packets, drink sachets, sauce pouches, and similar flat foods. Standing them on edge keeps more of each package visible than stacking them in a drawer-like pile.
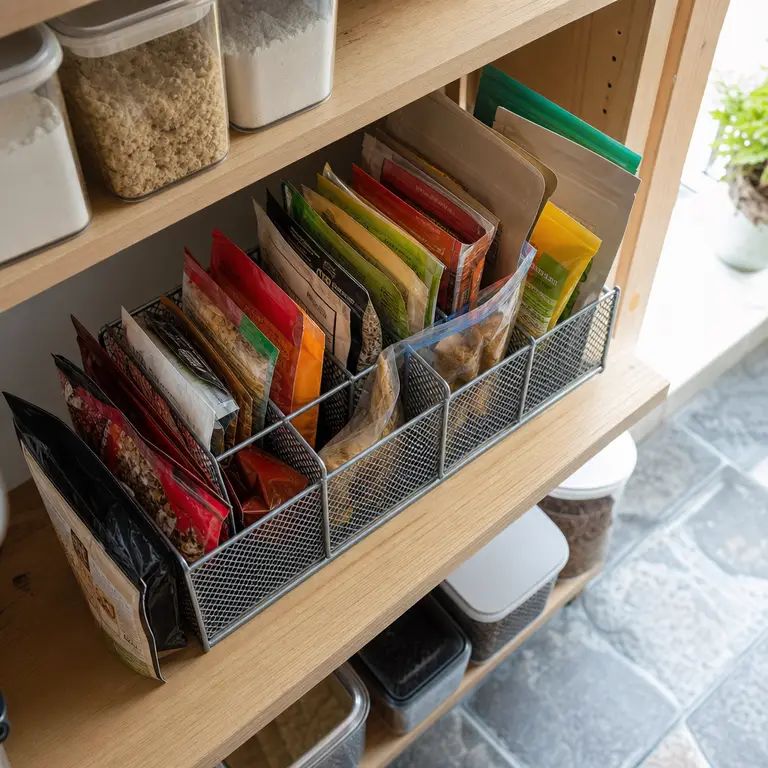
Sort packets by type or meal use, not by making every section overly specific. A simple metal or plastic organizer can often do the job without requiring a pantry product.
Worth knowing: Very flexible pouches may slump in a wide sorter, so choose one with narrow sections or use it mainly for flatter packets.
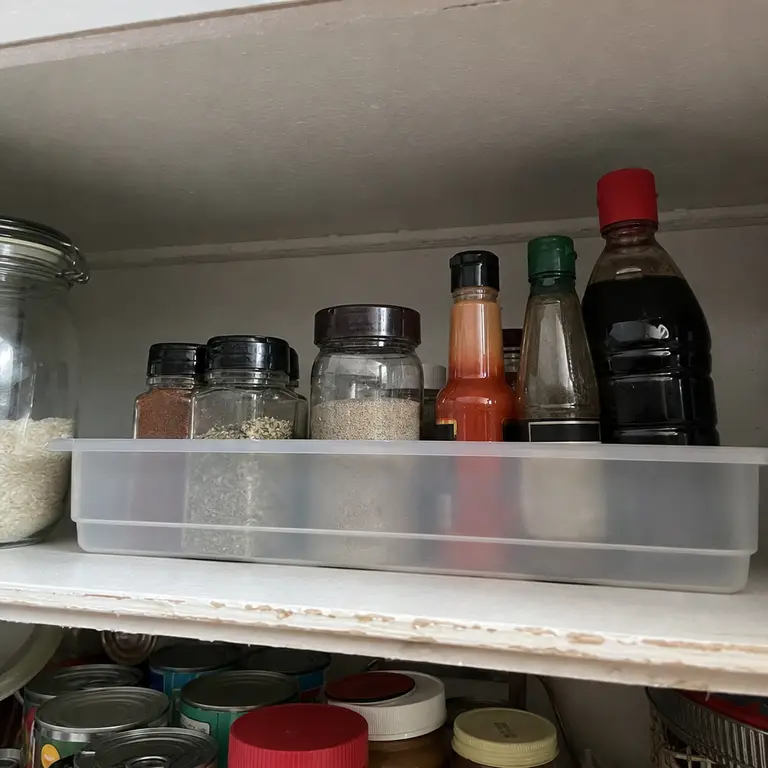
5.Corral Small Jars on a Tray
Place short jars and bottles, such as extracts, spices, small sauces, and toppings, on a washable tray. When one item is needed, the whole group can slide forward instead of requiring a search behind taller packages.
The tray also creates a clear boundary for items that otherwise get scattered. Choose a low-sided option so labels and lids remain easy to see.
Worth knowing: A tray uses some shelf space, so it is most useful for small items that would otherwise disappear behind larger food packages.
6.Add a Can Riser to the Back of a Deep Shelf
A low shelf riser can bring cans in the back row into view. This makes deep shelves more usable without committing to a specialty can dispenser or moving every can into a different system.
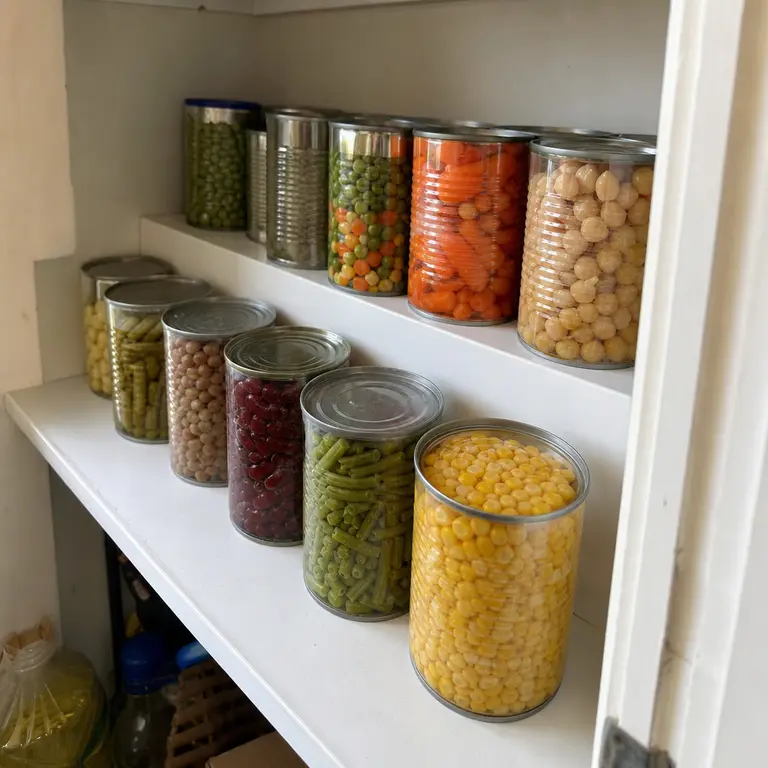
Keep similar cans together on the riser and place the most-used types at the front. A stable riser with a flat base is easier to wipe down and less likely to shift when restocking.
Worth knowing: Risers can make tall cans unstable on shallow shelves, so check the available height and depth before adding one.
7.Store Extra Cans in a Small Open Box
Keep duplicate cans in a sturdy open box toward the back of a shelf or on a lower level. Leave a smaller working supply in front, where it is easy to see what is available for the week.
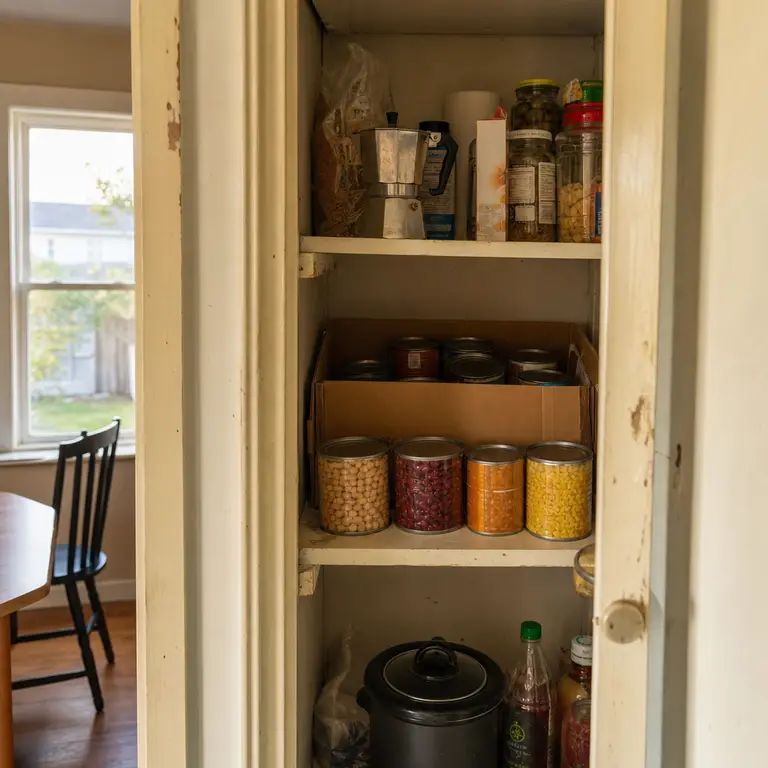
A plain box separates backups from food that should be used next. It can also be removed during a quick inventory without emptying the whole shelf.
Worth knowing: Cardboard can weaken if the pantry is damp or prone to spills, so replace it when it becomes worn.
8.Make a Baking Shelf With a Pull-Forward Bin
Group flour bags, sugar, baking soda, sprinkles, paper liners, and other baking supplies in one open handled bin. Pulling out one bin is simpler than reaching around loose bags and small packets when it is time to bake.
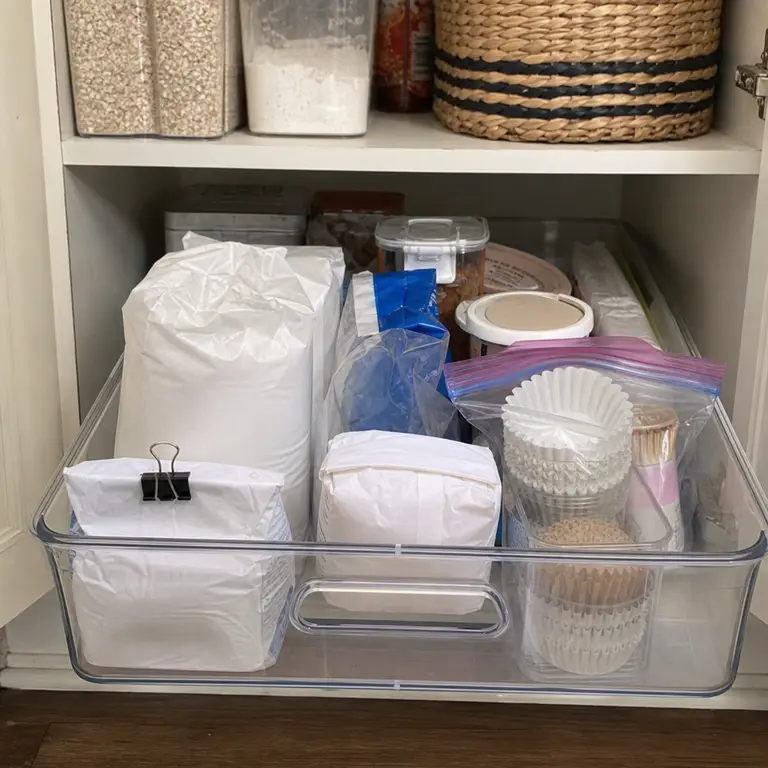
Measure the shelf depth, width, and clearance before choosing a bin. A container that slides out easily while leaving room for the cabinet door is more useful than one that fills every inch.
Worth knowing: Flour and sugar bags can spill inside an open bin, so check packages for tears and clean the bin when needed.
9.Use Door Storage for Light, Narrow Items
Use existing door shelves or an appropriate over-door rack for light, narrow items such as wraps, foil, sandwich bags, seasoning packets, and small bottles. This can free the main shelves for bulkier food without changing the rest of the cupboard.
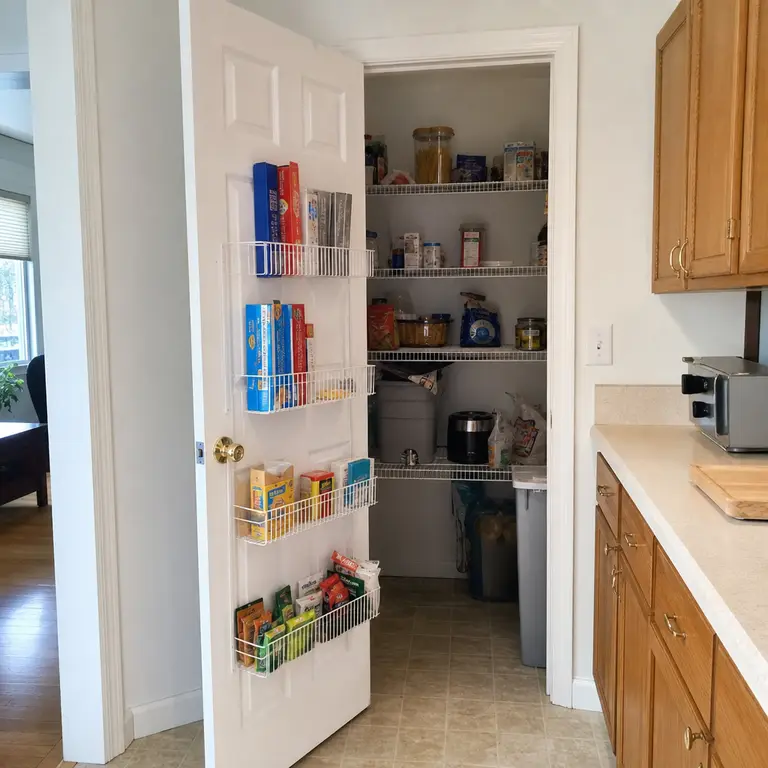
Keep the load light and make sure the door still closes smoothly. Renters should also check whether an organizer needs hardware or adhesive that is not allowed in the home.
Worth knowing: Door storage is not suitable for heavy jars, large bottles, or anything that could shift when the door opens.
10.Put Meal Starters in One Dinner Bin
Create one open bin for meal starters such as pasta sauces, taco kits, noodles, boxed side dishes, and simmer sauces. Seeing these foods together can make weeknight dinner choices clearer than storing each type in a separate corner.
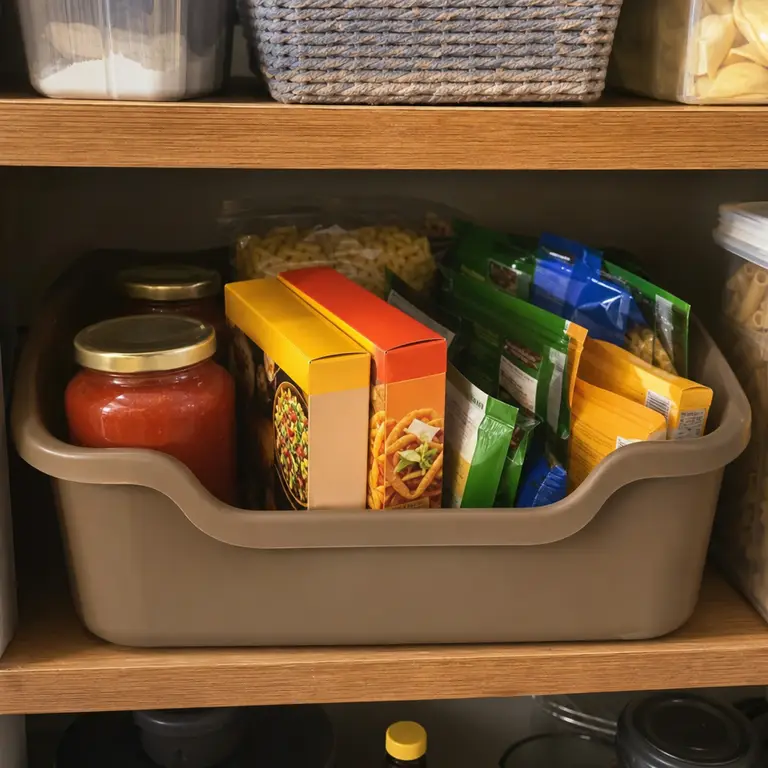
Keep the bin at a reachable height and restock it with the kinds of meals your household uses. Original packaging makes it easy to spot cooking directions and ingredients when needed.
Worth knowing: This category can become crowded if it also collects full meal ingredients, so keep bulky staples elsewhere.
11.Keep Open Packages Together in One Use-First Basket
Designate a small basket for opened crackers, partial pasta bags, nearly finished cereal, and other foods already in progress. Put it near the front of the pantry so these items are noticed before another package is opened.
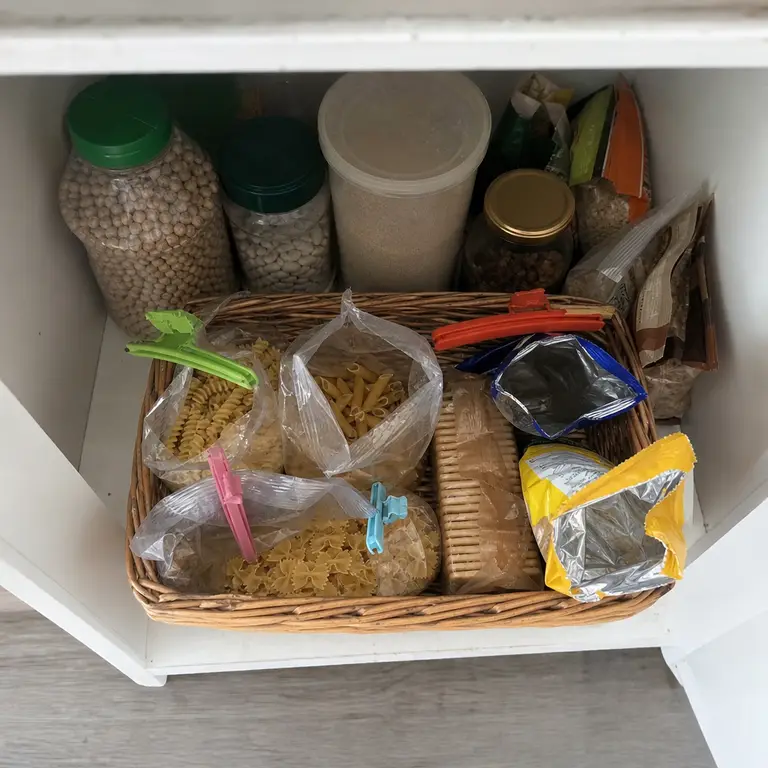
Use clips, folded package tops, or the original resealable closures where they are still working. The goal is visibility and a clear use-first spot, not transferring every open food into a new container.
Worth knowing: Some foods need a more secure closure after opening, so follow the storage instructions on the package rather than relying on a basket alone.
12.Turn Labels Forward Instead of Relabeling Everything
Face package fronts, can labels, or the most recognizable side outward when stocking the shelves. This simple habit makes food easier to identify without spending time and money on replacement labels and containers.
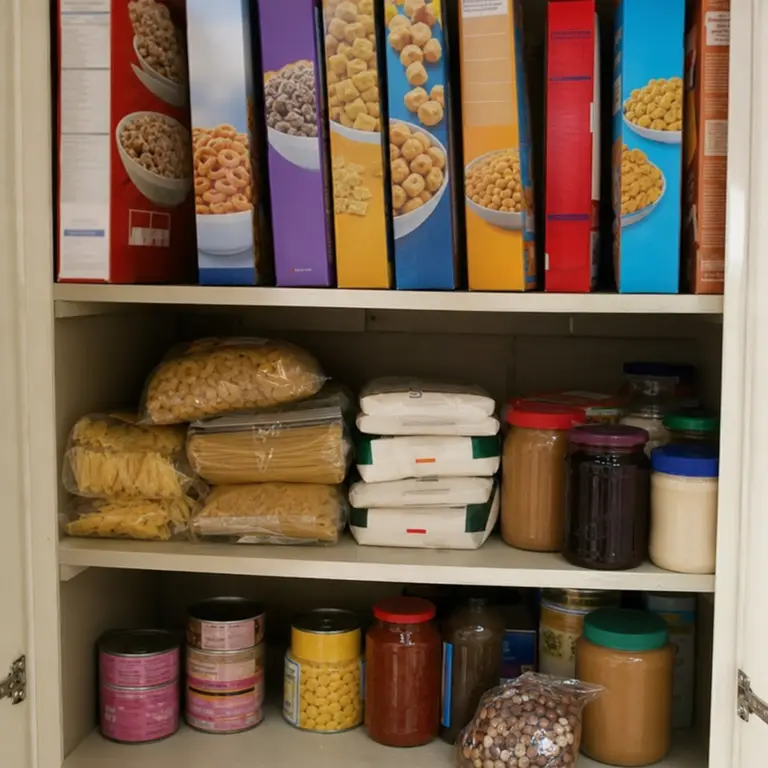
Line up similar items in short rows rather than packing the shelf tightly from front to back. The arrangement will still look orderly even when packaging does not match.
Worth knowing: Package fronts can be visually busy, so this approach looks more practical than a fully uniform decanted pantry.
13.Rotate New Groceries Behind Older Food
Move older packages forward when putting groceries away, then place newer matching items behind them. This gives the food already in the cupboard a better chance of being used first.
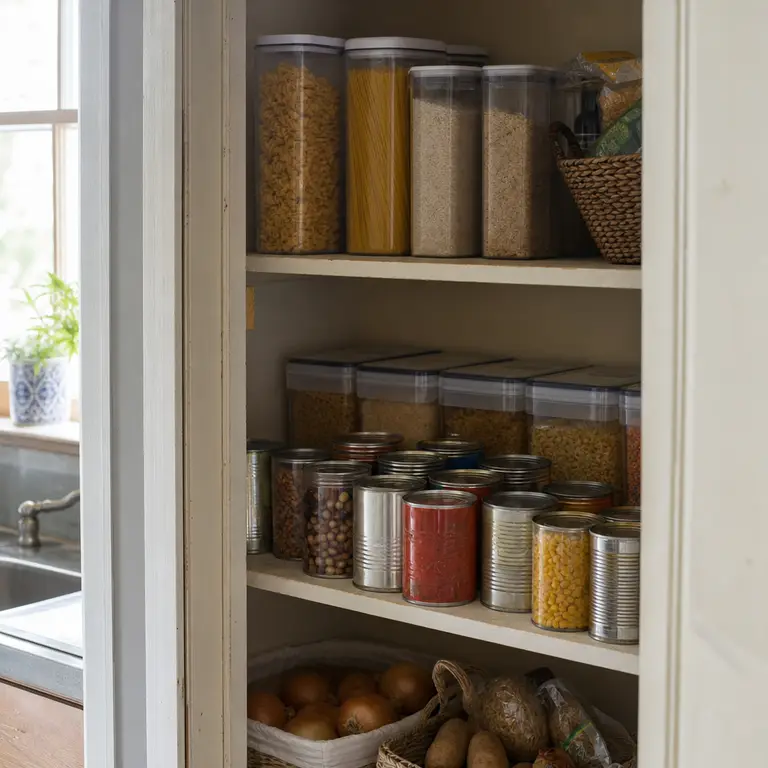
Check dates periodically, especially on backups and items stored out of easy reach. Discard food that is no longer safe to use, and use package guidance when deciding how to store opened products.
Worth knowing: Rotation takes a few extra moments at grocery put-away time and only works if everyone avoids putting new items in front.
14.Use the Highest Shelf for Seasonal Food
Reserve the highest shelf for holiday baking supplies, special-occasion ingredients, serving pieces, and other items not needed every week. This protects the most accessible shelves for ordinary meals and snacks.
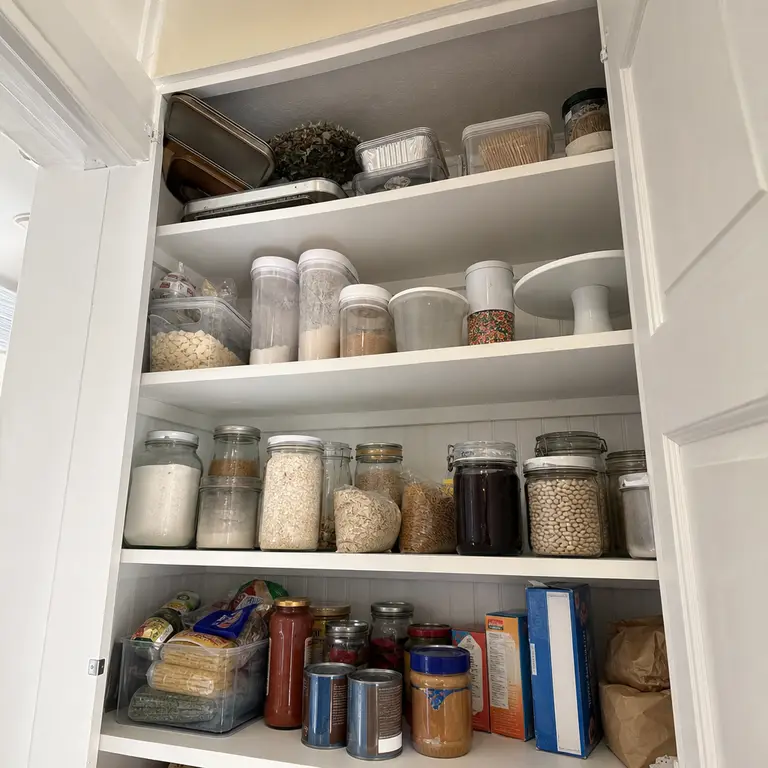
Store high-shelf items in a lightweight box or bin that can be brought down safely. Use a stable step stool only when it is safe to do so, and avoid stacking items where they could fall.
Worth knowing: Frequently used food should not be stored overhead if reaching it requires unsafe stretching or climbing.
15.Leave a Small Reset Space on Every Shelf
Leave a little open room at the front or side of each shelf instead of filling every available gap. That space gives new groceries a temporary landing spot and makes it easier to straighten the cupboard after a busy week.
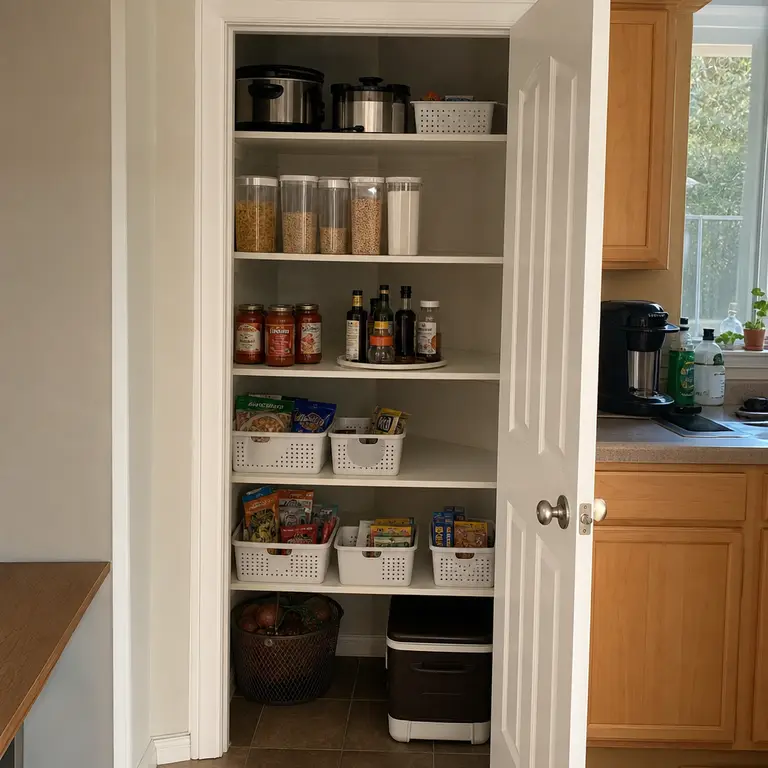
A small amount of breathing room also helps categories stay visible. When the pantry is packed too tightly, food gets pushed behind other food and the system becomes harder to keep up.
Worth knowing: In a very full cupboard, maintaining open space may require buying smaller quantities more often or storing rarely used extras elsewhere.
About the author
Dana Ruiz, Senior editor
Dana writes about small-space living, storage and low-cost decorating.
Keep reading
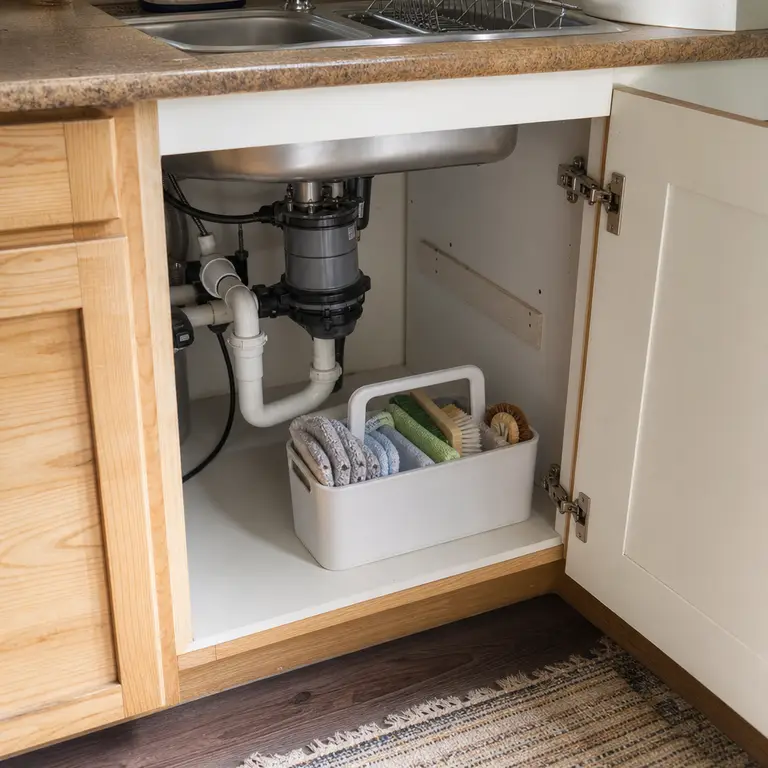
12 Under-Sink Storage Ideas That Work Around Pipes
September 19, 2026
12 Small Bathroom Storage Ideas When You Have No Linen Closet
September 19, 2026
12 Shoe Storage Ideas for a Narrow Entryway
September 18, 2026
10 Small Patio Dining Ideas Without a Big Furniture Set
September 19, 2026