12 Budget Gallery Wall Ideas Using Mismatched Frames
A mismatched-frame gallery wall looks deliberate when a few visual rules repeat: one gap size, a limited mat palette, or a shared shape. These layouts suit renters and thrift shoppers because paper templates allow the arrangement to be tested before choosing removable strips, small nails, or picture hooks rated for each frame’s hanging weight.
1.Hold One Even Gap Between Every Frame
Choose one narrow gap and repeat it between every frame, even when the frames differ in color, material, and size. This shared spacing gives the group a steady rhythm, so an old wood frame and a thin metal one look like part of the same plan.
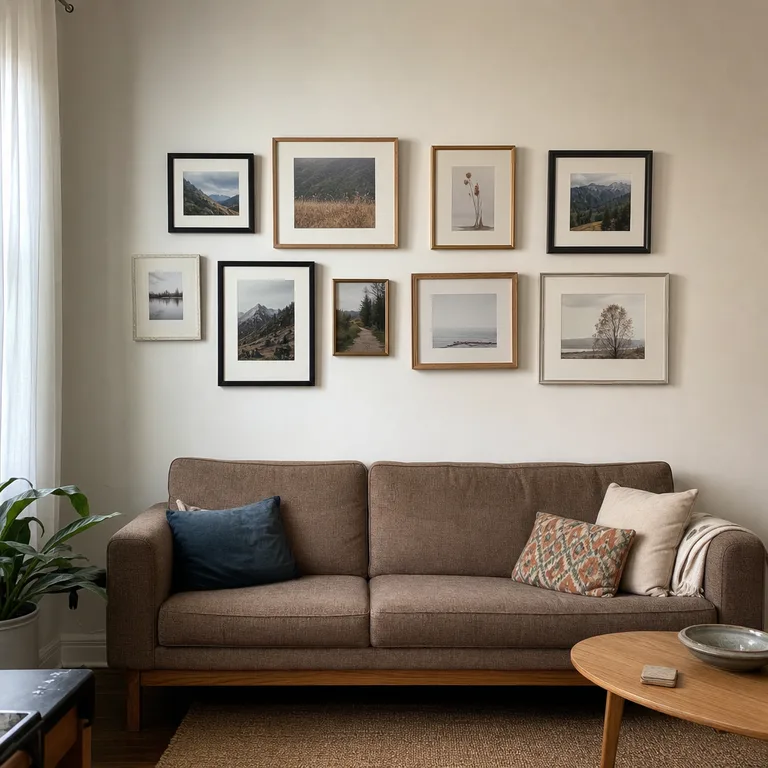
Lay frames on the floor first, then use cut paper templates to transfer the arrangement to the wall. A ruler and painter’s tape are enough to check the spaces, and a small wall is easier to manage than trying to cover a large blank area all at once.
Worth knowing: Very uneven frame sizes can make perfectly consistent gaps look stiff, so allow a little adjustment at the outside edge of the arrangement.
Related: 12 Thrifted Decor Ideas That Make Mismatched Finds Feel Collected
2.Build a Centered Rectangle Around One Large Frame
Start with the largest frame near the center, then place smaller frames around it until the outer edge suggests a loose rectangle. The boundary matters more than symmetry: it gives assorted finds a contained shape on a short wall above a sofa, bench, or console.
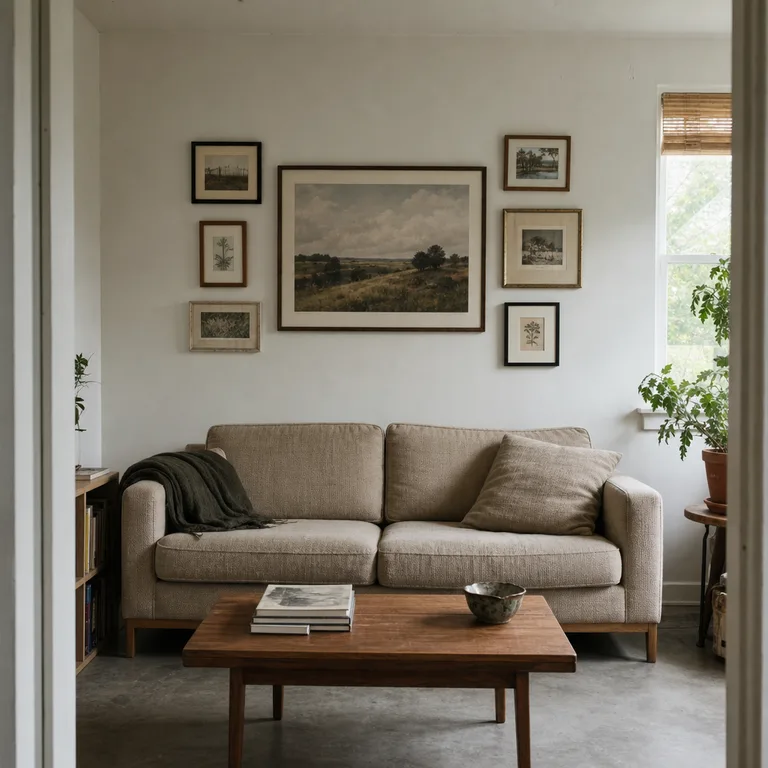
Use pieces already owned for the middle and fill the perimeter gradually with thrifted frames or inexpensive secondhand art. Keep the main frame centered over the furniture rather than centered on the entire room, especially if a doorway or window shifts the wall visually.
Worth knowing: This layout needs enough differently sized frames to build around the center piece, so it may take time to complete without buying a matching set.
3.Repeat Cream Mats Inside Every Frame
Replace clashing mats with cream, warm white, or another soft pale neutral. The repeated inner border connects dark wood, painted frames, metal finishes, rectangles, and ovals without making the collection look overly matched.
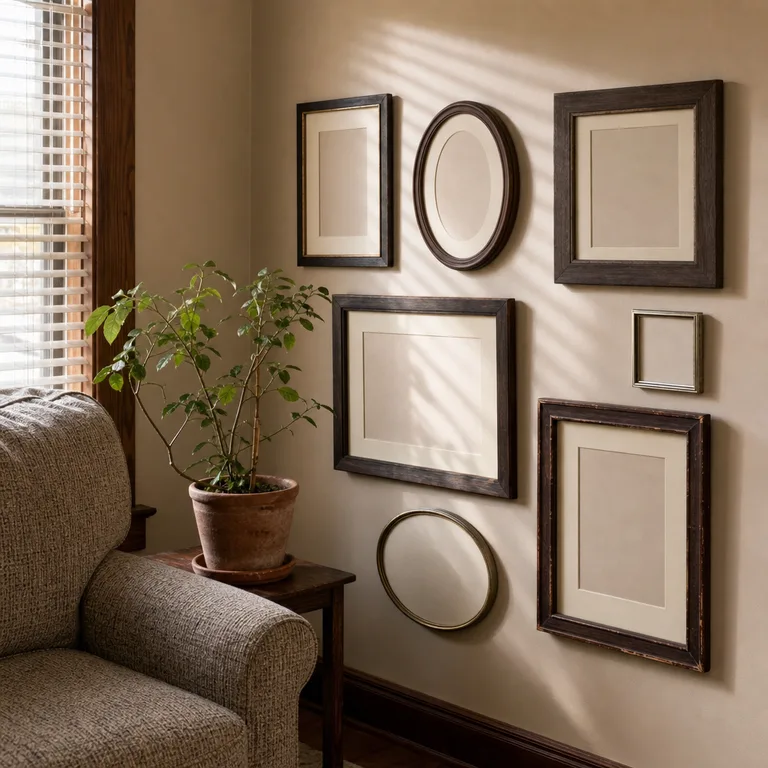
Pre-cut mats can work for standard frame sizes, while thrifted frames with unusual openings may need simple paper backing behind the art instead. Choose a tone that works with the wall color; a cream mat often feels warmer against beige, clay, and soft white walls than a stark bright white one.
Worth knowing: Custom-cut mats for unusual frame openings add effort and may not be worthwhile for inexpensive temporary art.
4.Use Black Mats for a Graphic Mixed-Frame Grid
Put black or charcoal mats in a loose grid of mixed frames to create a repeated dark outline. This works especially well when the wall is light and the artwork is mostly black-and-white photography, line drawings, or muted prints.
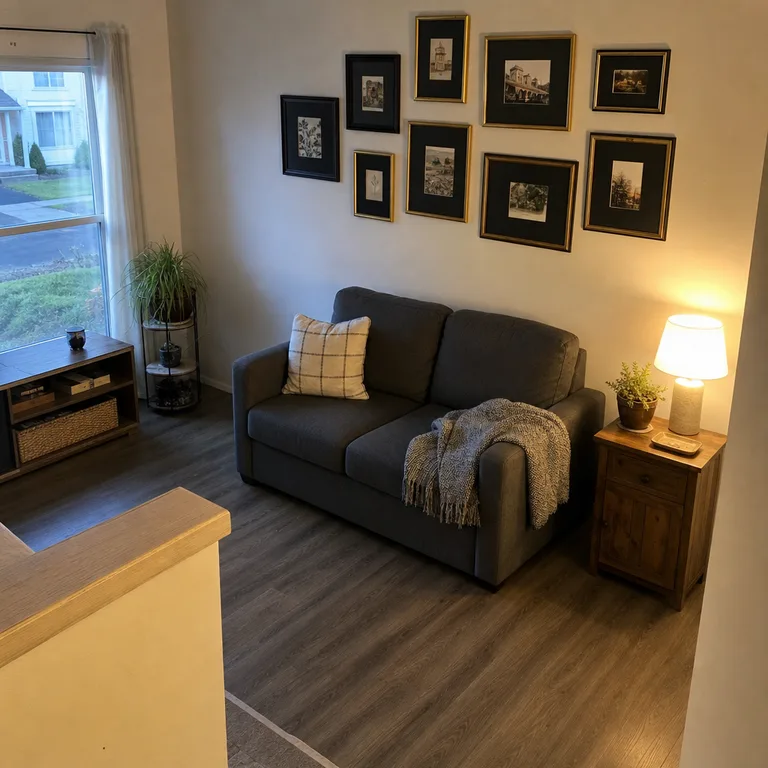
Keep the frame edges fairly close to a grid, even if the finishes vary. A few light wood, brass-toned, or painted frames will stand out more clearly once every piece has the same dark center, and black mat board can refresh art that is already in the house.
Worth knowing: Black mats can make small or low-contrast artwork feel visually heavy, particularly in a dim room.
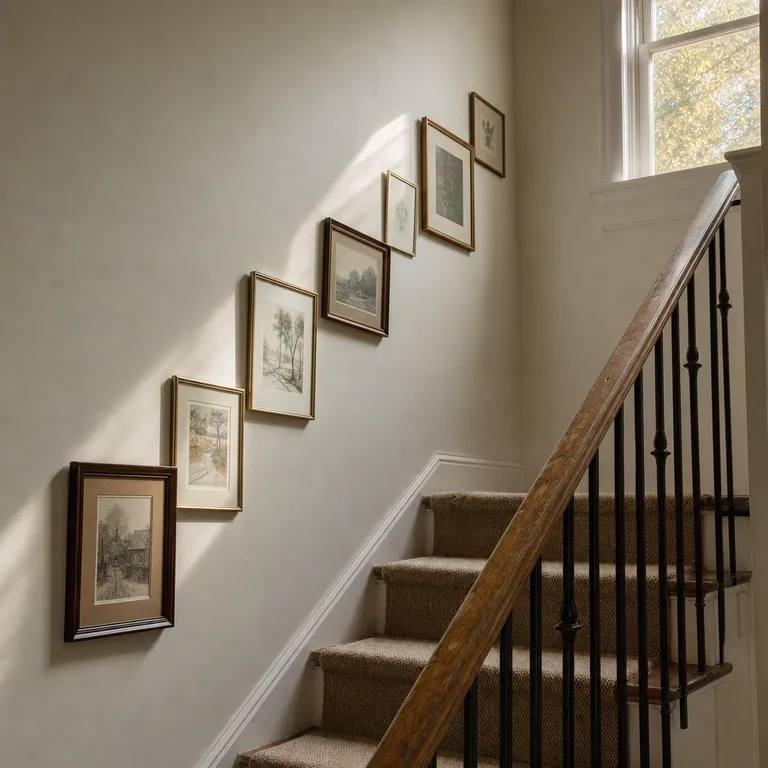
5.Make a Stair-Step Wall Follow the Railing
Set the frame centers on a rising line that follows the handrail rather than hanging them in a flat row beside the stairs. The architecture becomes the organizing rule, making different frame styles feel connected as the display moves upward.
Mark the rail angle with a removable tape guide, then position paper templates along that line before making holes. Stairwells can be awkward to work in, so use stable footing and choose hardware based on each frame’s weight rather than relying on a single hanging method.
Worth knowing: A narrow staircase may not leave enough viewing distance for a dense arrangement, so fewer larger frames can work better than many small ones.
6.Anchor a Sofa With One Long Horizontal Row
Hang a single band of mismatched rectangular frames above a small sofa, aligning their lower edges while letting the top edges vary. The straight lower line connects the art to the furniture and makes a short sofa wall feel more settled.
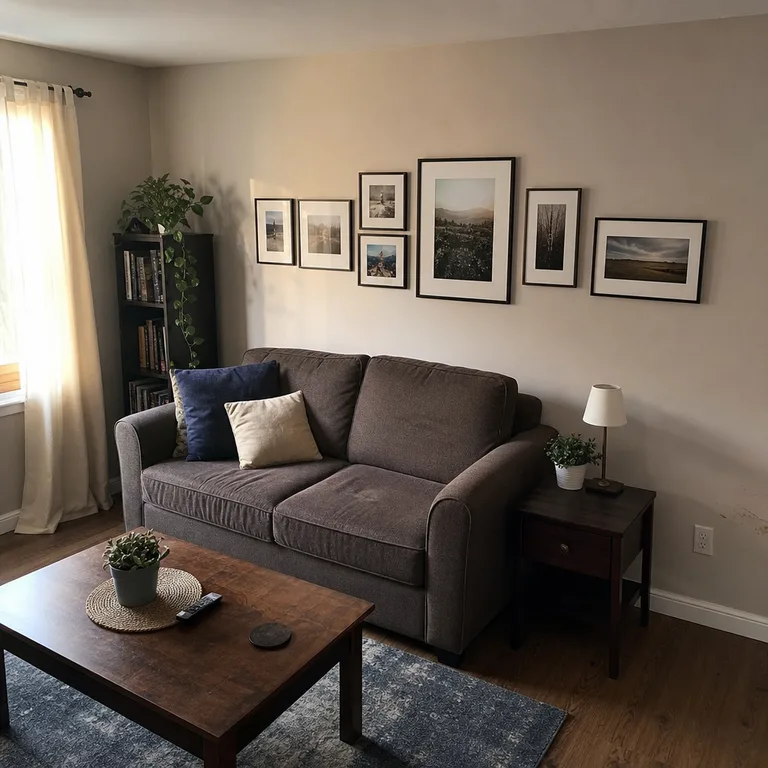
Use frames with related proportions rather than trying to make every size match. This is an affordable way to display a small collection because it avoids the need to fill the entire wall, and it leaves room for a lamp, shelves, or curtains nearby.
Worth knowing: A long row can look undersized over a wide sectional or oversized wall, where a fuller arrangement may be needed.
Related: 15 Budget Living Room Updates That Work With the Sofa You Already Own
7.Cluster Oval and Round Frames Around Rectangles
Add round or oval frames in several places among standard rectangles to repeat one curved shape. Those curves soften a boxy group of thrifted frames and make the collection look chosen rather than simply accumulated.
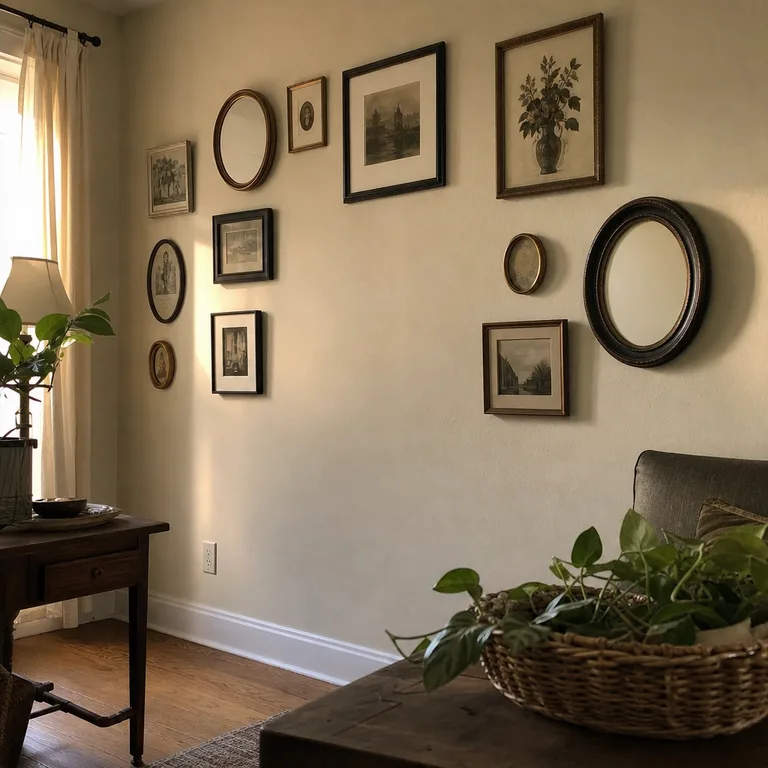
Place the curved pieces at different heights instead of lining them up in one row. A round frame can hold a small portrait, botanical print, mirror, or family photo, while rectangular frames carry larger images around it.
Worth knowing: Too many different curved shapes can make the layout feel scattered, so repeat only one or two rounded frame types.
8.Create a Vertical Stack Beside a Window
Use the slim wall beside a window for a vertical stack of similarly shaped frames with matching mats. This turns an overlooked strip of wall into a finished detail without needing a large collection or a full feature wall.
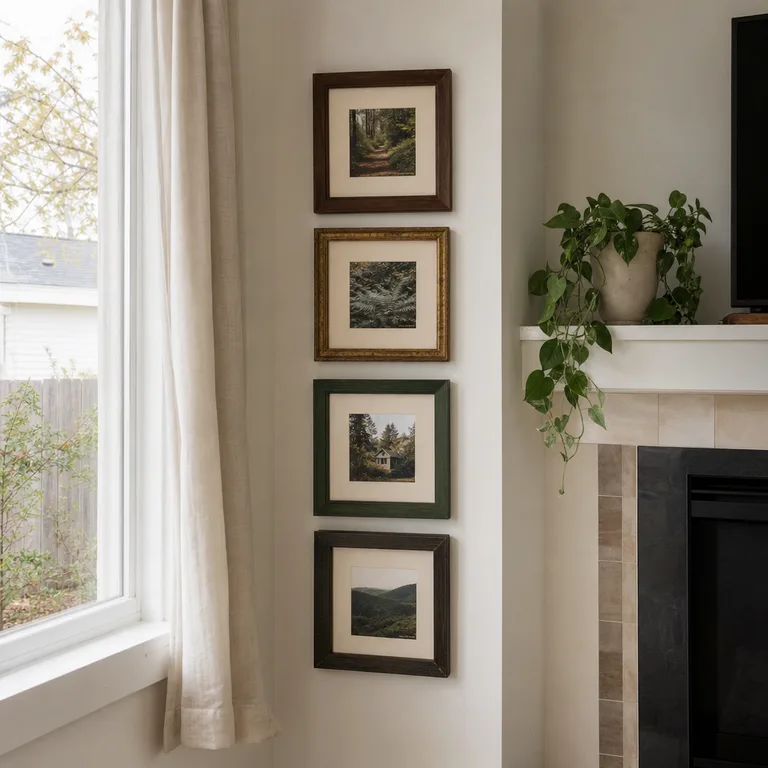
Keep the gaps equal and select artwork that can handle strong daylight without fading. If the window gets direct sun, use reproductions, copies, or art that can be easily swapped instead of placing irreplaceable photographs or delicate original work there.
Worth knowing: Direct sun can fade paper artwork over time, even when it is framed behind glass.
9.Use Matching Square Frames as Visual Anchors
Choose two or three square frames and use them as steady points within a larger mixed arrangement. Place one near the center and the others at outer points, then fit assorted rectangles around them to give an irregular gallery wall a clearer structure.
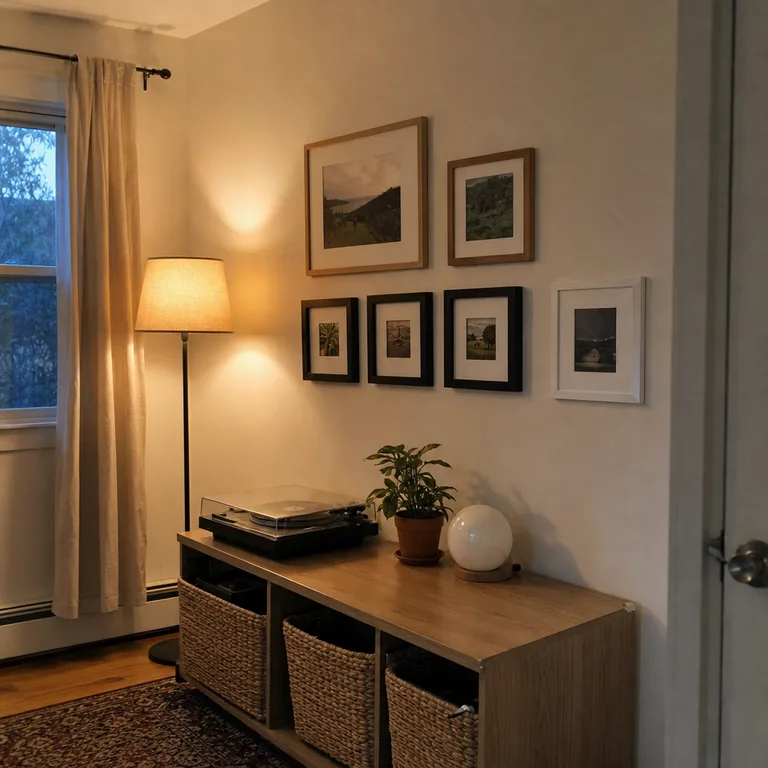
The square frames do not need to be identical in finish if their outside dimensions are similar. Matching black, wood-tone, or painted squares can often be found secondhand over time, while the surrounding frames can remain more varied.
Worth knowing: This approach is harder if the existing collection is mostly long narrow frames and has no near-square pieces.
10.Frame a Corner With Two Connected Groups
Continue a gallery wall around an inside corner with one small cluster on each wall. Repeat the same mat color and gap size so the groups read as one display instead of two unrelated patches.
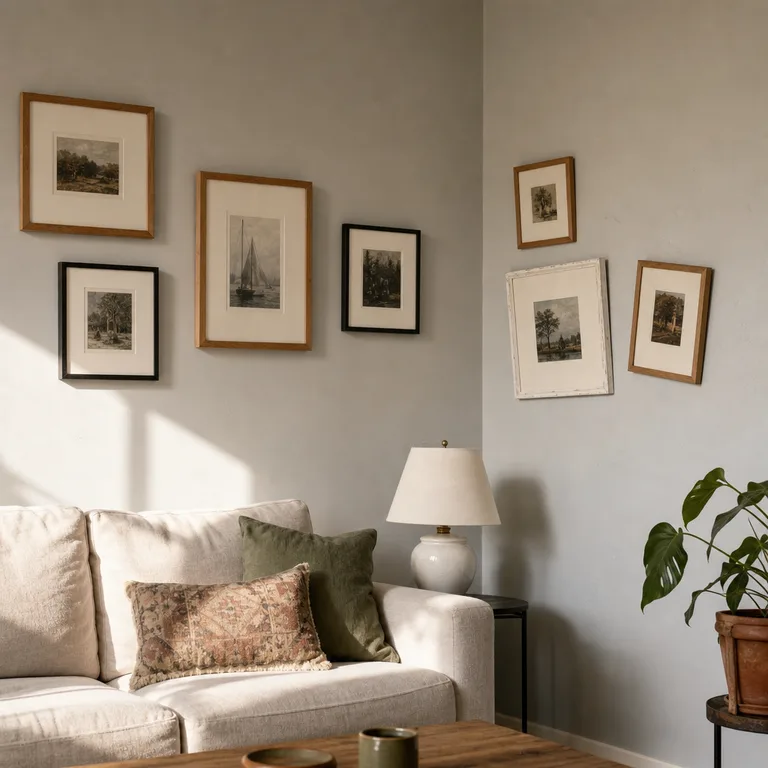
Treat the corner as part of the composition, leaving a comfortable margin on both sides rather than crowding frames into the fold. This can make a compact living room feel more layered, but check sightlines from the main seating area so art on the return wall is not hidden behind furniture.
Worth knowing: Frames close to a busy passage can be bumped, especially near a narrow entry or frequently used doorway.
11.Fill a Recessed Wall Niche With a Compact Grid
Use the edges of a recessed niche as the natural border for a compact gallery. The built-in outline contains mismatched frames, so different finishes look more intentional than they might on a large open wall.
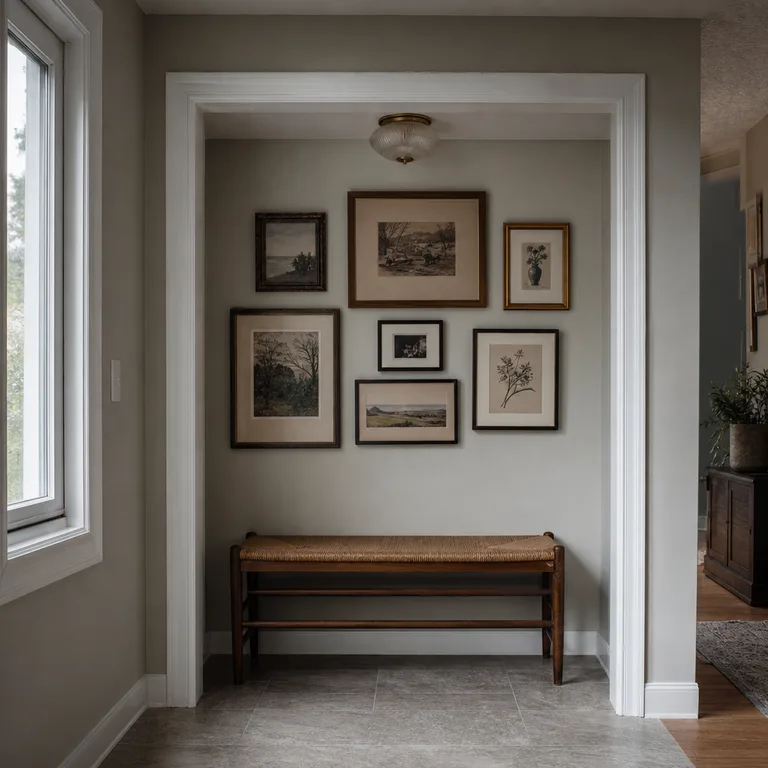
Measure the inner width and height, then arrange paper templates with even margins around the niche edges. Keep the layout simple enough to remove or change if the niche needs to serve another purpose later, such as storage or a reading light.
Worth knowing: A shallow niche can cast shadows over art, so lighter mats and non-glare glazing may be more practical than dark, reflective finishes.
12.Arrange Paper Templates in a Loose Salon Shape
Trace each frame onto paper, label the template, and tape the shapes into a loose cloud or salon arrangement. Adjust the outer edge until it has a balanced silhouette, with no single frame reaching too far away from the group.
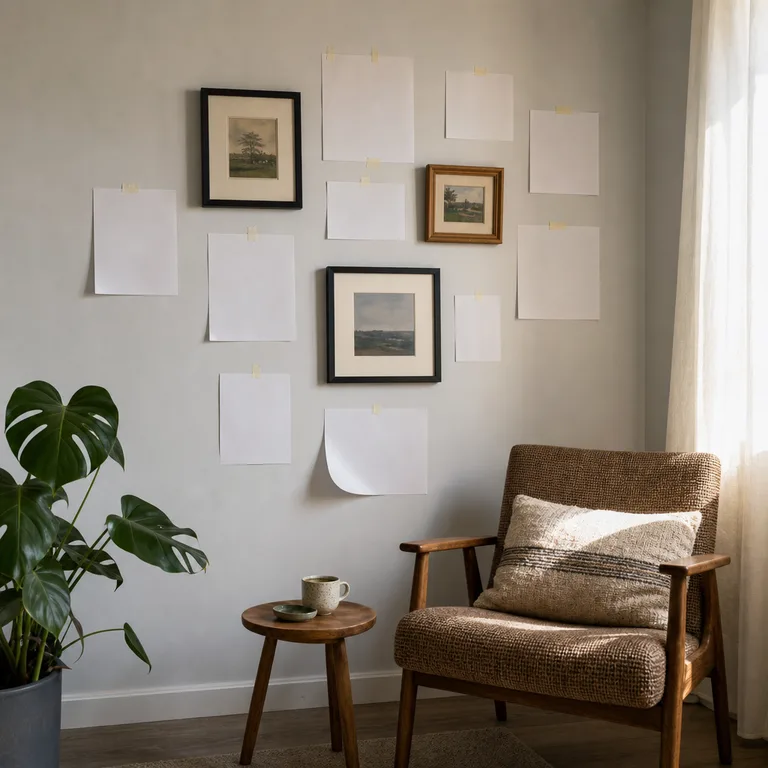
This planning step helps renters test a layout without unnecessary holes and gives thrifted frames time to earn a place in the composition. Once the paper layout feels right, verify the hanging hardware, wall type, and weight rating for every frame; removable strips are not suitable for every size, finish, or surface.
Worth knowing: Paper templates show spacing and scale, but they cannot fully predict how frame depth, glass reflection, and artwork colors will look together on the wall.
About the author
Dana Ruiz, Senior editor
Dana writes about small-space living, storage and low-cost decorating.
Keep reading
12 Budget Christmas Mantel Alternatives for Homes Without a Fireplace
September 26, 2026
10 Budget Christmas Kitchen Decor Ideas That Keep Counters Usable
September 25, 2026
10 Small-Yard Lawn Alternatives You Can Try One Patch at a Time
September 26, 2026
10 Budget Patio Privacy Ideas for a Small Seating Area
September 25, 2026