10 Small Pollinator Garden Ideas You Can Start in One Corner
A small pollinator garden works best when it begins as a clearly defined patch matched to the yard’s sun, soil, and moisture conditions. Build it in stages with plants native or well suited to the local region, leaving room for bloom times, mature spread, and simple maintenance.
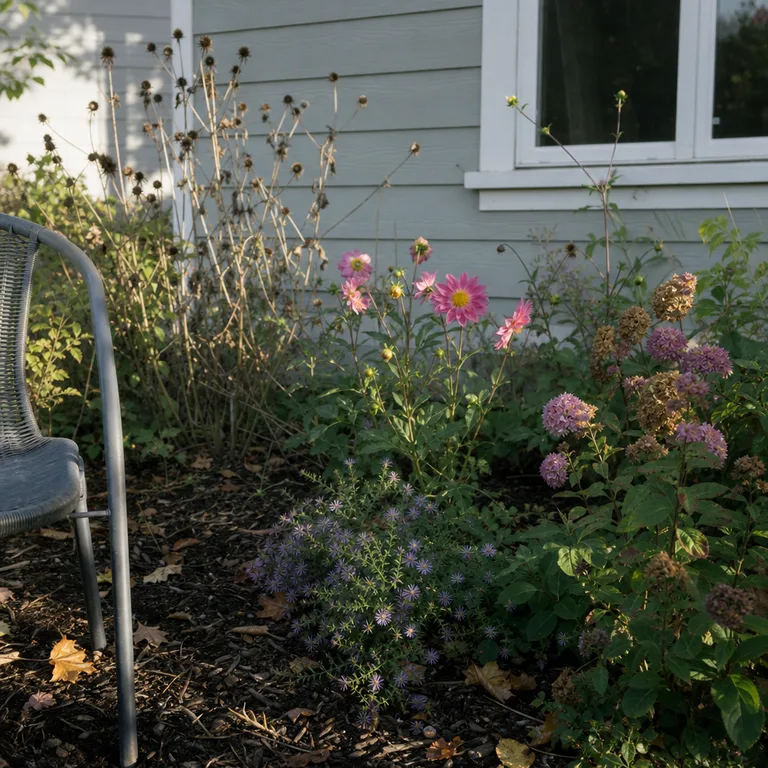
1.Mark Out a Sunny Corner With a Simple Edge
Choose a visible corner near a patio, fence, or path where the plants will receive the light they need. A compact outline gives the project a finished starting point and makes it easier to notice whether the soil stays dry, damp, or shaded at different times of day.
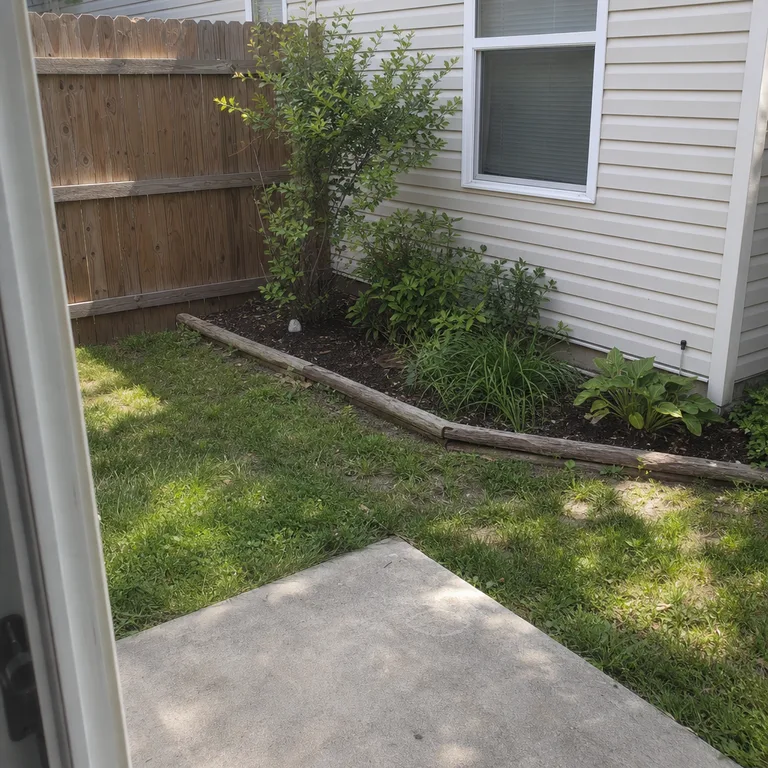
Use a low edge of stone, salvaged brick, flexible metal, or untreated rot-resistant wood to separate the bed from turf. Define only the area that can be planted and maintained now; the edge can be extended later as the patch fills in.
Keep the shape simple enough to mow around. In a hot, dry spot, leave room for a wider mulched edge so lawn grass does not compete as heavily with new plants.
Worth knowing: A sunny corner can still be unsuitable for sun-loving plants if nearby trees or buildings cast long seasonal shadows.
Related: 15 Budget Landscaping Ideas That Make a Small Yard Feel Finished
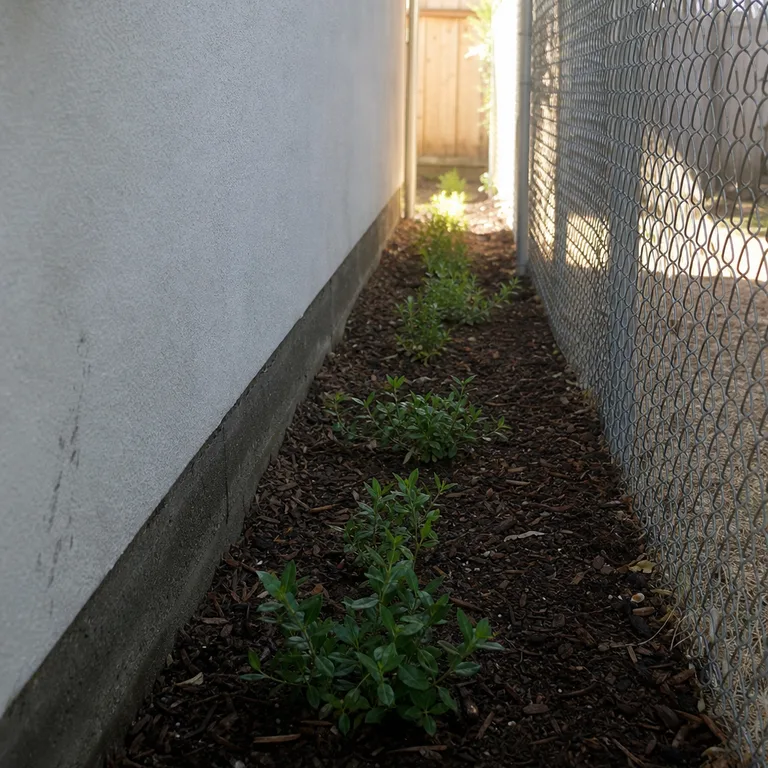
2.Use a Narrow Strip Along a Fence
A fence-line bed turns a hard-to-use boundary into a planting area without taking over the middle of the yard. It also provides a natural backdrop for taller flowers and grasses selected for the local region.
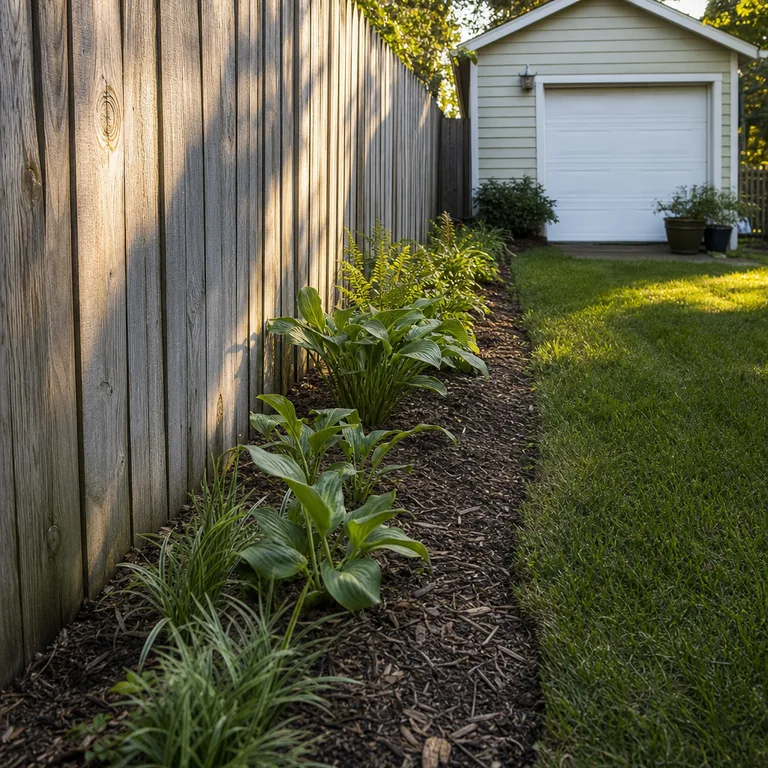
Start with a narrow strip and improve the soil only where plants will go. Leaf mulch, finished compost, and locally sourced divisions can help fill the space gradually without buying a full garden at once.
Place taller plants far enough from gates, seating, and utility access that they will not block use of the yard. Check how the fence changes light and airflow, since a south- or west-facing fence can create a notably hotter, drier bed.
Worth knowing: Fence borders may have compacted soil, root competition, or drainage issues that require slower planting and closer watering at first.
3.Build Around One Local Native Shrub
A single shrub can give a small patch structure when flowering perennials are still young. Choose a shrub native to the local area that suits the site’s sun, moisture, and available width at maturity.
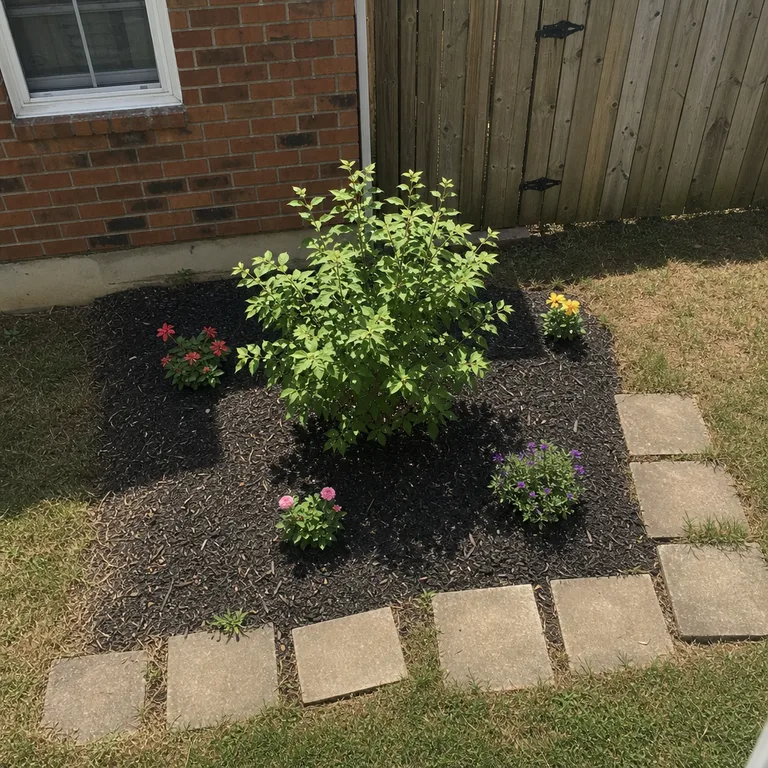
Plant lower flowers and ground-covering plants around the shrub’s outer root zone rather than packing the base. This creates layers of foliage and bloom while leaving enough open soil for the shrub to establish.
A young shrub may be available through local native-plant sales, conservation groups, or garden centers that label plants by botanical name. Read the mature-size information carefully, especially beside a fence, wall, or walkway.
Worth knowing: Even a small-looking shrub can outgrow a tight corner, and repeated pruning can reduce its natural form and flowering.
4.Layer Plants by Mature Height
Arrange plants by their mature height instead of how tall they look in nursery pots. Put taller plants toward the back against a fence or wall, or in the center of a bed viewed from several sides.
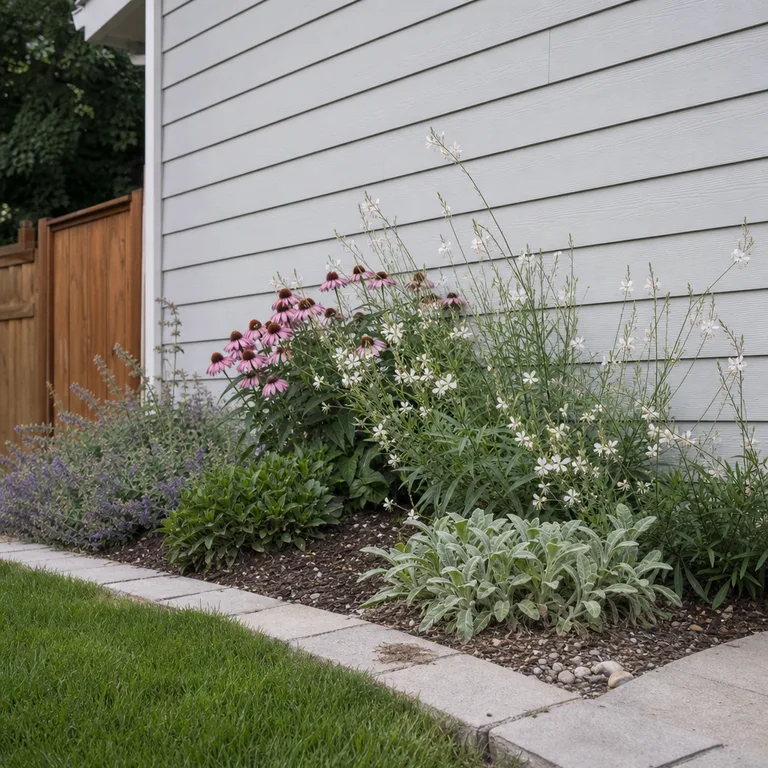
Use medium-height flowering plants to bridge the space and low growers at the lawn or path edge. This lets shorter plants receive light and gives the patch a clearer shape without needing formal rows.
Buy or divide a few plants of each layer, then let them establish before adding more. Leave gaps based on the mature spread listed for each locally appropriate plant so crowded foliage does not hold excess moisture or invite disease.
Worth knowing: A layered bed can look sparse during its first seasons while plants are reaching their mature size.
5.Plant for Flowers Across the Growing Season
Choose locally appropriate plants that flower at different points from early growing season through fall. A mix of early blooms, summer flowers, and late flowers or seed heads offers a more continuous supply of pollen and nectar than one short display.
Use local extension guidance, native-plant groups, or a regional botanical garden to identify plants for the site rather than relying on a nationwide list. Include foliage forms that remain useful when flowers are not open, so the patch still looks intentional between bloom periods.
Add plants in small groups over time and keep simple labels until their timing is clear in the yard. Sun exposure, rainfall, and local temperatures can shift bloom timing from one property to another.
Worth knowing: Staggered flowering cannot guarantee blooms through every weather event, especially during drought, late frosts, or unusually wet periods.
6.Turn Lawn Into a Mulched Starter Bed
Convert a manageable piece of lawn instead of trying to remake the whole yard at once. Grass can be removed by lifting sod, or it can be covered with plain cardboard and a layer of organic mulch to begin suppressing growth.
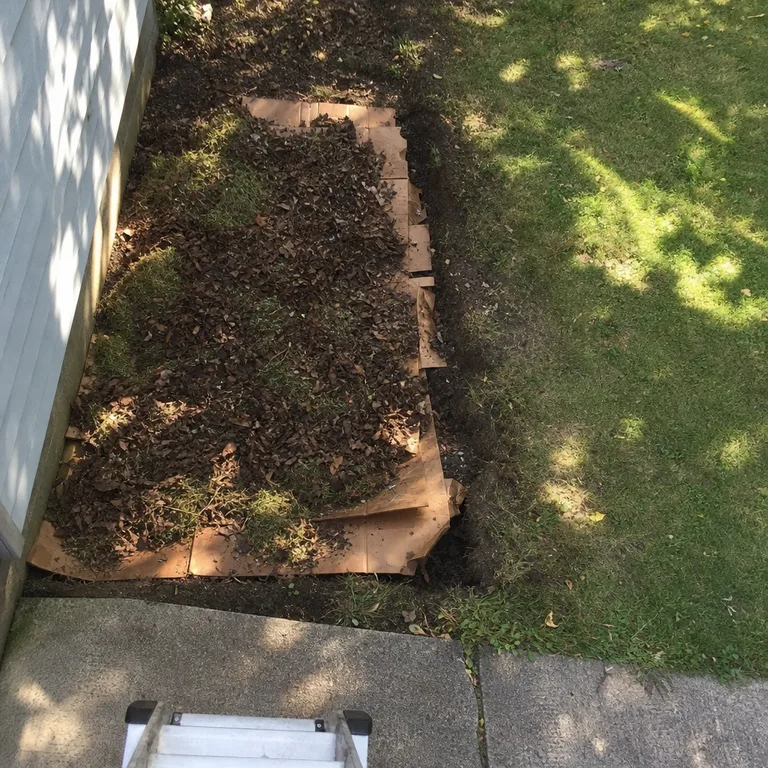
Wet the cardboard as it is laid so it stays in contact with the ground, overlap seams, and keep mulch away from house siding and shrub trunks. Plant through openings once the soil is workable, adding only as many plants as can be watered during establishment.
A sheet-mulched bed can be built with materials already on hand, such as fallen leaves and clean cardboard without glossy coatings or tape. Watch the edge and pull grass that creeps in before it becomes established.
Worth knowing: Sheet mulching takes time to settle and may not be the best choice where drainage is already poor or where aggressive perennial weeds are present.
7.Use Containers Where Digging Is Not Allowed
Containers make a workable pollinator planting patch on a patio, balcony, or rented outdoor area where digging is not permitted. Group several pots together so the planting reads as one small garden rather than scattered decorations.
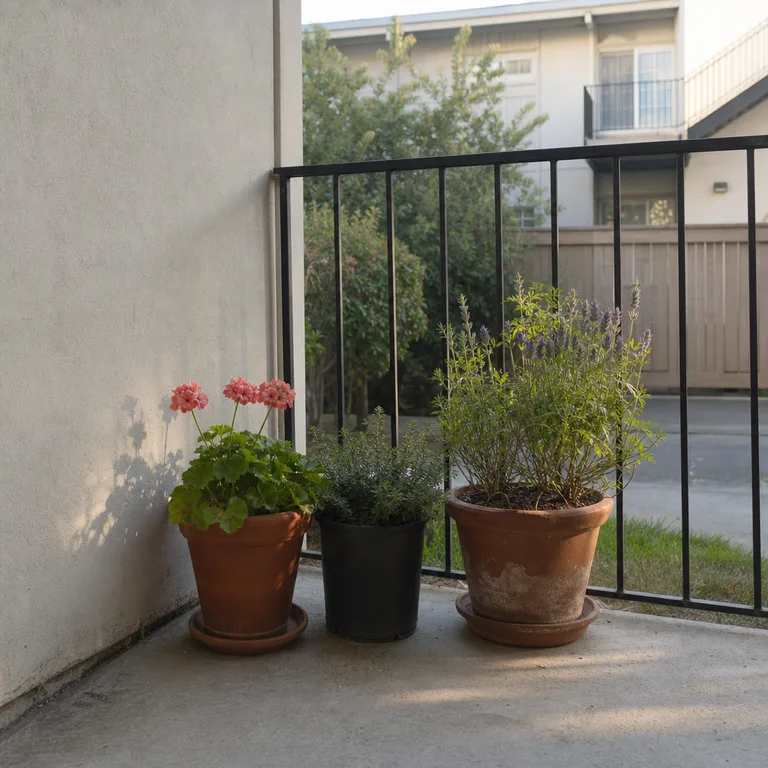
Choose containers with drainage holes and match plants to the actual light on the patio. A locally appropriate plant that needs full sun will struggle in a courtyard that receives only a few hours of direct light.
Reuse sturdy pots, nursery containers placed inside larger planters, or weather-resistant containers found secondhand. Containers dry out faster than in-ground beds, so use a potting mix suited to containers and plan for regular watering in warm weather.
Worth knowing: Container plants need more frequent watering and may need winter protection in regions with freezing conditions.
Related: 12 Container Garden Ideas for a Small Patio on a Budget
8.Leave a Small Bare-Soil Area
Set aside a small area of uncovered, well-drained soil beside the planted section rather than mulching every inch. Some insects use open ground, and this simple feature adds habitat without adding another structure to maintain.
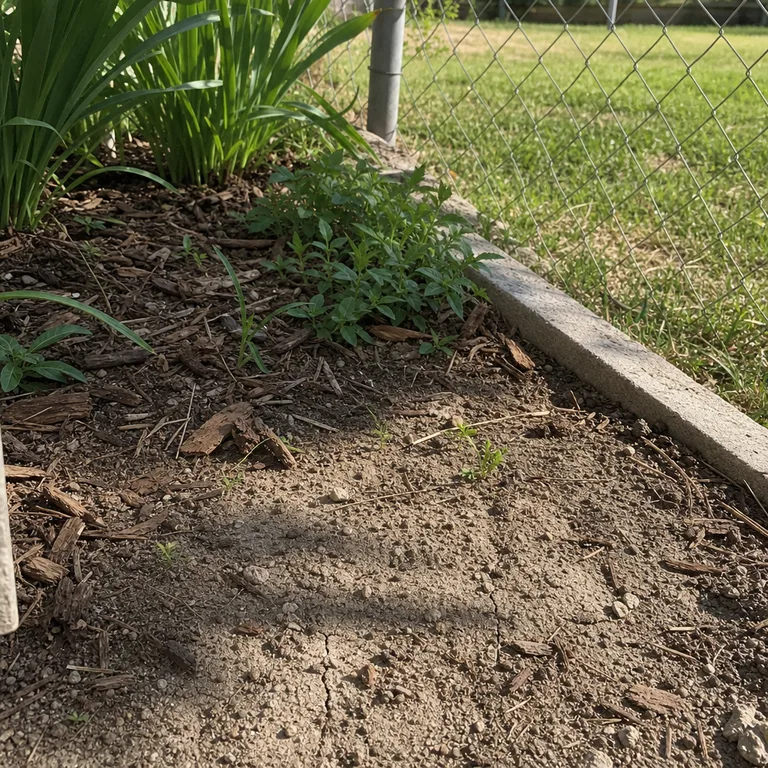
Choose a spot that stays relatively dry and is not in the path of downspout runoff, irrigation overspray, or regular foot traffic. Keep it near low plants for shelter, but avoid placing it where dense roots quickly cover the ground.
Do not treat the area with pesticides or cover it with landscape fabric. If weeds appear, remove only what is needed to keep the patch open rather than constantly turning or disturbing the soil.
Worth knowing: Bare soil can look unfinished to some homeowners and may erode or become muddy if placed in a low, wet part of the yard.
9.Add a Shallow Water Spot With Stones
Place a shallow dish of clean water near the garden and add a few stable stones that break the surface. The stones create landing places and make the water feature more useful than a deep, smooth-sided container.
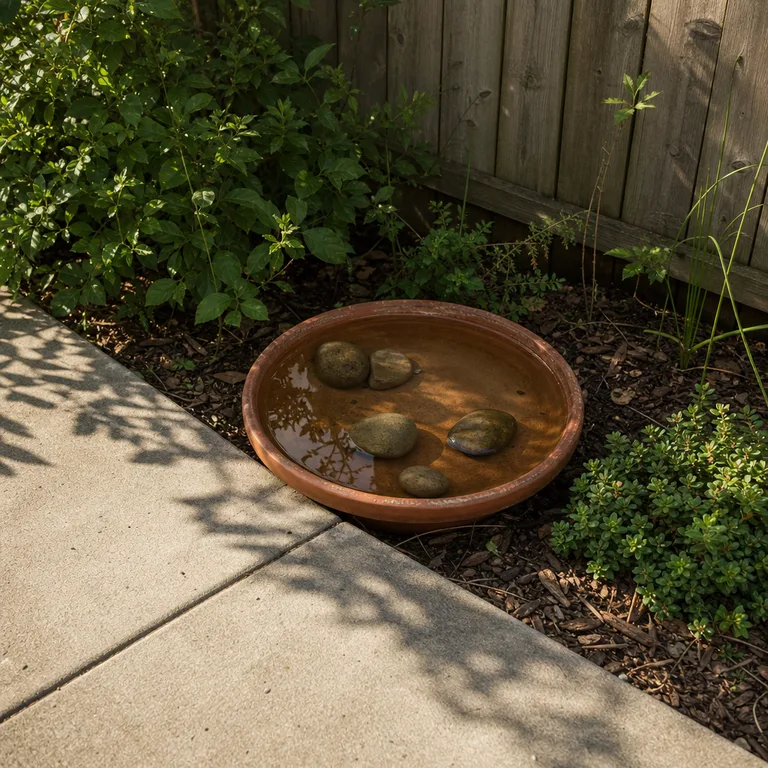
Set the dish where it can be reached easily for cleaning and refreshing, away from areas where it will collect leaf litter or runoff. A partly sheltered spot can reduce rapid evaporation, but the water should not sit in a dark, stagnant corner.
An unglazed saucer or other shallow, sturdy dish is often enough for a small patch. Empty, rinse, and refill it regularly so it does not become a standing-water problem.
Worth knowing: This feature requires consistent upkeep, particularly during warm weather when water can evaporate quickly or become dirty.
10.Let Seed Heads Stand Through Winter
Leave selected dried flower stems and seed heads standing after the growing season instead of clearing the bed all at once. They add winter texture and can provide food and cover in the garden during a quieter time of year.
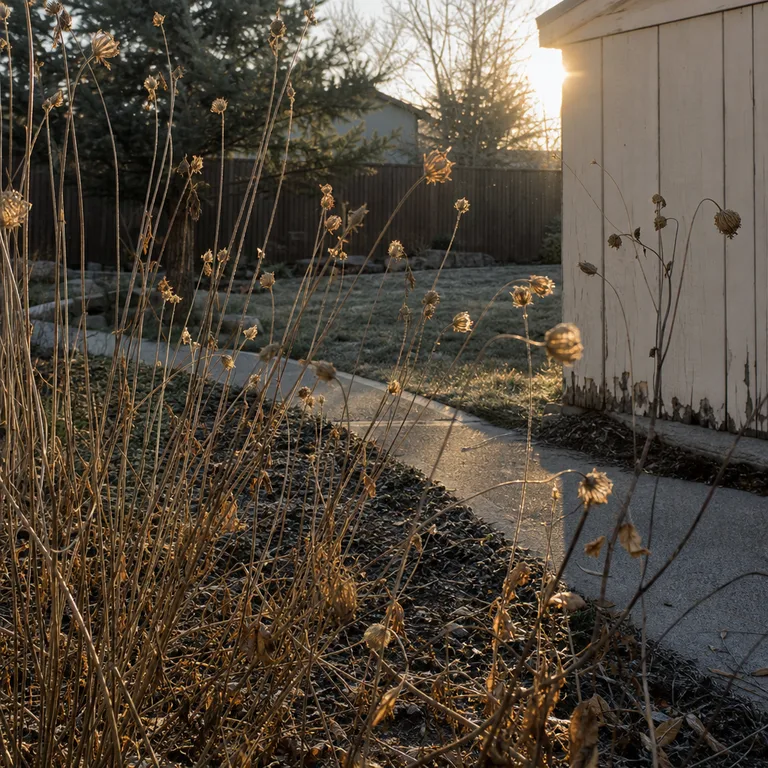
Remove only plants that are diseased, fallen across a path, or likely to spread where they are not wanted. In late winter or early spring, cut stems back gradually and leave some hollow or sturdy stems in place until new growth is underway.
This approach costs nothing and makes a small planting patch look more natural through winter. Keep a tidy edge and clear dead material from walks so the garden looks cared for rather than abandoned.
Worth knowing: Standing stems can look messy in a highly formal landscape, and heavy snow or wind may flatten some plants.
About the author
Dana Ruiz, Senior editor
Dana writes about small-space living, storage and low-cost decorating.
Keep reading
10 Budget Herb Garden Ideas for a Sunny Patio
September 23, 2026
10 Cottage-Style Patio Ideas You Can Build Around What You Own
September 23, 2026
10 Shade Garden Ideas for a Small Yard on a Budget
September 22, 2026
10 Under-Bed Storage Ideas That Are Easy to Reach
September 23, 2026