10 Easy Ways to Make Christmas Gift-Wrapping Look Coordinated
Clean leftover paper, fabric, and saved tags can make Christmas packages look coordinated without matching exactly. These ten finished treatments use simple folds, panels, drawing, and tying methods, with a practical limit for each so worn or awkward materials do not spoil the result.
As an Amazon Associate I earn from qualifying purchases.
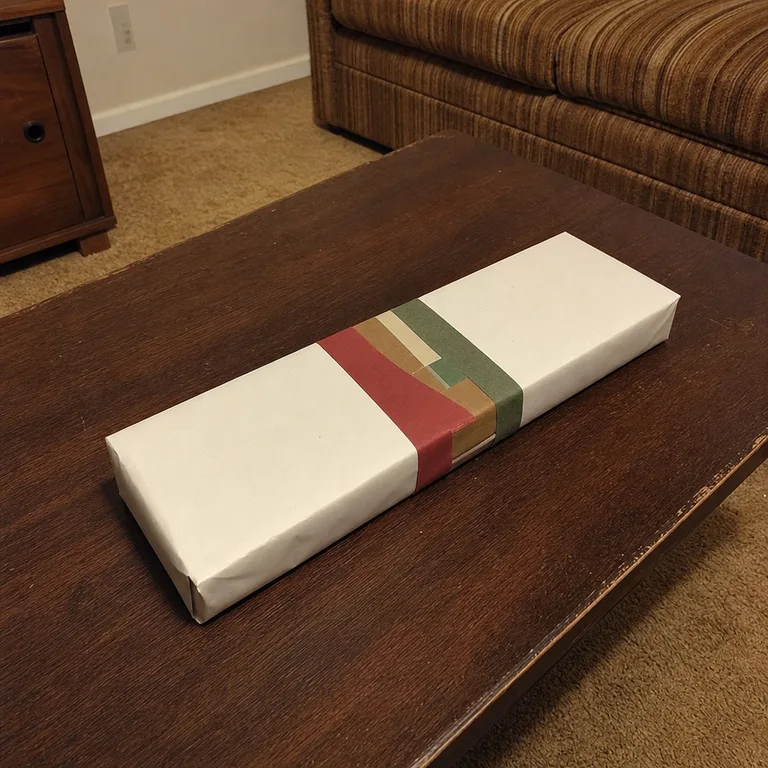
1.Brown Paper With a Hand-Drawn Border
Wrap a box in clean brown packing paper, then draw a loose border just inside the edges of the lid. Small evergreen sprigs, dots, dashes, or simple stars give plain paper a finished frame without requiring every line to match.
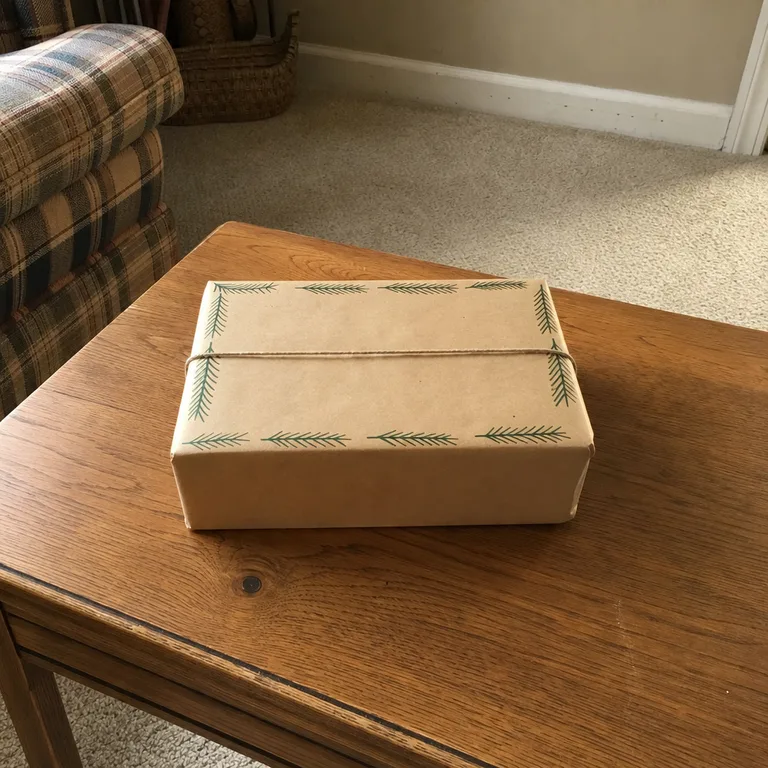
Use a dark marker already on hand and keep the design sparse so the brown paper remains the main surface. A simple twine tie can sit across the middle, but it is not necessary when the border already does the visual work.
Worth knowing: This suits sturdy paper; thin or creased paper can tear when twine is pulled tight.
2.Plain Paper With a Folded Contrast Band
Cover the gift in one quiet paper, then cut a long strip from a second leftover paper and fold its long edges inward. Wrap this crisp band around the package vertically or horizontally, securing the join underneath.
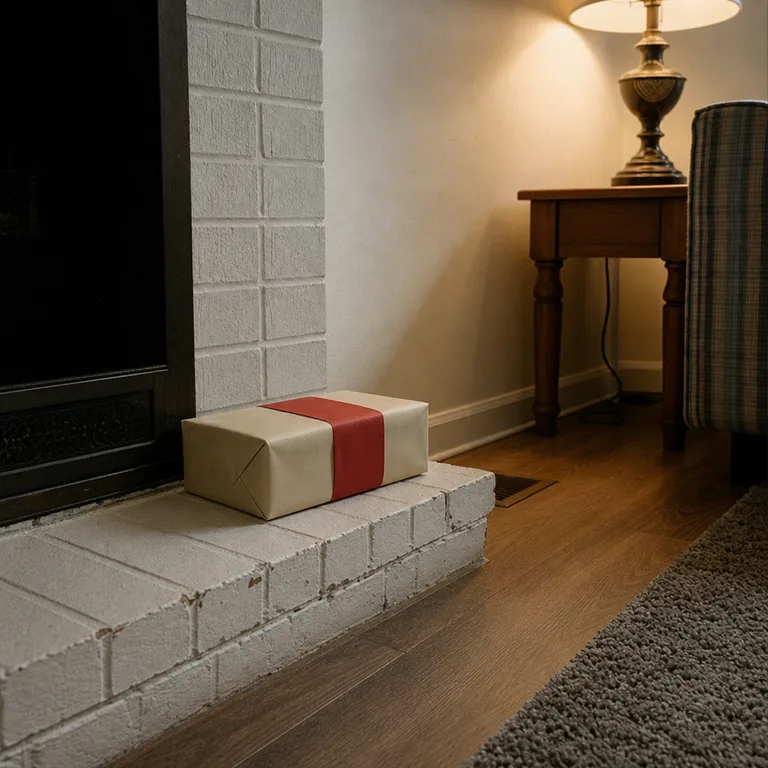
The folded edges make a scrap of paper look more intentional than a flat strip. Choose two papers with enough contrast to show the band clearly, such as cream with red, white with green, or brown with a patterned offcut.
Worth knowing: Sharp bands work best on square-edged boxes, while soft or irregular gifts can make the folds shift.
3.Old Map Paper as a Single Accent Panel
Wrap the box in neutral paper and place one rectangular piece of old map paper across the lid. Center it like a label or run it from edge to edge as a narrow panel, then fasten it with tape on the underside.
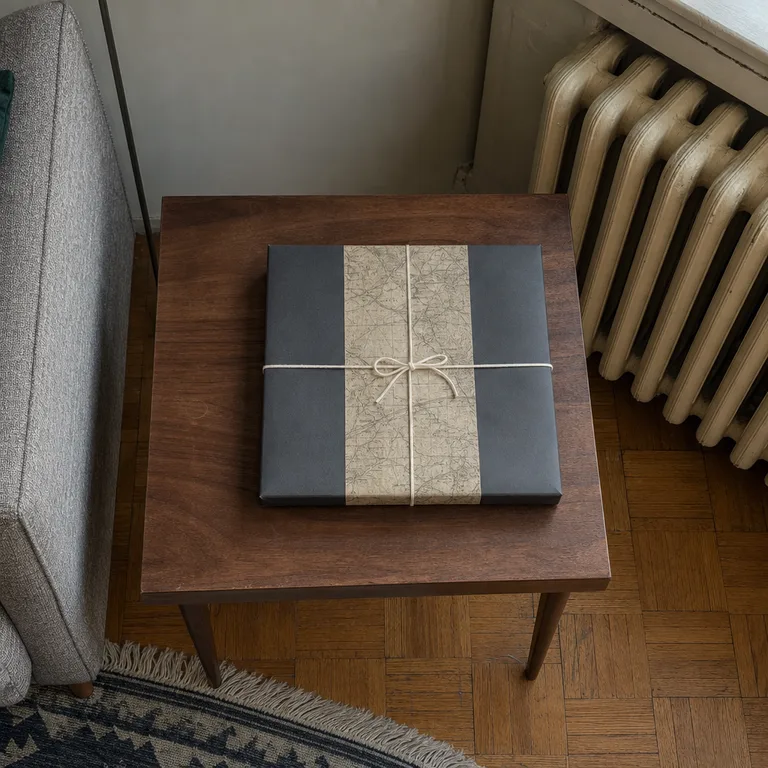
Using one map fragment keeps the treatment restrained and lets a saved sheet go further. Pick paper with muted color and linework, and use string only if the panel needs an extra visual boundary.
Worth knowing: Only use a clean, non-sensitive map that is not brittle, valuable, or still needed for reference.
4.A Reusable Cloth Square Wrap
Place a compact gift in the center of a clean cloth square and bring opposite corners together above it. Knot those corners, then tuck the remaining corners beneath the bundle or tie them into a second knot.
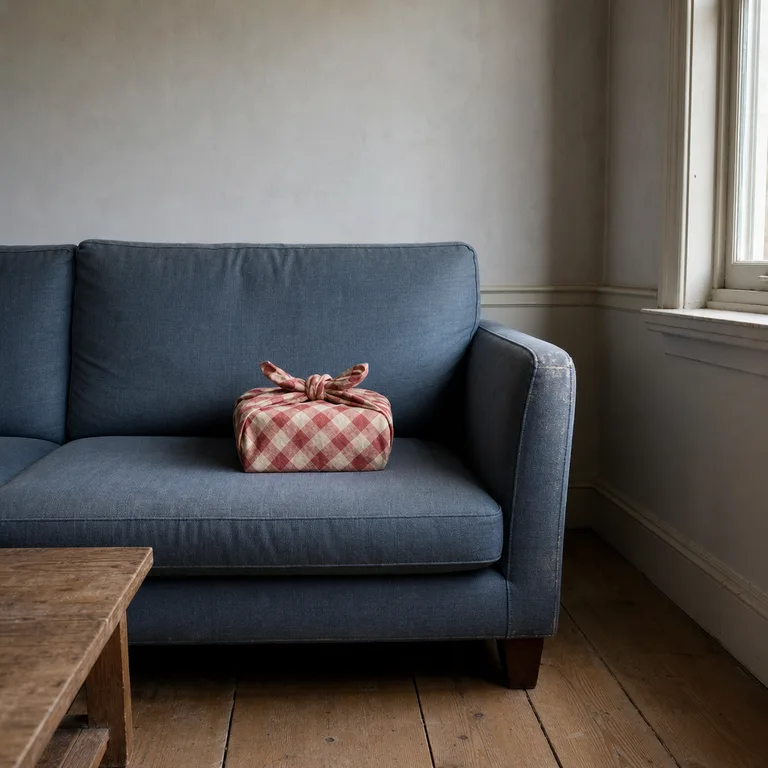
Checked cotton, a clean tea towel, or a sturdy fabric remnant gives a soft change from paper-wrapped packages. This approach is especially useful for books, folded clothing, and other shapes that do not need perfectly sharp corners.
Worth knowing: Medium-weight cotton holds a knot better than slippery, stretchy, or fraying fabric.
5.Paper Scrap Patchwork Band
Gather clean paper scraps in a related group of colors, then overlap them into one wide strip. Tape the pieces together from the back before wrapping the finished patchwork band around a plainly covered box.
The mix can be uneven and still look deliberate when the base wrap stays simple. Try combining solid scraps with one small patterned piece, rather than making every section busy.
Worth knowing: Use scraps with similar paper weight so the band lies flat instead of buckling around the package.
6.Fabric Strip Bow on Plain Paper
Cut or tear a long strip from a clean fabric remnant and tie it around a simply wrapped gift. Make a loose bow, leaving uneven tails if the fabric has a softened or frayed edge.
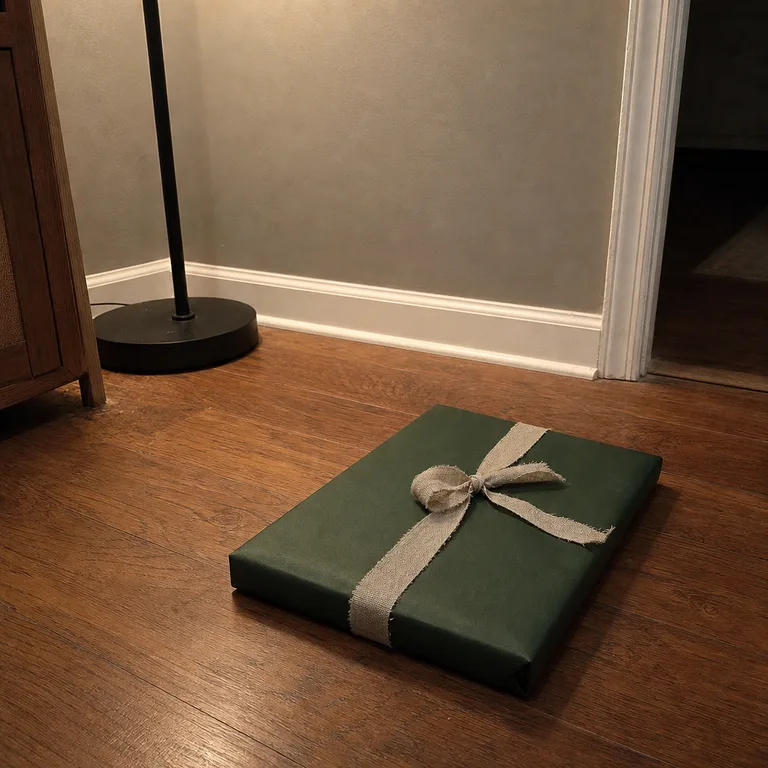
A fabric tie adds texture that paper ribbon cannot provide, especially over solid green, white, brown, or charcoal wrapping. An off-center bow also works well on wide, flat packages where a centered one can feel too formal.
Worth knowing: Tightly woven fabric is easiest to knot; stretchy knits may loosen as the package is handled.
7.A Hand-Drawn Tag as the Focal Point
Keep the wrapping plain and add one oversized tag as the main decoration. Draw a simple fir tree, star, stripe, or initial-like symbol in one or two colors, then tie the tag on with saved string or twine.
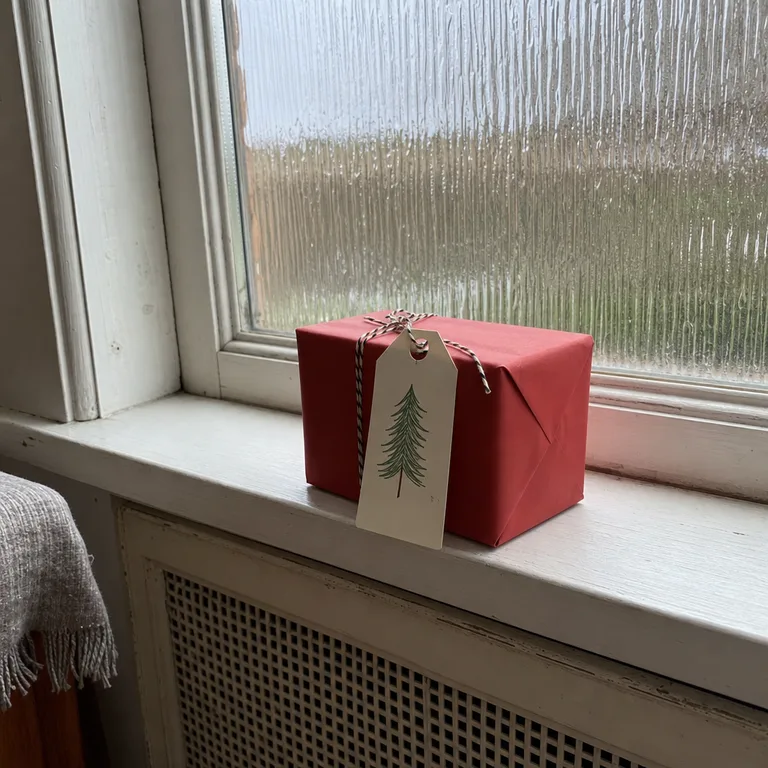
This treatment helps mismatched leftover papers feel connected because the tags repeat across the group. Cut tags from a sturdy card scrap, old folder, or clean packaging with an unprinted side.
Worth knowing: Thin wrapping paper needs a firm tag backing so the tie does not pull or wrinkle the package.
8.A Layered Paper Rosette Topper
Fold a clean paper strip into an accordion, join the ends, and press the folds inward to form a flat rosette. Add a small paper circle at the center and attach the topper to the lid of a box.
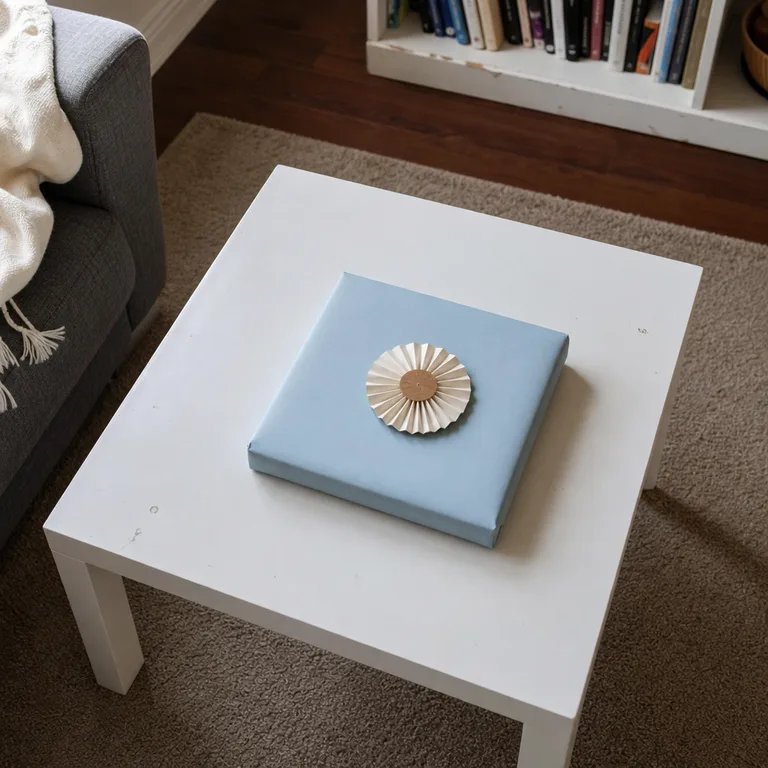
A rosette gives a shallow package a focal point without needing a bow. Use a contrasting center circle or a second, smaller rosette layer if the available paper is plain.
Worth knowing: This topper can crush in a crowded gift bag, so it is best for packages that will stay upright.
9.A Contrasting Folded Paper Corner
Wrap the gift in a smooth base paper, then fold a contrasting paper triangle over one top corner. Secure the triangle on the underside or beneath the package seam so no tape interrupts the visible corner.
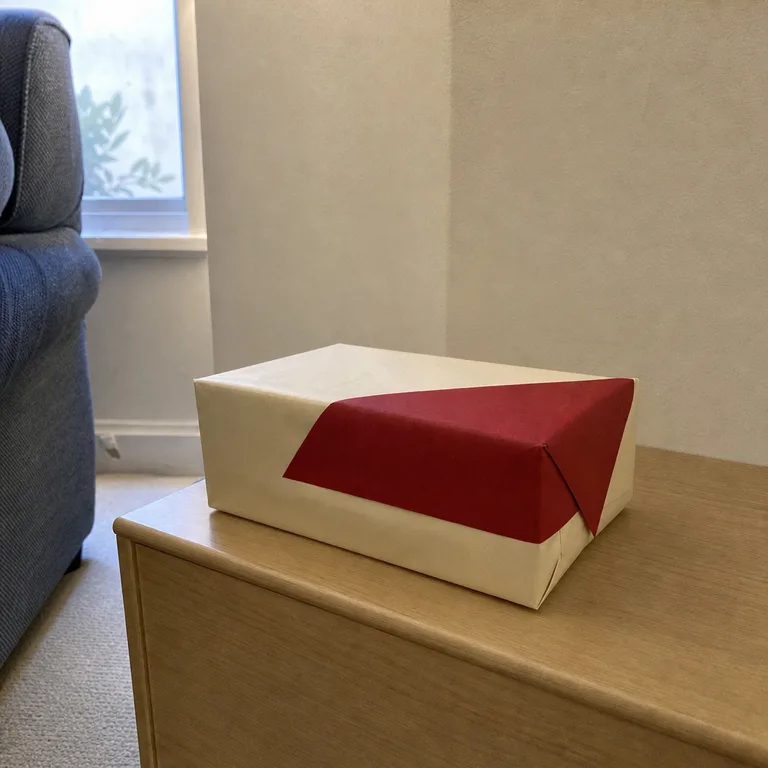
The angled block of color makes a plain box look tailored while using only a small scrap. It works particularly well when several gifts share the same base paper but each uses a different accent color.
Worth knowing: The base wrap needs to be smooth enough for a sharp crease; heavily textured or wrinkled paper will look less precise.
10.Stenciled Marks on Plain Paper
Use a simple stencil or a hand-cut paper shape to repeat small stars, dots, or spruce-like marks over plain wrapping paper. Keep the pattern spaced apart for a quieter look, or concentrate it near one edge as a border.
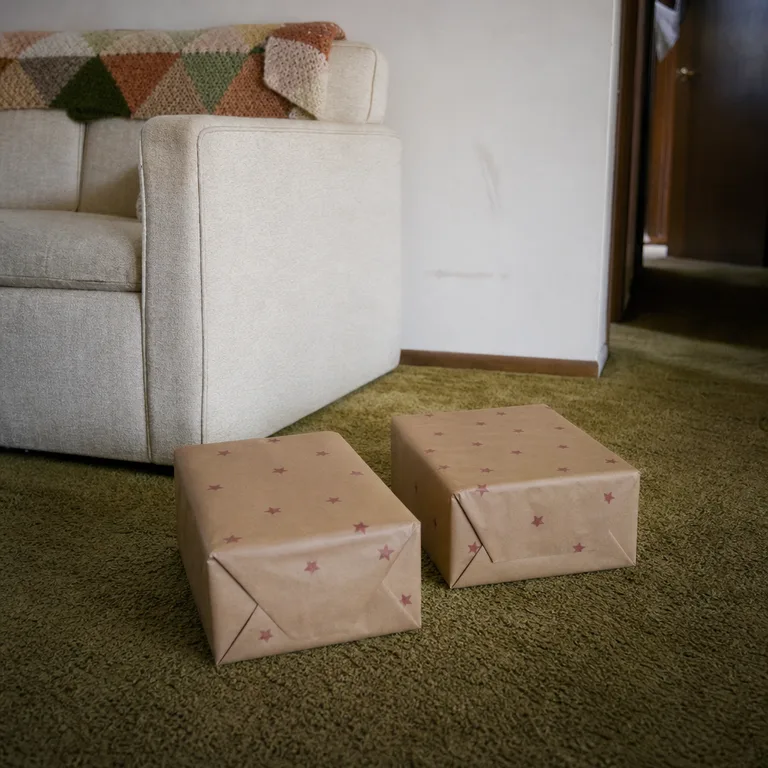
A limited-color pattern can unify a group of packages made from different rolls of brown or white paper. Press lightly with a sponge or similar tool so the marks stay crisp and the paper does not become soggy.
Worth knowing: Let paint or ink dry fully before stacking gifts, especially in humid rooms or damp winter weather.
About the author
Dana Ruiz, Senior editor
Dana writes about small-space living, storage and low-cost decorating.
Keep reading
9 Easy Furniture Refreshes for Tired Pieces That Still Work
November 7, 2026
10 Budget Colorful Decorating Ideas to Wake Up a Beige Room
November 7, 2026
7 Easy Furniture Painting Projects to Refresh Your Home
November 7, 2026
8 Budget English Country Kitchen Ideas to Soften Existing Cabinets
November 7, 2026