7 Easy Furniture Painting Projects to Refresh Your Home
These seven first-makeover projects focus on small, sound pieces that can be moved to a ventilated work area, with a different preparation and finish choice for each surface. Assess coating history before starting, avoid sanding unknown old paint, follow the chosen paint system’s directions, and allow full curing time before regular use.
As an Amazon Associate I earn from qualifying purchases.
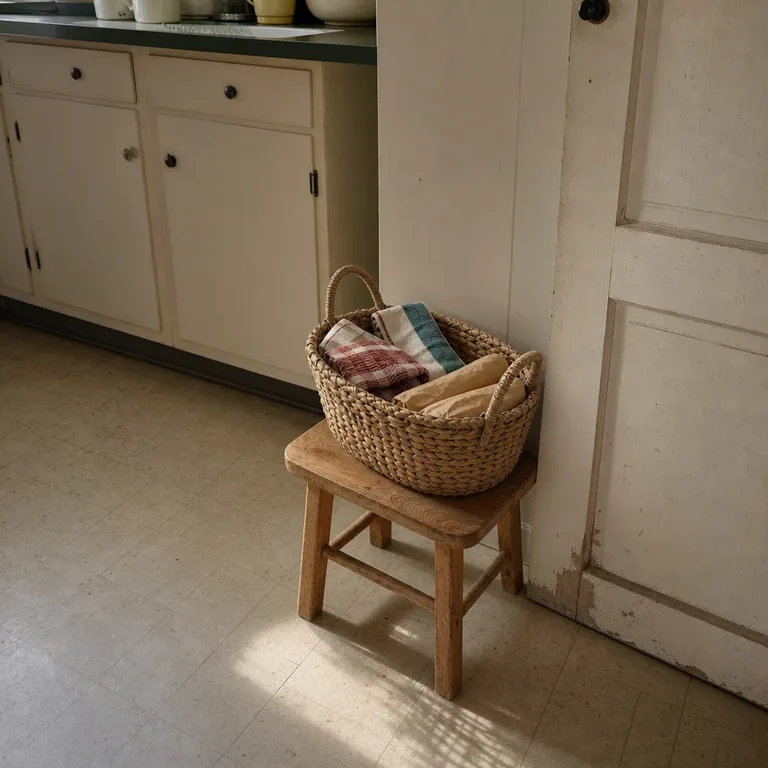
1.Refresh a Plain Wooden Stool With a Low-Sheen Painted Seat
A plain solid-wood stool is a contained place to try paint without committing to a large piece. Painting only the seat while leaving the legs natural gives the stool a deliberate two-tone look and keeps the project visually light.
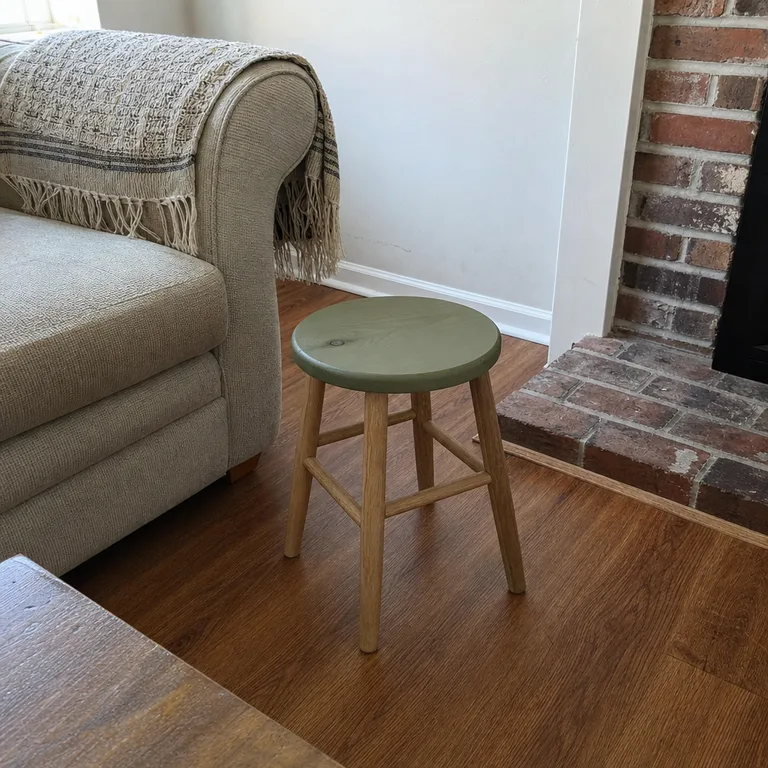
Choose a stool with tight joints and a known bare or previously compatible surface. Clean it well, lightly scuff only if the paint system calls for it, and use a durable low-sheen furniture finish on the seat; keep the finished stool indoors, since repeated moisture can affect both wood and paint.
Worth knowing: A stool used as a step or left in a damp area will wear faster than an occasional side stool.
2.Paint a Small End Table in a Wipeable Satin Finish
A small end table is useful practice for painting a flat top, narrow legs, and any small details around hardware. A satin finish suits a table beside a chair because it is easier to wipe after everyday use around drinks, lamps, and remotes.
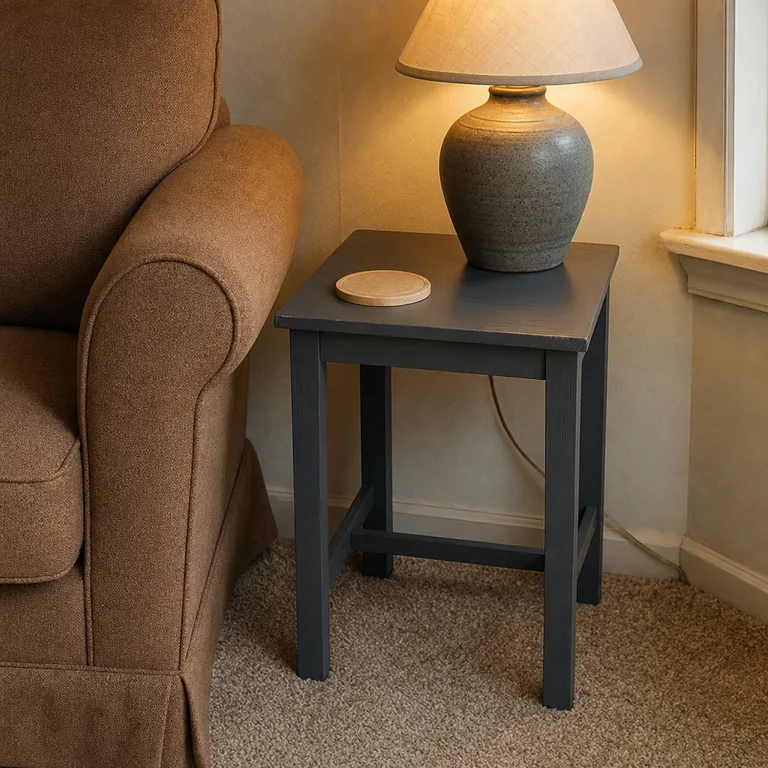
Check for loose veneer, chipped edges, or water-swollen material before painting, since paint will not repair that damage. Remove hardware where possible, use the primer and paint recommended for the existing surface, and let the finish cure fully before setting heavy objects on the top.
Worth knowing: Satin paint is practical, but it can highlight uneven repairs and brush marks more than a flatter finish.
3.Update Removable Drawer Fronts Without Painting the Cabinet
Painting only removable drawer fronts changes the face of a small chest or console while leaving the cabinet body untouched. It is a useful option when the sides are still in good condition or when a contained color accent is preferred over a fully painted piece.
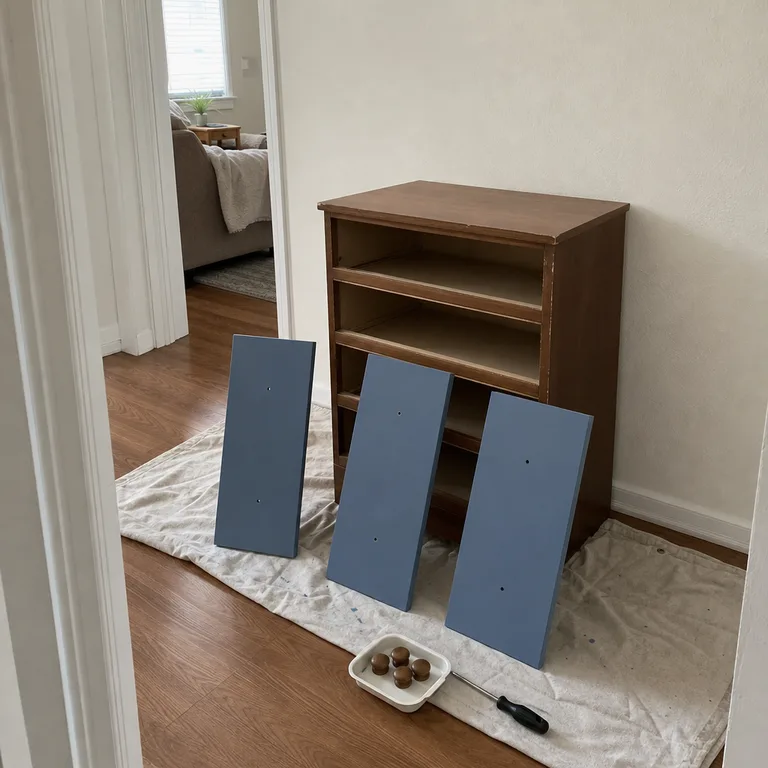
Label each drawer before removal so it goes back in the same opening, then take off knobs or pulls for cleaner edges. Paint the fronts on a supported surface in a ventilated area, following the coating directions, and do not reinstall them until the finish has cured enough to resist sticking in the drawer openings.
Worth knowing: This approach works only on furniture you are allowed to alter, and drawers can bind if paint builds up along their edges.
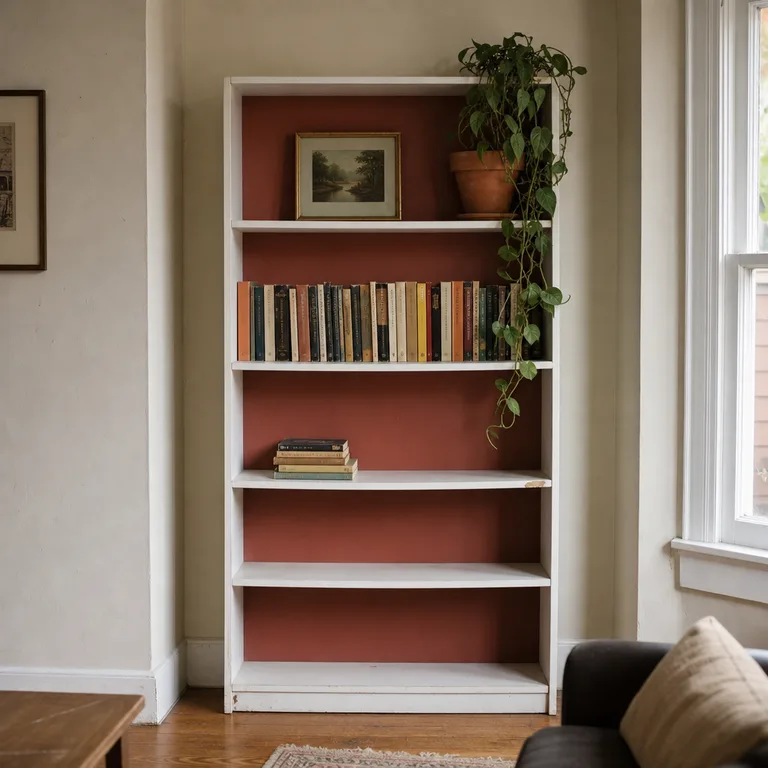
4.Paint Only the Back Panel of a Bookcase for Contrast
A painted bookcase back panel adds depth behind books and objects without changing the outer frame or shelves. A warm clay color, muted green, or deeper neutral can make a basic white or wood-tone unit look more intentional while keeping the project small.
This works best on a stable freestanding bookcase with an accessible, smooth back panel. Use a brush to work into the edges, protect the surrounding frame with low-tack tape if needed, and wait for the paint to cure before loading books back onto the shelves.
Worth knowing: A thin hardboard backing may flex, so a brittle or overly thick coating can crack over time.
5.Give a Decorative Tray a Durable Color-Blocked Finish
A non-food decorative tray is a small surface for trying a two-color design, such as a pale interior with a darker rim. It can organize remotes, hold a candle, or bring one repeated color to a coffee table without repainting any larger furniture.
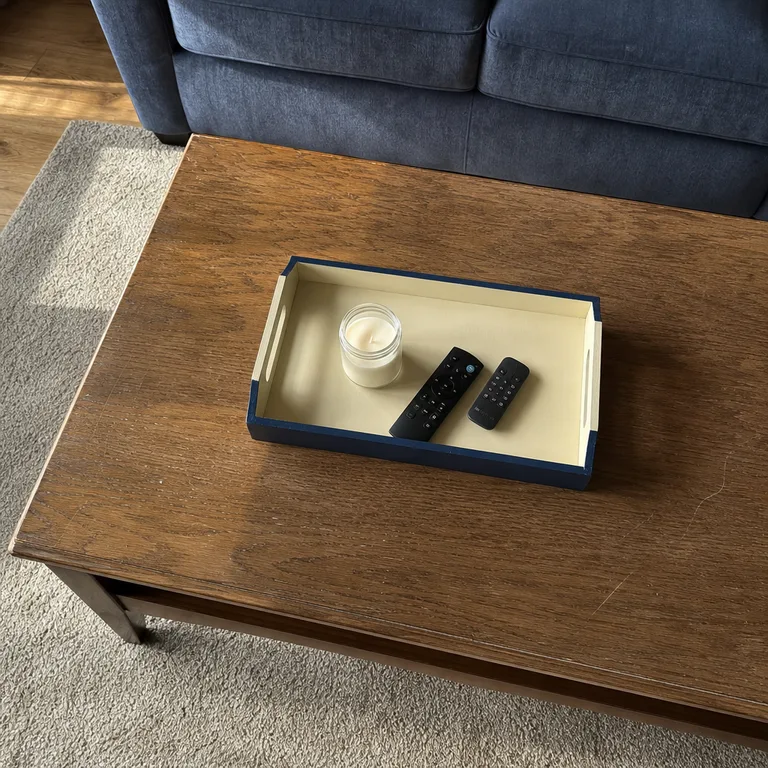
Start with a smooth wood or metal tray that has a known coating, and use a paint system suited to that material. Mark the color break carefully, allow each color to dry as directed, and add a compatible protective finish if the tray will hold objects that may scratch the surface.
Worth knowing: Keep painted trays away from food contact and standing water, which can damage the finish.
6.Paint a Bedside Cabinet in a Flat, Calm Finish
A straightforward bedside cabinet can take a muted matte color that softens mismatched bedroom furniture. This is especially effective on simple pine or painted pieces with good drawer function, since the color can shift attention away from minor visual plainness.
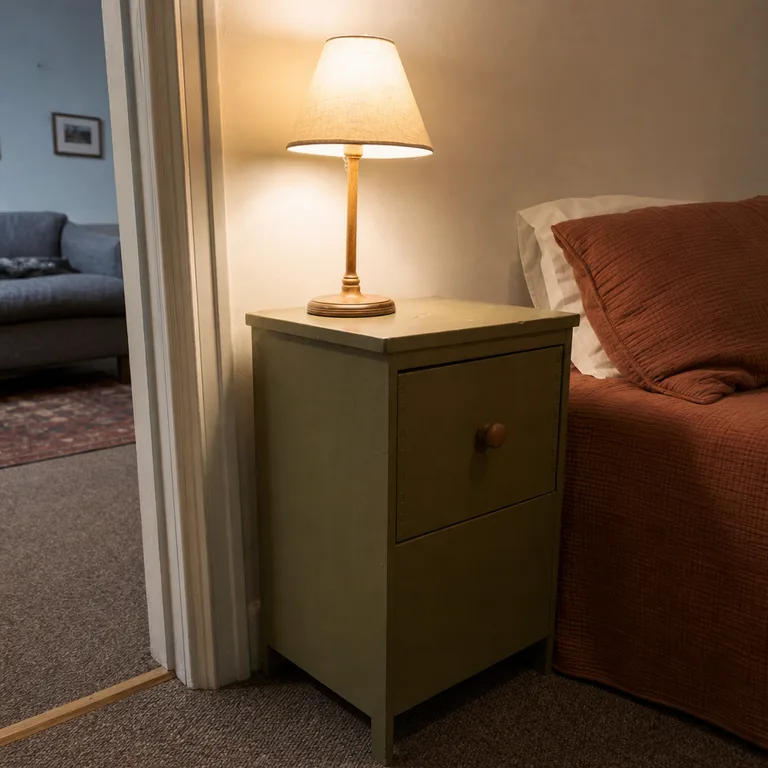
Inspect the top and lower edges for water damage, and make small paintable repairs only after the cabinet is dry and sound. A flat furniture finish gives a calm look, but use a compatible protective topcoat on the top surface if it regularly holds drinks or a lamp.
Worth knowing: Matte finishes can show scuffs and may need more careful cleaning than a satin or low-sheen surface.
7.Paint an Indoor Bench With a Tougher Enamel-Style Finish
A simple indoor bench has more contact wear than a decorative table because bags, shoes, and regular sitting rub against the seat and lower rails. A low-sheen enamel-style furniture finish gives it a more durable look while still fitting a modest entry or living room.
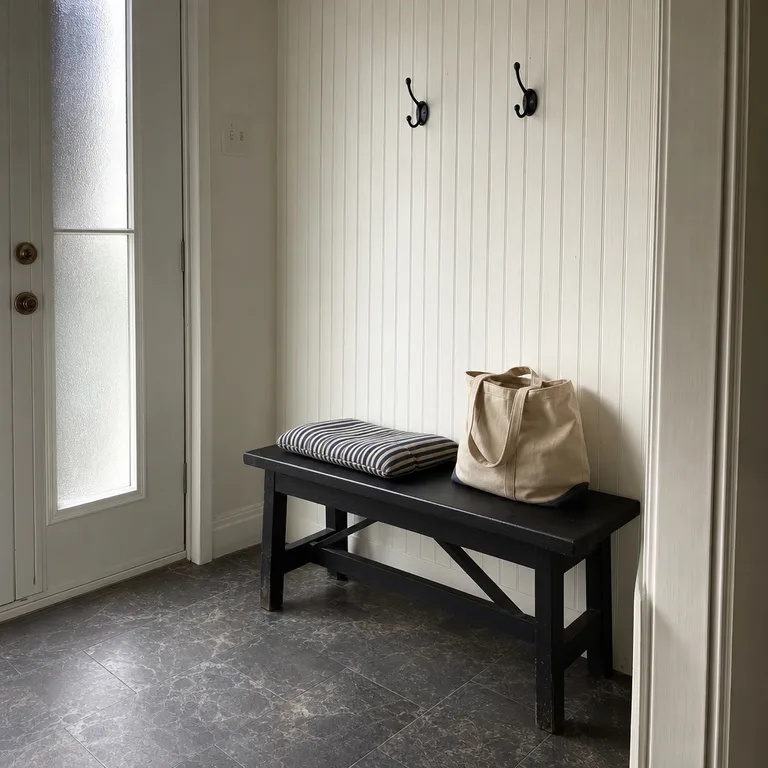
Choose a bench with tight joints and no movement at the legs or braces; paint cannot correct a loose structure. Clean around corners and rails carefully, apply the finish according to its directions in a ventilated workspace, and give it full curing time before regular use.
Worth knowing: A bench beside a damp entry will need more maintenance because wet footwear can shorten the life of the finish.
About the author
Dana Ruiz, Senior editor
Dana writes about small-space living, storage and low-cost decorating.
Keep reading
8 Budget English Country Kitchen Ideas to Soften Existing Cabinets
November 7, 2026
10 Cottagecore Decor Ideas That Bring Collected Charm to a Plain Room
November 6, 2026
8 Budget Ways to Make a Gravel Garden Look Intentional
November 7, 2026
10 Easy Backpack Storage Ideas for a Clear Small Entryway
November 7, 2026