9 Easy Ways to Refresh an Overgrown Garden Bed
An overgrown planting bed is easier to refresh when its existing plants, edges, and problems are assessed before new plants or materials are added. These nine decisions help sort salvageable structure from weeds, damage, and access issues so work can begin in one manageable area.
As an Amazon Associate I earn from qualifying purchases.
1.Identify Every Plant You Can Before Cutting It Back
Walk the bed slowly and separate obvious shrubs, perennials, bulbs, grasses, and young trees from the tangle. Take clear photos of leaves, bark, stems, flowers, or seedheads, then use plant tags to keep notes attached to each uncertain plant.
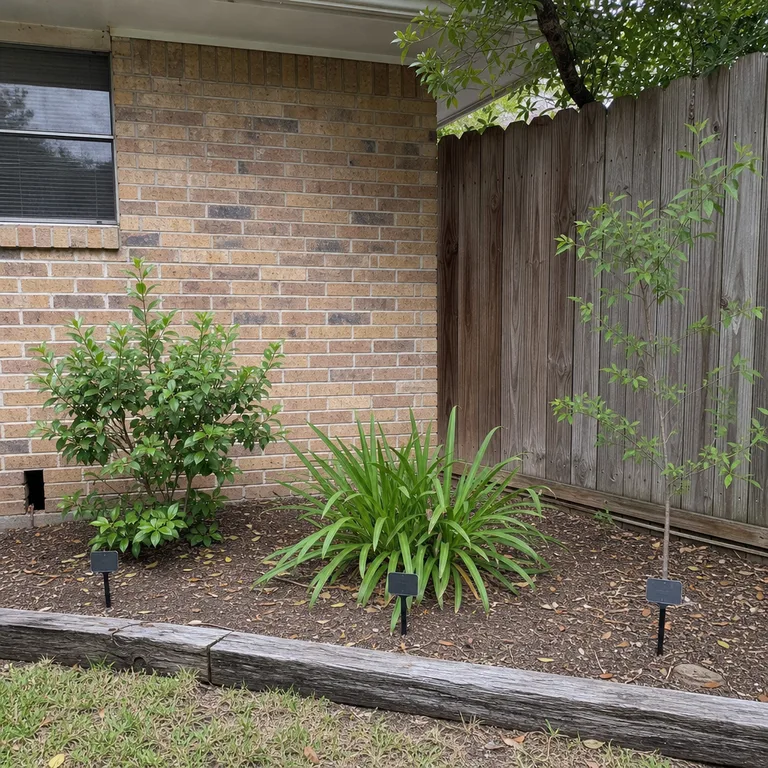
A broadleaf shrub, a clump of straplike leaves, and a volunteer sapling may need completely different treatment. Leaving uncertain plants in place protects valuable established growth and prevents a quick cleanup from becoming an accidental removal project.
Use a phone and simple weatherproof markers rather than buying replacement plants right away. Identification can also reveal whether a crowded-looking plant is dormant, slow to emerge, or simply due for attention in another season.
Worth knowing: Some plants cannot be identified reliably until they leaf out or flower, so uncertain material may need to stay in place for a season.
2.Clear Loose Rubbish Without Disturbing the Soil
Start with material sitting on top of the bed: windblown litter, broken pots, loose plastic, fallen branches, and detached plant supports. Collect it in a tub, tarp, or yard-waste bag while leaving plant crowns, roots, and the soil surface largely undisturbed.
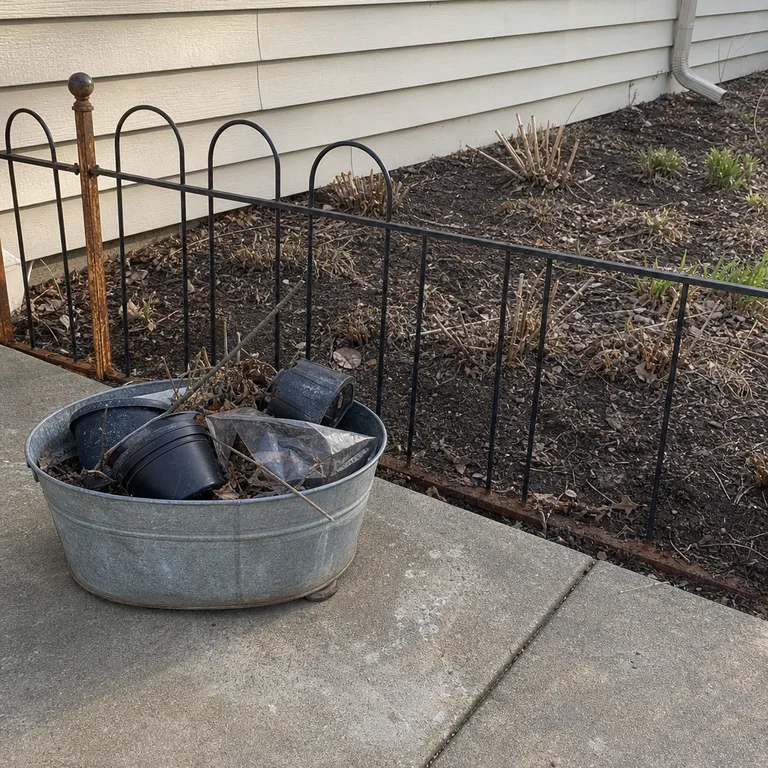
This makes the actual condition of the bed visible. Once loose debris is gone, it is easier to see where plants begin, where weeds are rooted, and whether an old edge or path remains beneath the clutter.
Stop when debris is buried, sharp, chemical-stained, or potentially hazardous. Material near utility lines, wildlife nests, or large roots needs more caution than a basic surface cleanup.
Worth knowing: Loose rubbish removal will not solve compacted soil, drainage problems, or deeply rooted weeds.
3.Trace the Original Bed Edge Before Redrawing It
Look for clues that show where the bed once ended: a partly buried brick, a change from dark soil to lawn, a faded curve, or an old line of mulch. Lay garden twine along that evidence to test the shape before installing new edging or expanding the bed.
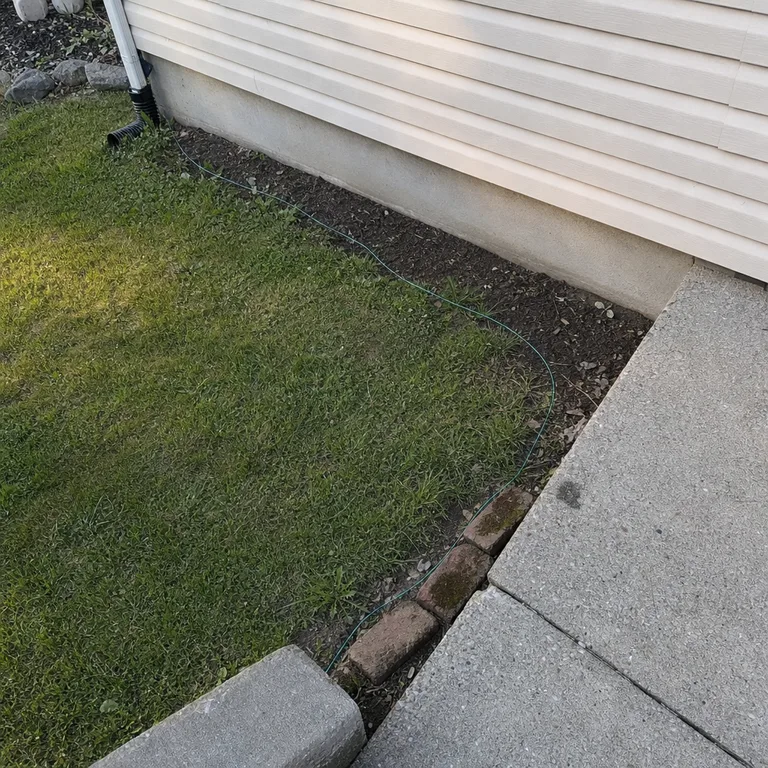
Restoring a simple existing outline can make a neglected area look intentional without adding a large project. It also helps prevent the common mistake of making a bed wider simply because its old boundary disappeared under weeds and grass.
Keep the proposed edge practical for mowing and make sure it does not block the natural route of rainwater away from the house. Twine and a few stakes are enough to review the shape over several days before making it permanent.
Worth knowing: An old border may not be worth copying if it creates an awkward mowing strip or directs water toward the foundation.
4.Keep Useful Volunteer Plants and Remove Obvious Weeds
A self-sown fern or healthy flowering plant can be worth keeping if it suits the bed’s light, moisture, and available room. Pull clearly identified weeds and aggressive spreaders before they produce more seed, but do not remove an unfamiliar plant just because it appeared on its own.
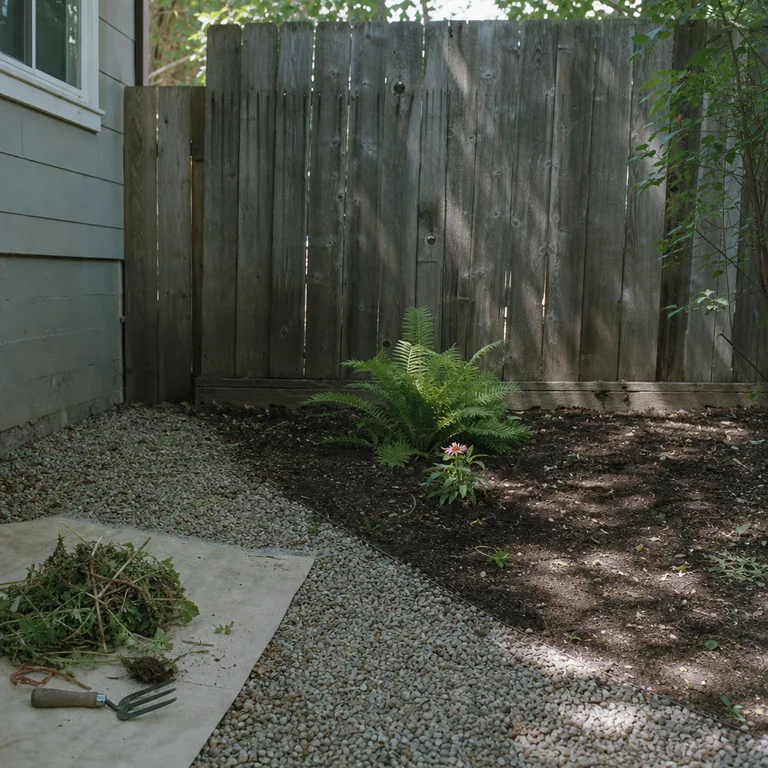
A retained volunteer can fill a gap and make the bed feel established, while a weed pile on a tarp keeps roots and seedheads from being scattered through the border. This is especially useful in a small bed where every remaining plant changes the final layout.
Give a kept volunteer some breathing room and watch how large it becomes through the season. If it begins shading smaller plants or crowding a path, it can be moved or removed later once its identity is clear.
Worth knowing: A healthy-looking volunteer may still be invasive or unsuitable for the site, so local identification matters.
5.Divide the Bed Into Overcrowded Plant Groups
Look for clumps that have merged, shrubs leaning into a walkway, or leaves layered so tightly that smaller plants disappear. Mark likely candidates for later division, relocation, or reduction without digging them up during the first assessment.
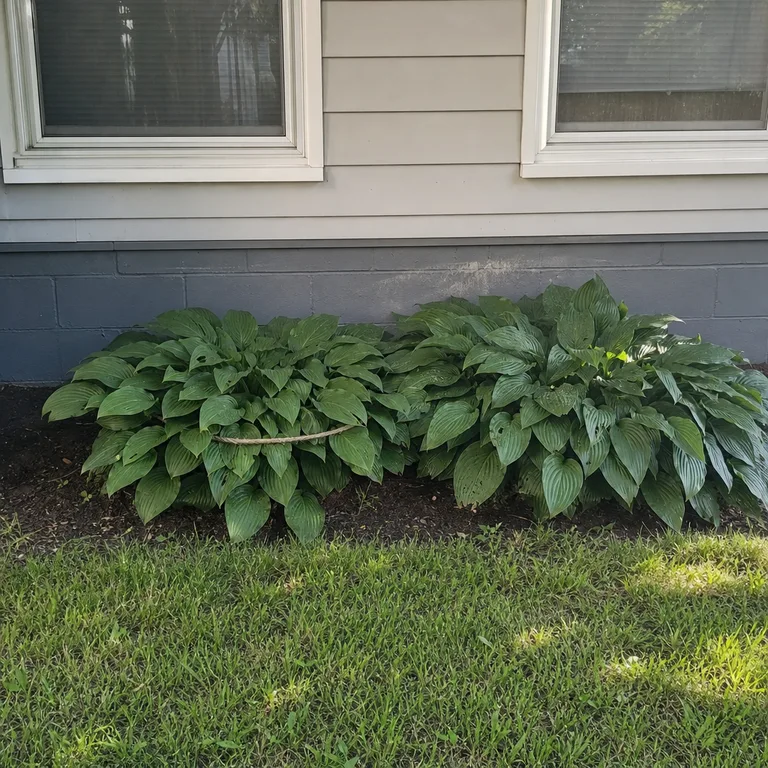
For example, two hosta clumps touching beneath a window may be competing for the same space, but they do not need immediate separation. Seeing each group as its own unit makes the bed easier to organize than treating the whole area as one mass of growth.
Use twine, small hoops, or temporary markers to show where one group ends and another begins. Check the plant’s species and recommended seasonal handling before dividing it, since not every perennial or shrub responds well to being moved at the same time of year.
Worth knowing: Crowding is not always a problem; some plants are meant to form dense drifts and may decline if divided at the wrong time.
6.Separate Dead Wood From Seasonal Dormancy
Look for clearly snapped branches, brittle dead stems, diseased-looking material, and limbs rubbing against a wall or path. Compare these with nearby stems that show firm tissue or visible buds, since a leafless shrub is not automatically dead.
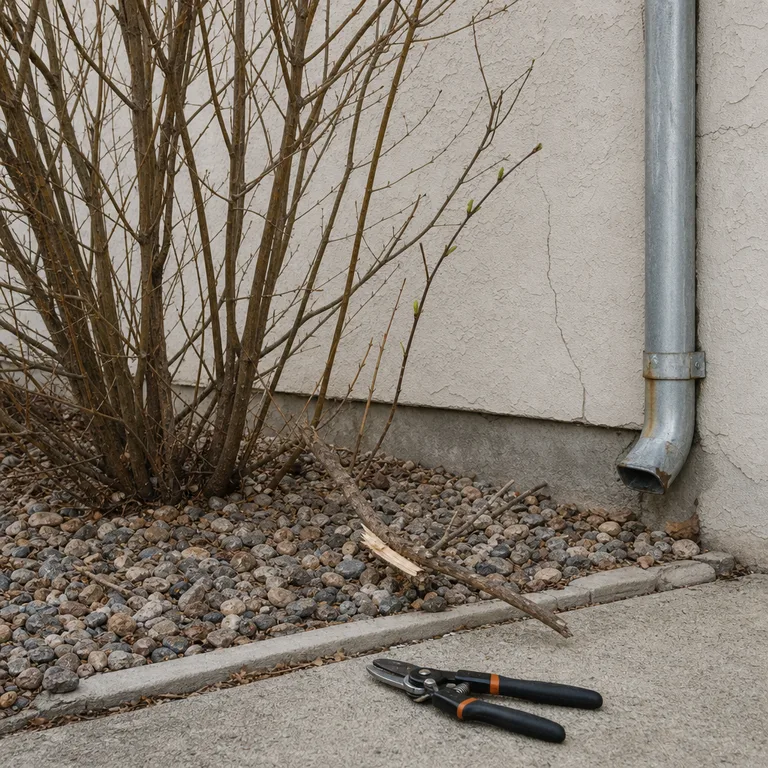
Removing only obvious damage makes the bed safer and tidier while preserving plants that may still recover. A broken branch on a multi-stem shrub is different from a dormant stem, especially after winter weather or a dry growing season.
Keep pruners clean and wait on any major cutback until the plant is identified and its pruning season is confirmed. Large limbs, damaged trees, and growth near overhead lines are not routine garden cleanup work.
Worth knowing: Bud appearance and dormancy timing vary by species and climate, so a delayed decision is often safer than a hard pruning cut.
7.Reopen the Path to Plants That Are Worth Keeping
Find any existing route into the bed, such as old flagstones, compacted ground, or a clear strip beside the patio. Clear encroaching stems and weeds from that route so established plants can be reached without stepping on their root zones.
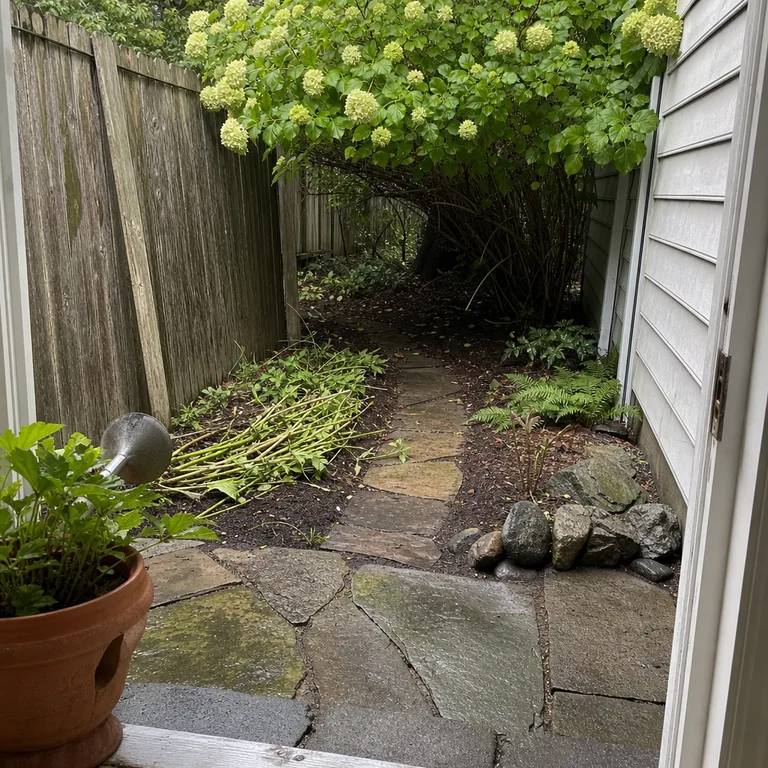
A narrow stable path turns hidden plants into plants that can actually be watered, observed, and maintained. It also makes the bed feel less abandoned without requiring a new patio, a wide gravel walk, or a full redesign.
Reuse visible stepping stones where they are stable, and keep the route simple enough to maintain. In a shaded area, check for slippery algae, uneven surfaces, and wet soil before relying on the path.
Worth knowing: A reopened route may need more durable surfacing later if regular foot traffic creates mud or compacts the soil.
8.Record Empty Seasons Instead of Filling Every Gap Now
Leave a few open areas alone long enough to notice what happens there through the year. Note whether the spot stays bare, becomes shaded, dries quickly, holds water, or has a period with no bloom or foliage interest.
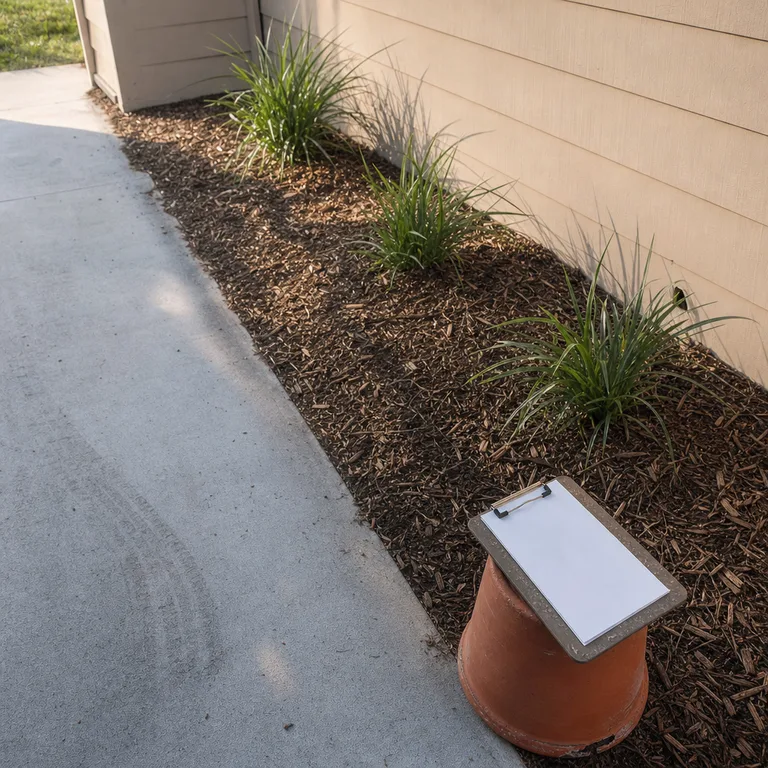
An empty patch between perennials is not automatically a planting failure. It may be necessary access space, a place for spring bulbs to emerge, or a useful opening that keeps established plants from becoming another crowded mass.
Keep a simple weatherproof notebook or take seasonal photos from the same angle. Those observations give future plant choices a purpose, rather than turning the refresh into a cycle of filling every visible gap.
Worth knowing: A single season may not show the full pattern of light, moisture, and bloom timing in the bed.
9.Choose One Small Section for the First Rehabilitation Pass
Pick the section with the clearest edge, the healthiest plants worth keeping, and the safest access. A corner beside a patio or walk is often easier to finish than the densest, most confusing part of a long overgrown border.
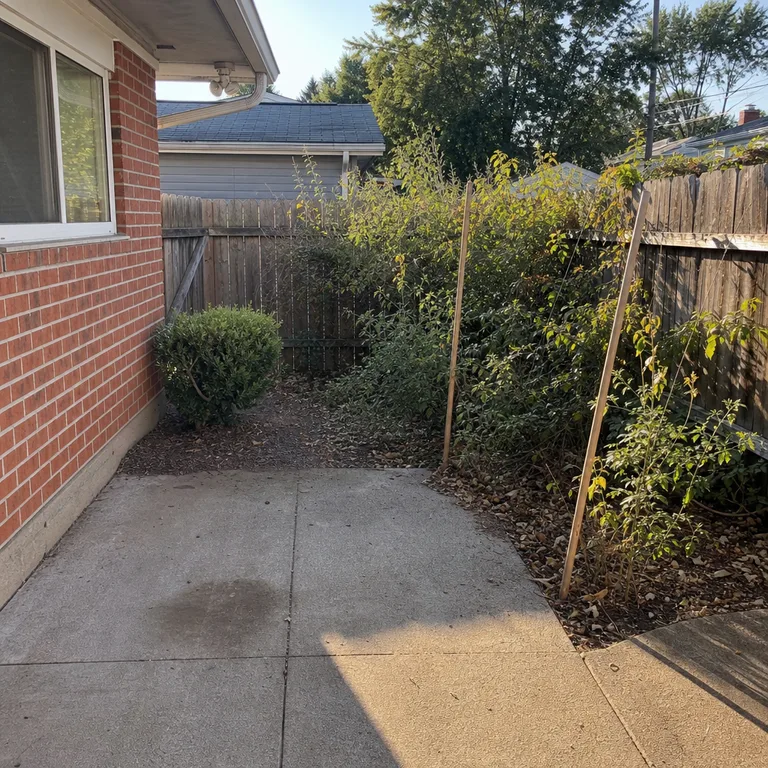
Complete the assessment, loose cleanup, weeding, and access work in that section before moving farther along the bed. A finished area becomes a practical reference for the rest of the garden and prevents supplies or debris from spreading across the whole space.
Use temporary stakes or twine to mark the section so the project has a clear stopping point. Work around weather, soil conditions, and plant dormancy rather than trying to force the entire bed into shape in one session.
Worth knowing: Starting with the easiest section can leave urgent drainage, hazardous debris, or failing trees elsewhere in the bed needing separate attention.
About the author
Dana Ruiz, Senior editor
Dana writes about small-space living, storage and low-cost decorating.
Keep reading
8 Budget Driveway Border Ideas for a Finished Front Yard
November 4, 2026
8 Budget Ways to Organize a Small Chest Freezer
November 5, 2026
7 Easy Shoe-Changing Seats for a Narrow Entryway
November 5, 2026
9 Easy Christmas Garland Ideas Beyond the Mantel
November 4, 2026