8 Christmas Card Displays for Small Homes With No Spare Shelf
A vertical card display turns an unused wall, door, window, or metal surface into a seasonal focal point without needing a mantel or shelf. These eight temporary systems make it easy to add cards as they arrive, while accounting for rental-friendly mounting, sunlight, door movement, and wall surfaces.
As an Amazon Associate I earn from qualifying purchases.
1.Hang Cards From a Removable Ribbon Rail
Run a wide ribbon between two removable wall hooks, then clip cards along its length with small clothespins or card clips. A single rail suits a short run of cards, while a second ribbon below it gives the display room to grow without taking over the room.
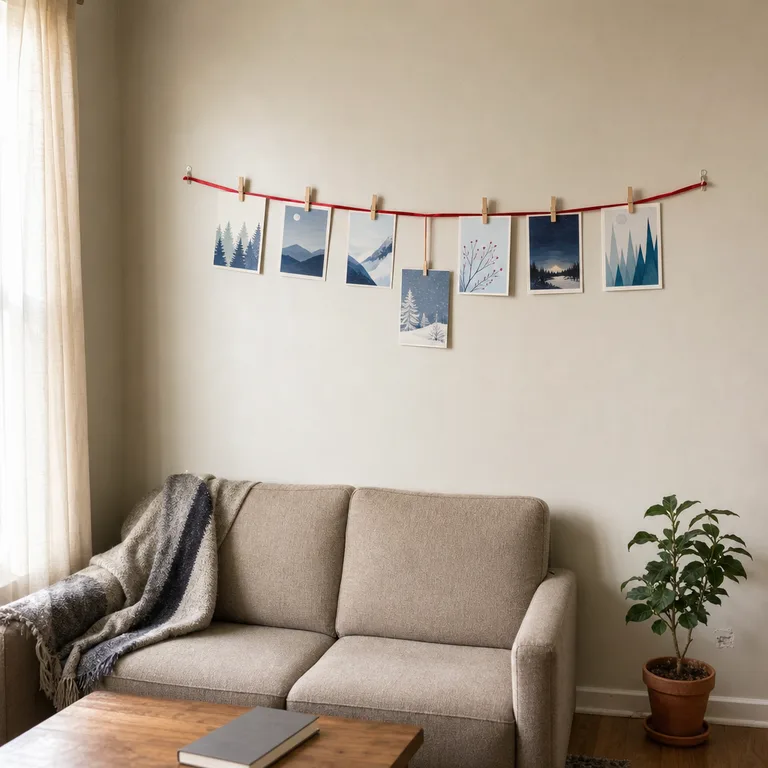
The ribbon adds color even before many cards arrive, and the clipped edges keep every design visible. Use a clear section of wall over a sofa, desk, or narrow console, but follow the hook instructions for the wall finish and the total weight of the ribbon and cards.
Worth knowing: Removable hooks can fail on dusty, textured, freshly painted, or delicate wall surfaces, especially once a display becomes crowded.
2.Fill a Door With an Over-the-Door Pocket Display
Hang a clear pocket organizer over the back of a living-room, bedroom, or closet door and slide each incoming card into its own pocket. The cards stay upright and visible, and the arrangement is simple to update as the collection changes.
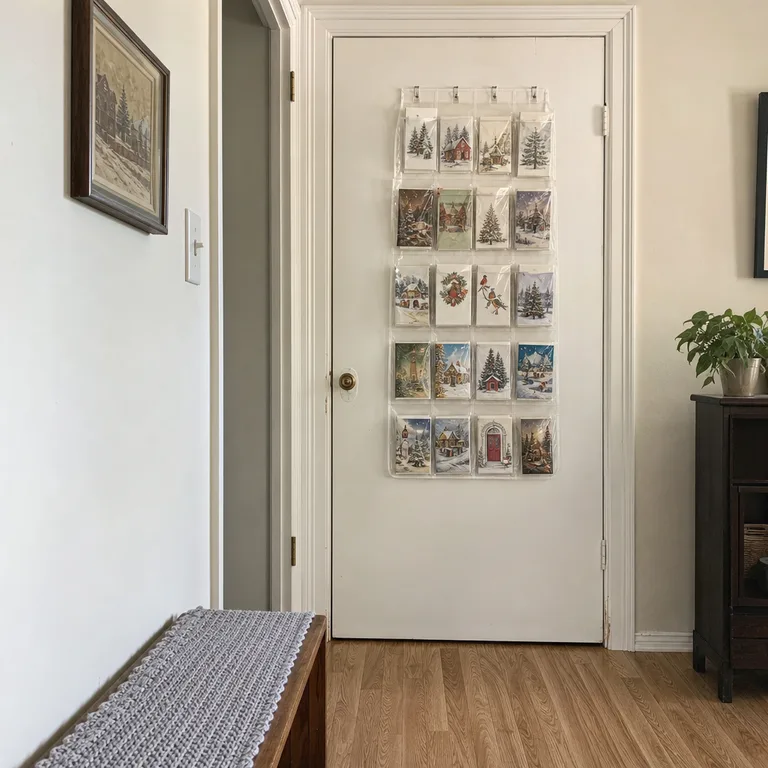
Clear pockets make this system especially useful for cards with illustrated fronts, since none need to be clipped shut. Choose a door that is usually closed or opens against a blank wall, and check that the organizer will not catch on trim, furniture, or a nearby coat hook.
Worth knowing: A full organizer can add bulk to the door and may interfere with doors that already have tight clearance.
3.Clip Cards to a Tension Rod in the Window
Fit a tension rod inside a deep window frame and use small clips to suspend cards in a single line. This puts the display in a bright spot without making holes in the wall or claiming a tabletop.
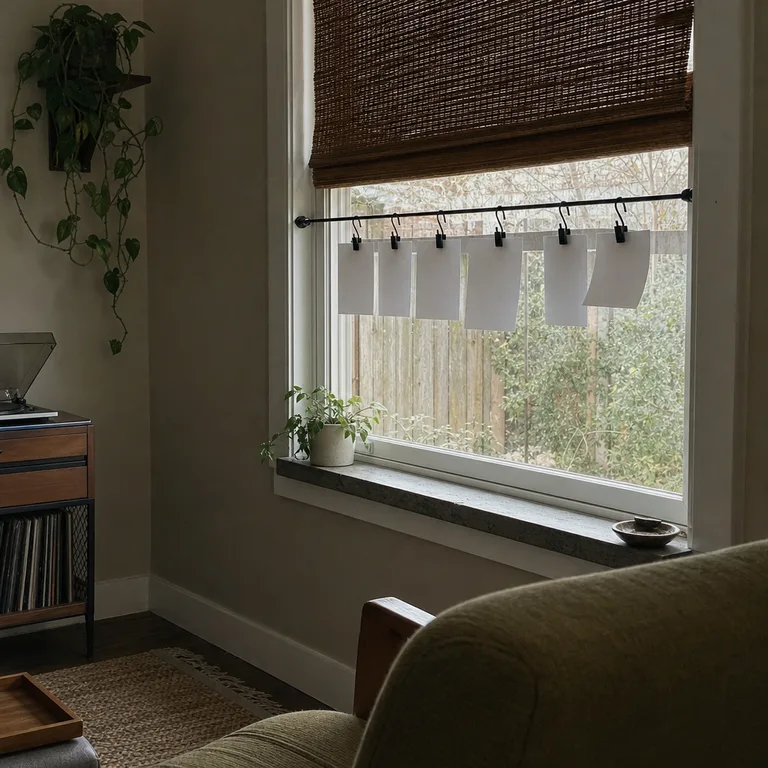
Leave enough open window space for daylight, particularly in a small living room where the window is already doing visual work. Keep the cards slightly away from the glass and move the display if strong winter sun shines directly through the window for long periods.
Worth knowing: Sunlight can fade paper, and windows that collect condensation are not a good place for cards.
4.Use a Removable Pegboard Panel for a Growing Grid
Mount a lightweight pegboard panel as one contained card zone, then use clips and short pegs to hold cards in loose rows. New cards can fill empty holes, replace older ones, or overlap slightly as the display becomes fuller.
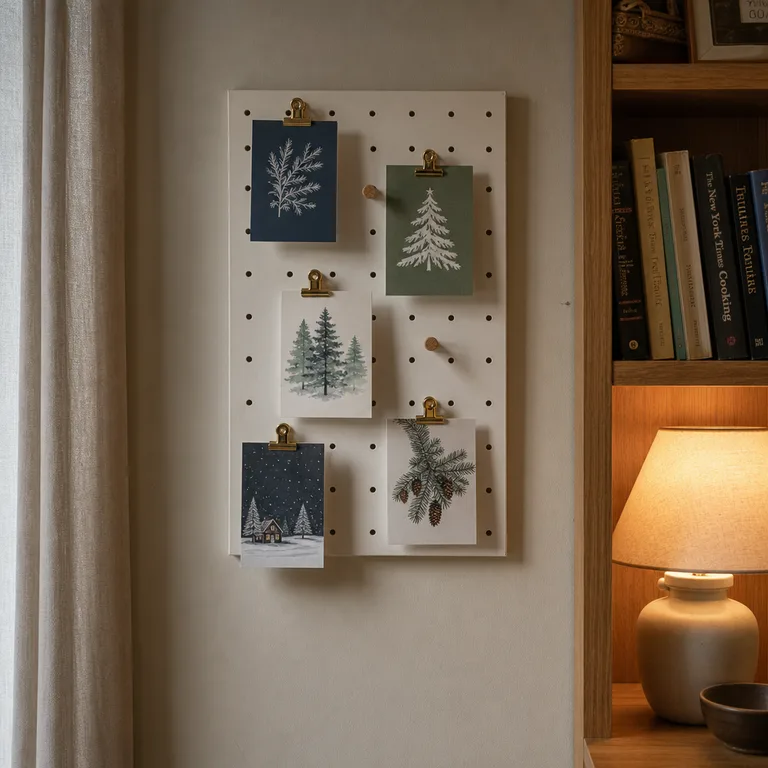
A panel gives a growing collection some structure without requiring every card to line up perfectly. Reuse a small pegboard from a workspace or craft area where possible, and use mounting hardware or strips that are suitable for both the panel and the wall surface.
Worth knowing: Textured walls and weak adhesive mounting can make a loaded pegboard unreliable.
Related: 12 Budget Christmas Mantel Alternatives for Homes Without a Fireplace
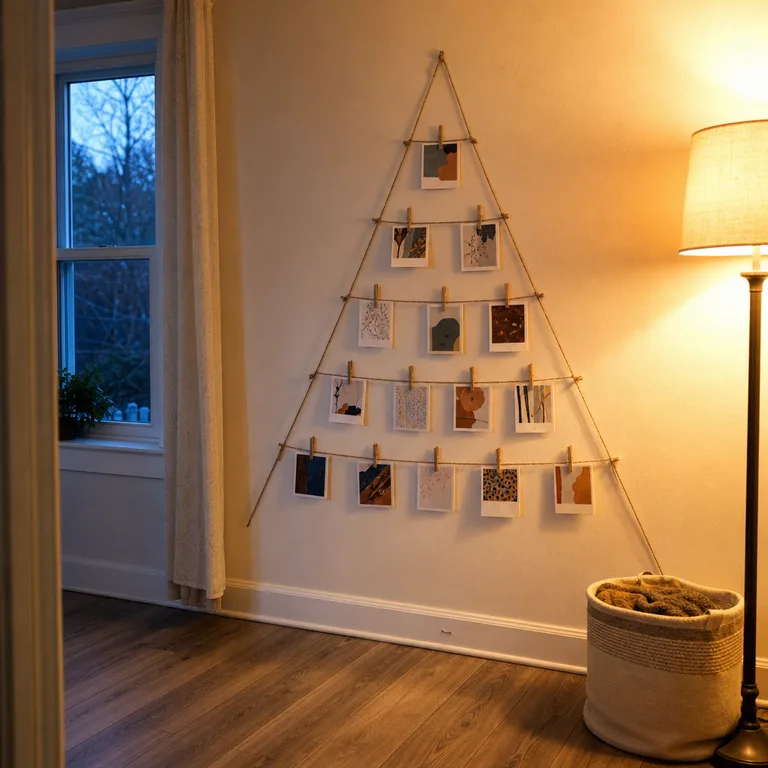
5.Make a Card Tree With Twine and Removable Hooks
Arrange horizontal lengths of twine in decreasing widths to form a simple tree shape on a narrow wall. Clip cards along each row, leaving the lowest rows for the largest or newest cards and the upper rows for smaller ones.
The triangular outline creates a Christmas display even when the cards are mixed in color and size. It works well beside an entry, in a slim stretch of wall near a dining table, or anywhere there is height but little floor space.
Keep the twine taut enough that cards do not slide into one another, but do not overload the outer hooks. A small paper star or lightweight ornament at the top can define the shape without adding much weight.
Worth knowing: The display needs a clear vertical wall area, and uneven twine can look messy once many heavy cards are added.
6.Lean a Slim Card Ladder Against the Wall
Lean a narrow blanket ladder against an unused wall and clip cards to its rungs. The ladder uses height rather than shelf space, and cards can be added one at a time without changing the rest of the arrangement.
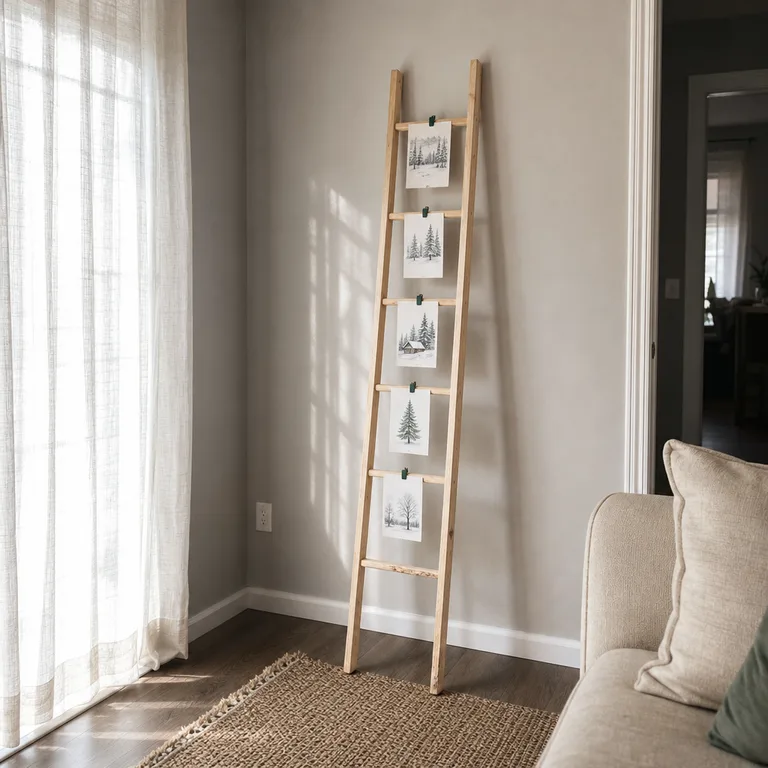
This is a useful option for rentals or for walls where adhesive strips do not hold well. Reuse a lightweight ladder already used for throws, and place felt pads under the feet to reduce scuffs and help keep it from shifting.
Choose a quiet corner rather than a main route through the room. Keep it clear of door swings, energetic pets, and children who may pull on the rungs.
Worth knowing: A leaning ladder still takes up a small amount of floor space and can be unstable in a busy walkway.
7.Cover a Cork Tile Panel With Incoming Cards
Group cork tiles into a square or rectangle and pin cards directly to the surface with push pins. Cards and envelopes can overlap naturally, making this a forgiving choice for a varied collection.
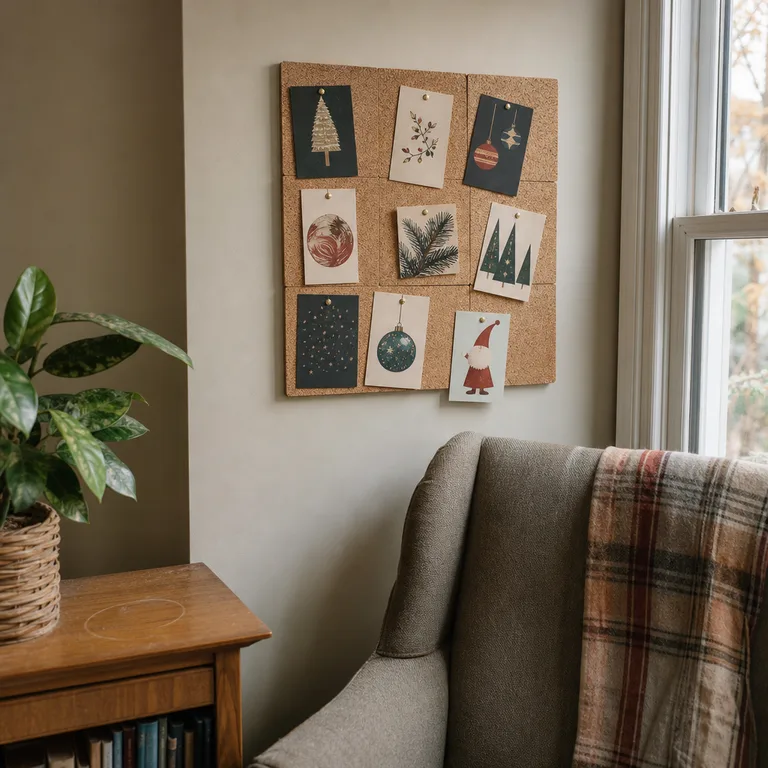
The cork gives cards a warmer, more casual backdrop than a bare wall, and the display can be reshaped throughout the season without handling adhesive on every card. Use tiles that can be installed in a way permitted by the rental agreement, or attach them to a lightweight backing board instead of the wall.
Put the panel on an interior wall or another dry area of the room. Humid exterior walls, damp entryways, and condensation nearby can affect both the cork and the paper cards.
Worth knowing: Pins create tiny holes in cards and are not suitable where small children or pets may reach them.
8.Turn a Metal Board Into a Magnetic Card Wall
Mount a slim metal message board and hold cards in place with small magnets. The layout can change every day without clips, pins, or tape touching the cards themselves.
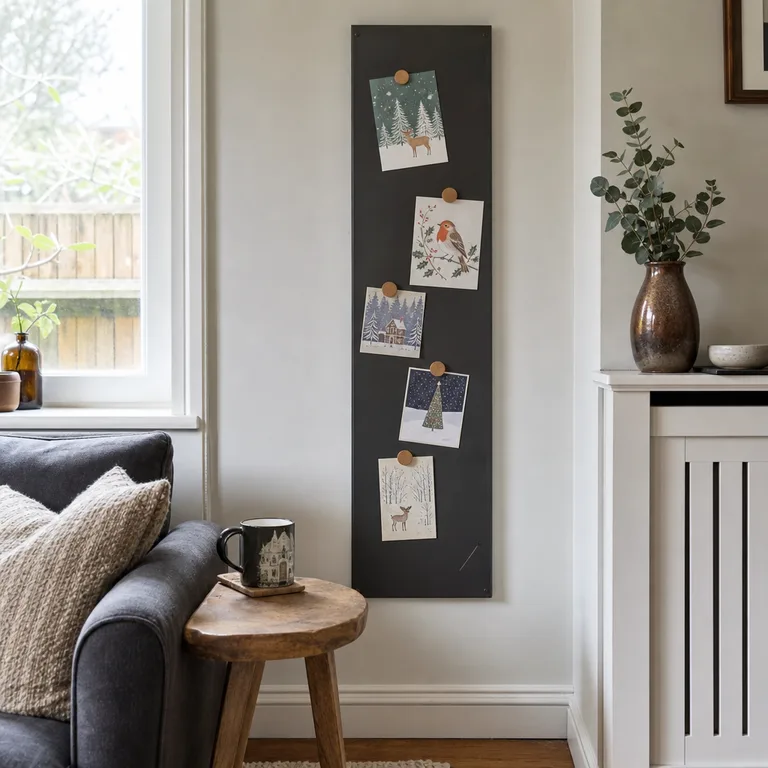
A dark or neutral board makes colorful card fronts stand out and gives a small room a defined seasonal display area. Look for a board that is light enough for its mounting method, and secure it according to the manufacturer’s instructions rather than relying on decorative magnets for support.
Place the board away from heat vents, radiators, and damp areas so cards do not curl or discolor. Keep magnets in a small dish nearby so each new card can go up as soon as it arrives.
Worth knowing: The board requires secure mounting, and loose small magnets are not appropriate around young children or pets.
About the author
Dana Ruiz, Senior editor
Dana writes about small-space living, storage and low-cost decorating.
Keep reading
8 Homework Station Ideas for Two Kids Sharing One Bedroom
November 1, 2026
8 Small Kitchen Layout Ideas for Two People Cooking Together
November 1, 2026
8 Christmas Gift-Wrapping Stations That Pack Away in a Small Home
October 31, 2026
7 Small Bedroom Layouts With Sloped Ceilings
October 31, 2026