8 Budget Interior Door Makeovers for Plain Flat Doors
Plain flat bedroom doors can look more deliberate with paint, removable coverings, and simple graphic treatments that leave the leaf, hinges, latch, and clearance working as intended. Get owner approval for rental changes, confirm the product suits the door’s existing finish, and leave fire-rated doors unmodified unless the manufacturer or building manager approves the treatment.
As an Amazon Associate I earn from qualifying purchases.
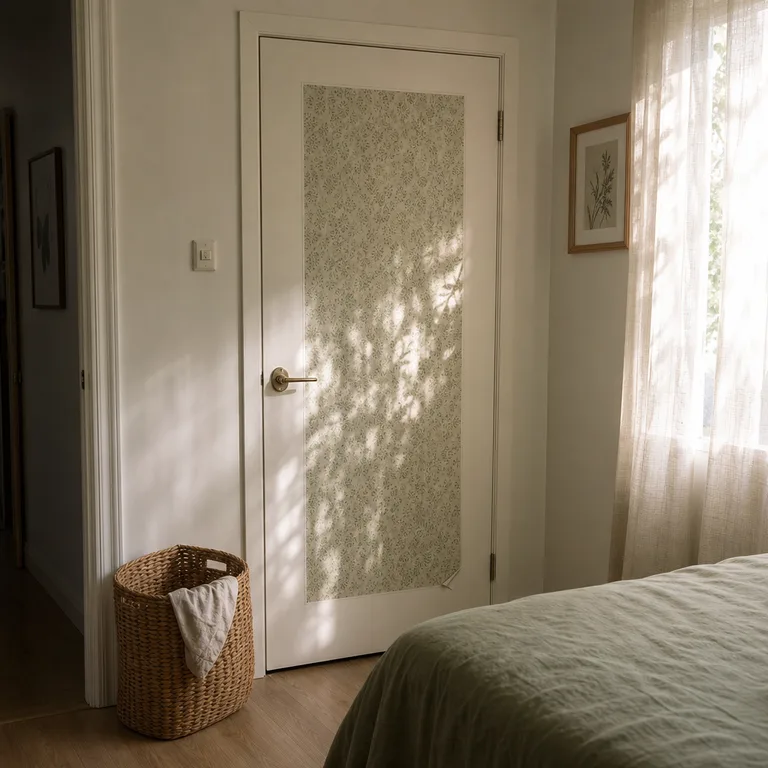
1.Paint the Door a Single Grounding Color
A muted green, blue, clay, or charcoal can give a flat door more presence than its plain surface suggests. Paint both faces and the narrow visible edges so the color reads as a complete feature rather than a partial touch-up.
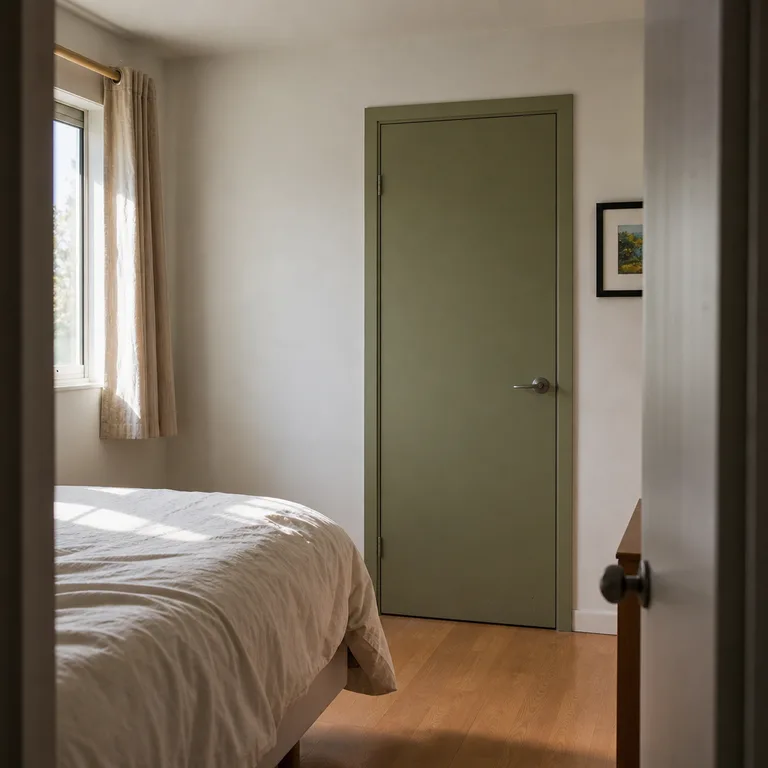
Use paint suited to interior doors and prepare the existing finish so the new coat can hold up around the handle. A brush and small roller are usually enough for this weekend job, and using a color already found in bedding, rugs, or artwork helps the door belong in the room.
Keep paint thin around the latch edge, hinges, and strike area. Built-up paint can make a door rub, stick, or close poorly.
Worth knowing: A dark or saturated color may show chips and fingerprints more readily on a heavily used door.
2.Create a Two-Tone Lower Door
Paint the lower third of the door in a deeper shade while leaving the upper section light. The contrast gives the door a visual base and can make an ordinary bedroom or hallway feel more structured.
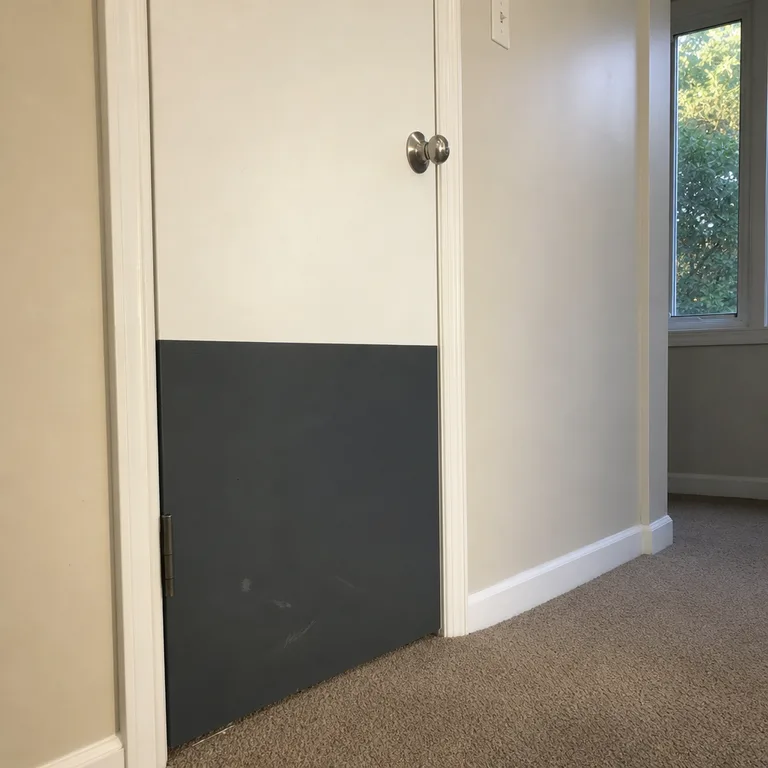
Mark a level horizontal line with low-tack tape, then use a small roller for an even finish. This treatment uses less accent paint than covering the full door, and the darker lower section can make light scuffs near the floor less noticeable.
Choose a division height that looks intentional alongside nearby baseboards and furniture. Remove tape carefully while the paint is still workable for a cleaner edge.
Worth knowing: A visibly uneven line will stand out, so careful measuring and taping matter.
3.Paint an Oversized Arch Around the Door
Paint a broad arch on the wall around a plain door instead of altering the door itself. It frames the opening, adds color to a blank wall, and leaves every moving part of the door untouched.
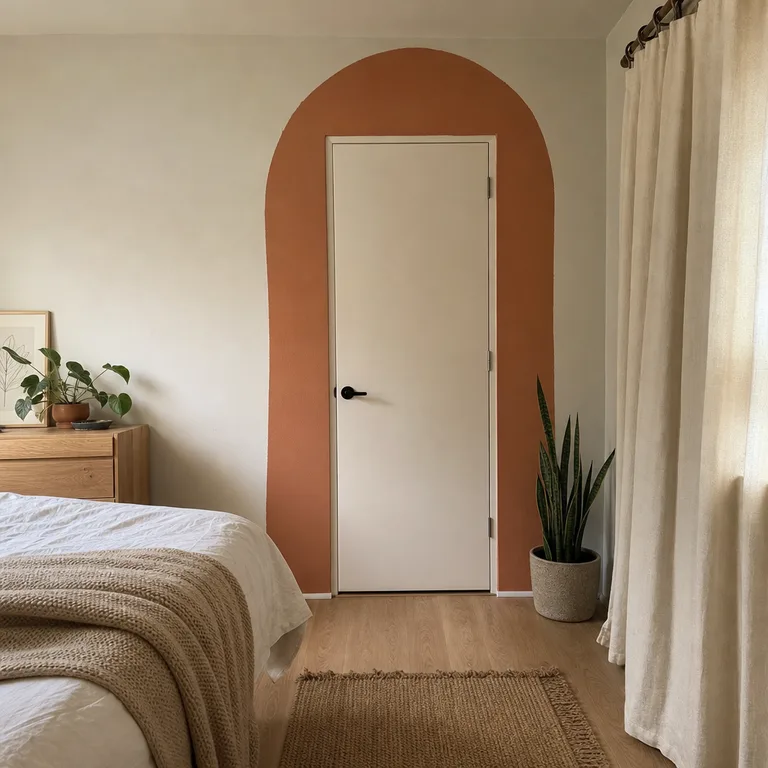
A simple hand-drawn curve, flexible tape, or a homemade guide can help form the arch. Use leftover wall paint or a test pot in a color that works with the room, keeping the arch wide enough to read clearly from across the space.
This approach is especially useful where a rental agreement allows wall painting but not changes to the door leaf. The treatment also avoids clearance problems caused by added trim.
Worth knowing: The wall finish may need repainting when the design is removed or the room color changes.
4.Add Painted Faux Shaker Lines
Thin painted lines can create the look of Shaker-style panels on a completely flat door. The graphic detail adds structure without attaching molding that could catch on the frame or change the door thickness.
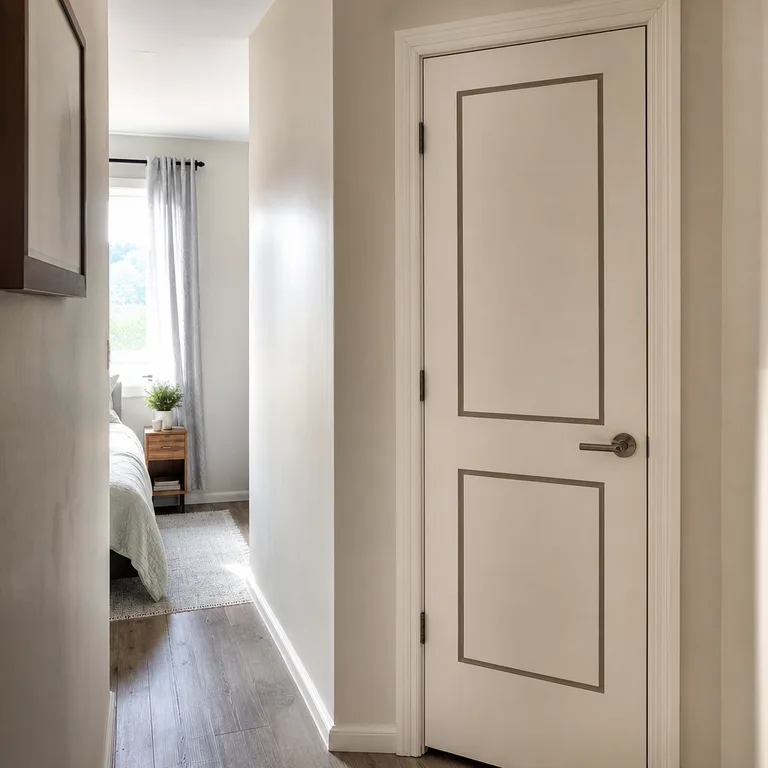
Plan the panel layout with a pencil and measure from the door edges so the rectangles are balanced around the handle. Fine-line tape and a small brush make it possible to add contrast lines using paint already on hand.
Keep the design simple, with one or two large rectangles rather than many narrow sections. Larger shapes are easier to lay out accurately and suit the proportions of most basic interior doors.
Worth knowing: Painted lines do not create real depth, and imperfect spacing is more noticeable in a high-contrast color.
5.Cover the Center With Removable Wallpaper
A centered panel of removable wallpaper can turn a plain white door into a patterned accent while leaving a painted border around it. Keeping the paper away from the edges, latch, and hinges makes the treatment look contained and helps preserve normal operation.
Choose a pattern that can be aligned vertically without an awkward partial motif at the top or bottom. Smooth the paper onto a clean, sound painted surface, working gradually to reduce bubbles and trimming only after it is firmly positioned.
This option works well for a bedroom, closet, or low-traffic interior door when the adhesive is intended for removable use. In a rental, test a hidden area first if the existing paint is old, flaky, or recently applied.
Worth knowing: Humidity and weak ventilation can loosen adhesive, particularly near bathrooms or laundry areas.
6.Apply a Removable Wood-Grain Film
A light oak-look or other wood-grain adhesive film can add warmth where a painted flat door feels cold or overly plain. It gives the surface a furniture-like finish without replacing the door or installing a new slab.
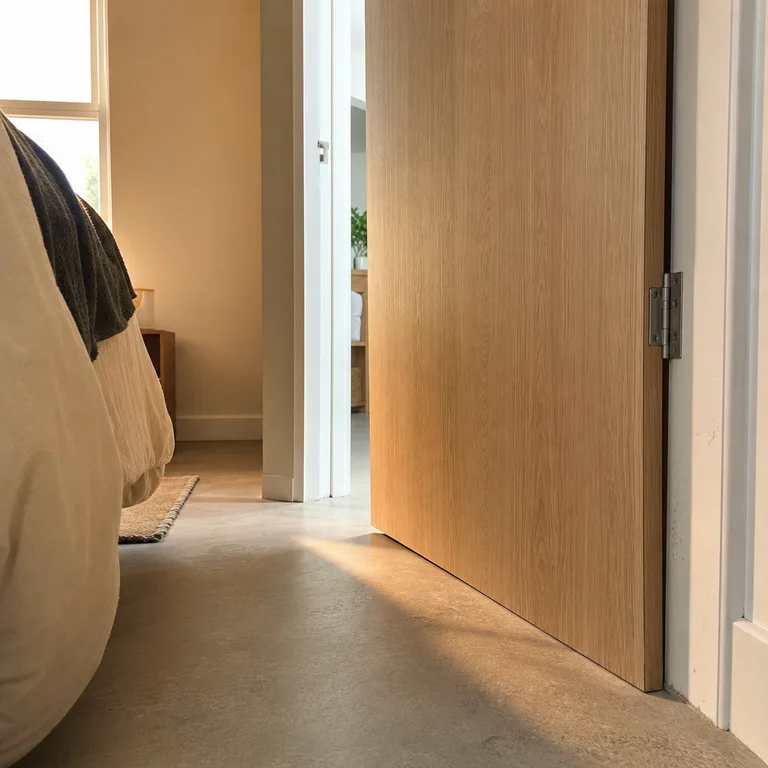
Clean the door thoroughly and apply the film in manageable sections with a smoothing tool. Align the grain in one direction, and plan seams where they will be least visible if a single piece will not cover the door.
Cut carefully around the lever, latch edge, and hinges so the film does not bunch or rub as the door moves. A partly open door is useful for checking that the treated edge still clears the jamb.
Worth knowing: Seams, stretched film, and poorly aligned grain can be visible up close, especially in strong side light.
7.Use Large Removable Geometric Decals
Large circles, half-circles, stripes, or blocks of removable vinyl give a flat door a clear graphic identity. This works best when the shapes are large enough to look deliberate rather than like scattered small stickers.
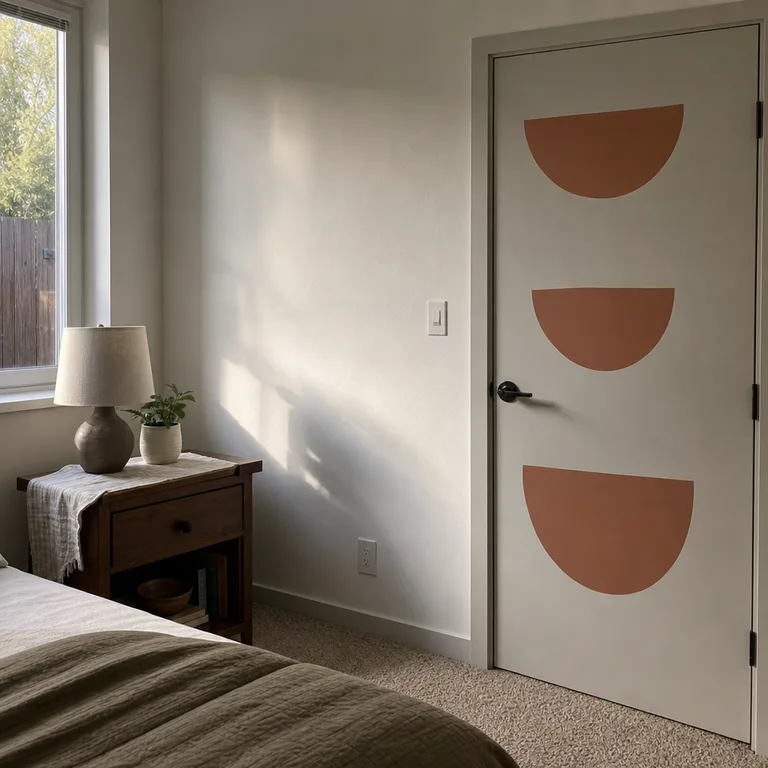
Arrange the decals in a vertical stack, a balanced corner composition, or a broad stripe that stops well short of the hardware. Paper templates can help test the layout before the backing is removed, which avoids wasting decals on a crowded design.
Matte decals usually blend more naturally with painted doors than glossy ones. Keep every shape clear of the latch, hinges, and frame so the edges are not repeatedly scraped during use.
Worth knowing: Decals may lift at corners on textured, dusty, or poorly bonded paint.
8.Stencil a Border Inside the Door Edges
A narrow stenciled border set inside the door edges creates a finished outline without adding physical trim. It can suit a traditional room with a small repeating motif or a simpler room with a restrained linear pattern.
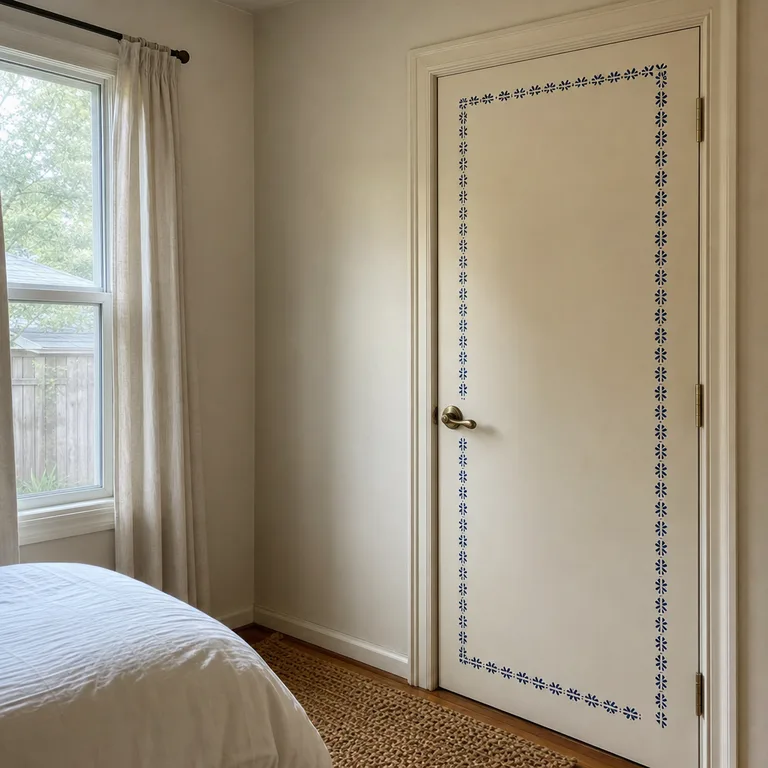
Use a reusable stencil, very little paint on the brush, and light dabbing rather than heavy strokes. Starting along the least noticeable edge gives time to settle on the paint amount before working around the more visible sections.
A washable door paint finish is practical where hands, bags, or pets often brush against the surface. Keep the border far enough from the lever and latch area that it does not feel cramped.
Worth knowing: Stencil work is slow, and paint that is applied too heavily can bleed under the pattern edges.
About the author
Dana Ruiz, Senior editor
Dana writes about small-space living, storage and low-cost decorating.
Keep reading
10 Christmas Stocking Displays for Small Homes With No Mantel
October 29, 2026
8 Christmas Gift-Wrapping Stations That Pack Away in a Small Home
October 31, 2026
9 Kids' School Paper Organization Ideas That Separate Forms From Keepsakes
October 31, 2026
7 Small Bedroom Layouts With Sloped Ceilings
October 31, 2026